third grade
Totem Poles
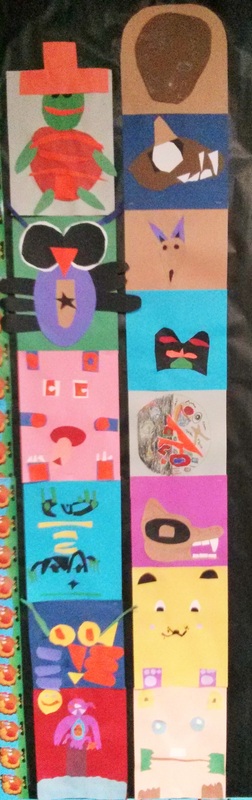
The totem pole is a form of art for many Native American tribes in the north and northwest. Totem poles were generally carved from cedar wood. The meaning of their carvings varied from tribe to tribe. Sometimes they were purely artistic, other times they told stories of local legends or events. They were often carved for spiritual or religious reasons. The word totem comes from a Native American word meaning "kinship group".

the Project
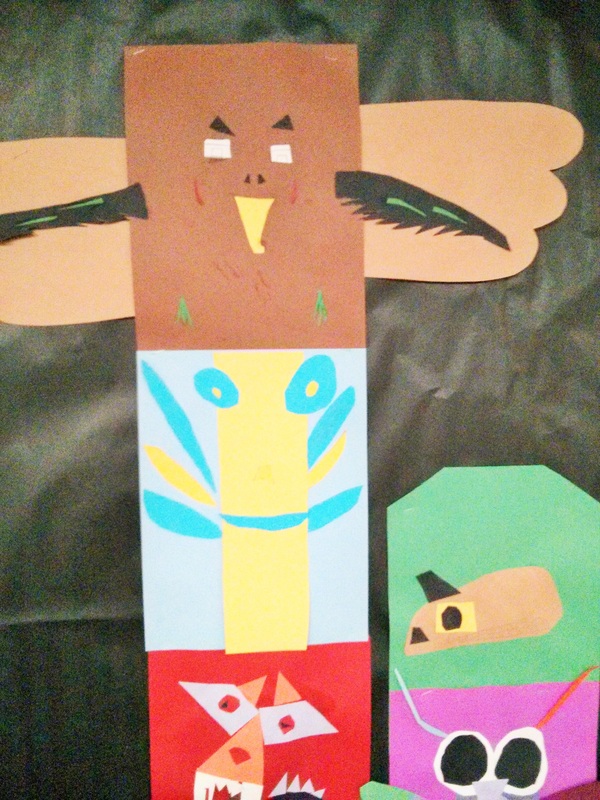
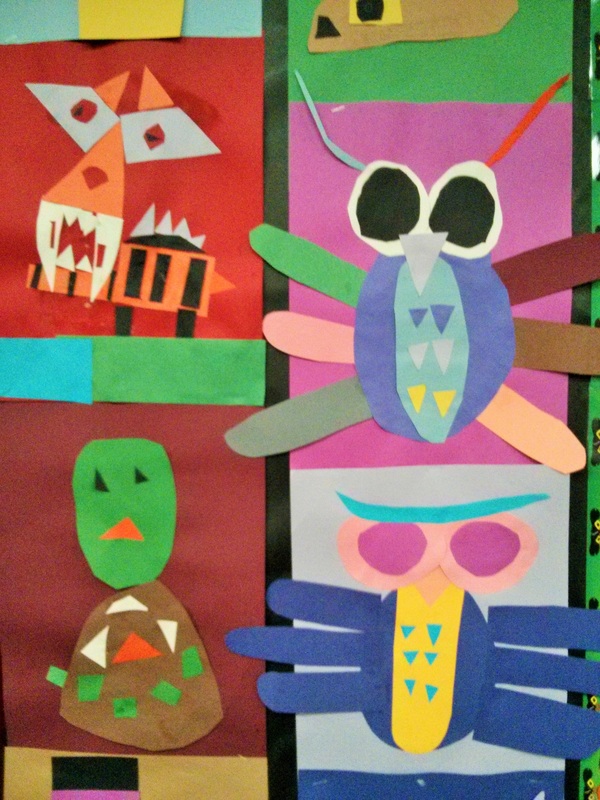
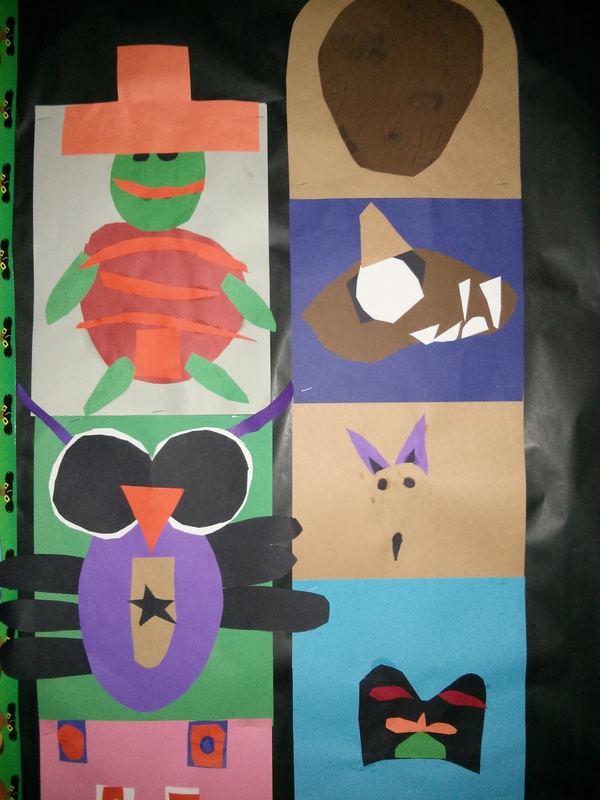
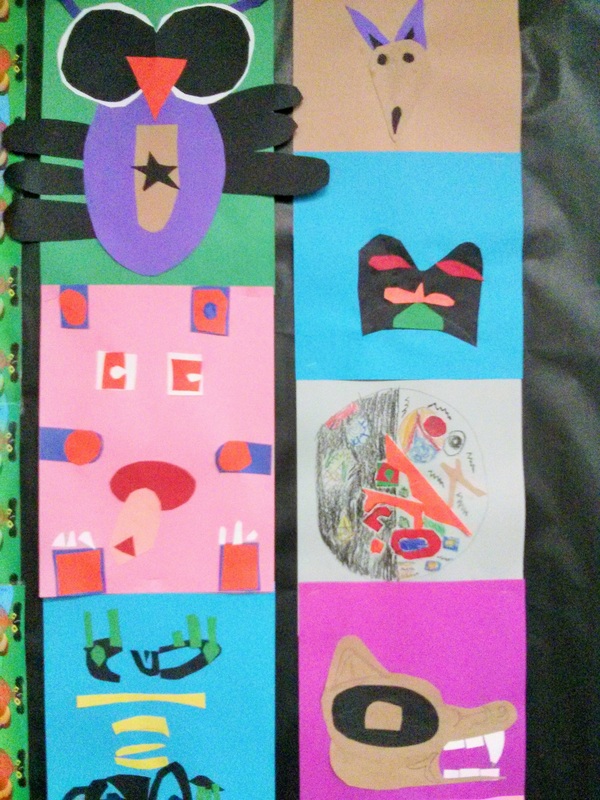
**This is a collaborative class project**
Note: This would be an excellent project to display in the media center!
|
Handouts to use with this lesson:
|
| ||
Prep
–
30 min. (includes time to make sample)
Print –
Handouts – stylized animal handout for students in 4th grade file cabinet
Materials
- 9 x 12 pieces of bright colored construction paper
- Scraps of construction paper (at least 5-7 for each student)
- Glue bottles
- Handouts with stylized animals on them
Lesson
1. Talk to students about Totem Poles – carved tree trunks that tell a story made by Native Americans. Explain how the images are simplified and patterned. In art, we call this STYLIZED – an artist draws in a style that is less realistic, changing the shape and colors to make it their own kind of art.
2. Show students some images of totem poles and talk about what they see. Point out that many of the totem sections focus on just the face, instead of the whole animal.
3. Show students your sample and explain that today they will be making their own part of a totem pole that will represent an animal from the Pacific Northwest.
4. Pass out animal and color handouts to students. Ask them some questions about the animals on the handouts and what the different colors mean. This gets them to read the handouts and use them in their project. **Let them know these images are just for ideas--they don't need to copy them. They can simplify the designs further, or change them however they want. They can also choose to do completely different animals or creatures that they create.
5. Show students your sample and explain how they need to use a piece of construction paper and add other pieces of construction paper details to create a specific animal.
6. Tell them to think about what animal from the Pacific Northwest they want to make.
7. Ask some students what animal they have chosen.
Art Project
-hand out a piece of 9 x 12 construction paper to each student
-hand out scraps of construction paper to each student
-remind them to put their name on the back of their paper
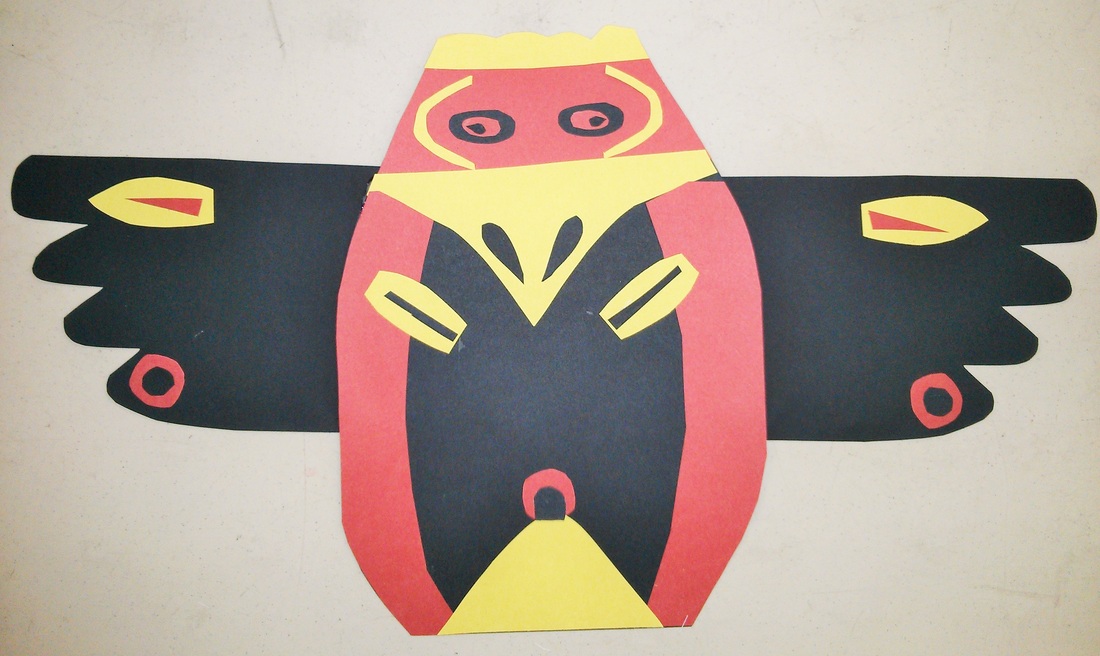
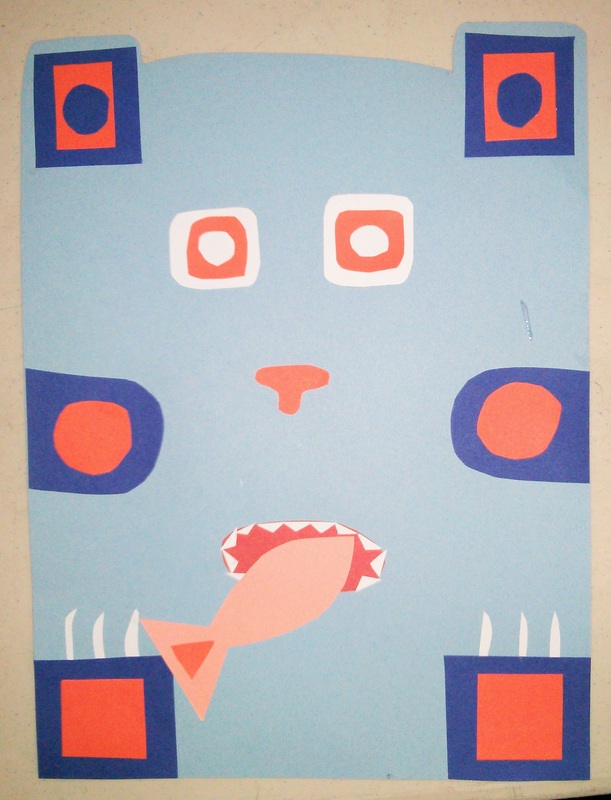
-have them use their paper VERTICALLY to create their totem animal (*important to orient all the images this way so that they can be lined up in the final totems)
-encourage them to make the different features of the animal in a stylized way, they can look at the animal handouts for ideas on how to cut out the eyes, etc.
-remind them to fill up the space of the whole paper rather than making a smaller animal within that space. It might be better to suggest just doing a close up of the face or head.
-have students place all their pieces on the paper before they glue
-when students are ready to glue, have them raise their hand so a parent can make sure they have different features and are ready to glue
-pass out glue bottles
-collect projects when they are done
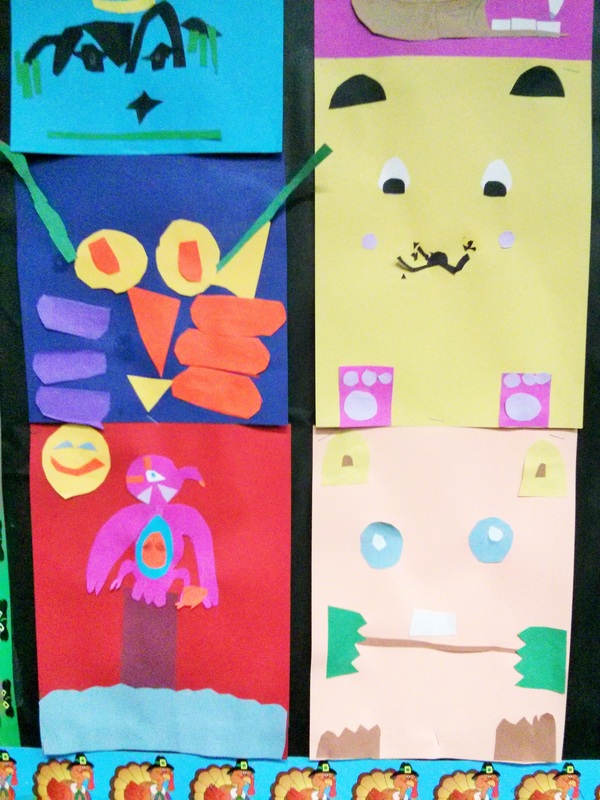
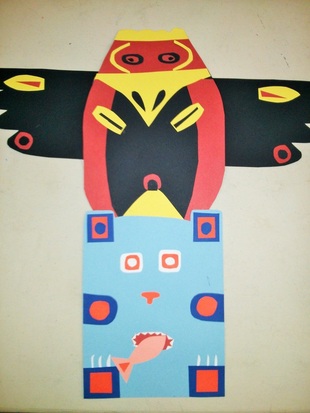
*If there is a bulletin board to put these up in the classroom, stack them on the bulletin board like a totem pole, or you may also put them up the media center to showcase our student’s art (if you do that, be sure to add a sign that indicates the class, grade and project name)
-hand out a piece of 9 x 12 construction paper to each student
-hand out scraps of construction paper to each student
-remind them to put their name on the back of their paper
-have them use their paper VERTICALLY to create their totem animal (*important to orient all the images this way so that they can be lined up in the final totems)
-encourage them to make the different features of the animal in a stylized way, they can look at the animal handouts for ideas on how to cut out the eyes, etc.
-remind them to fill up the space of the whole paper rather than making a smaller animal within that space. It might be better to suggest just doing a close up of the face or head.
-have students place all their pieces on the paper before they glue
-when students are ready to glue, have them raise their hand so a parent can make sure they have different features and are ready to glue
-pass out glue bottles
-collect projects when they are done
*If there is a bulletin board to put these up in the classroom, stack them on the bulletin board like a totem pole, or you may also put them up the media center to showcase our student’s art (if you do that, be sure to add a sign that indicates the class, grade and project name)