Fifth Grade
Calder Wire Portraits
Alexander Calder (1898 - 1976) was born in Pennsylvania to artist parents: his father was a sculptor and his mother painted portraits. His parents knew how it was difficult to earn money as an artist, so, although they appreciated Calder's interest in making art, they did not want him to choose art as a job. He followed his parents’ advice and studied engineering in college. But Calder wasn’t happy in any of the jobs he worked after college, so he decided to become an artist after all.
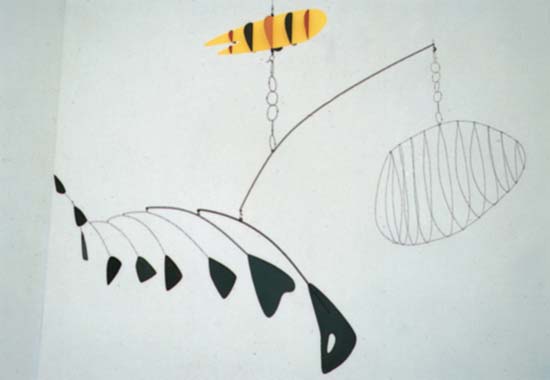
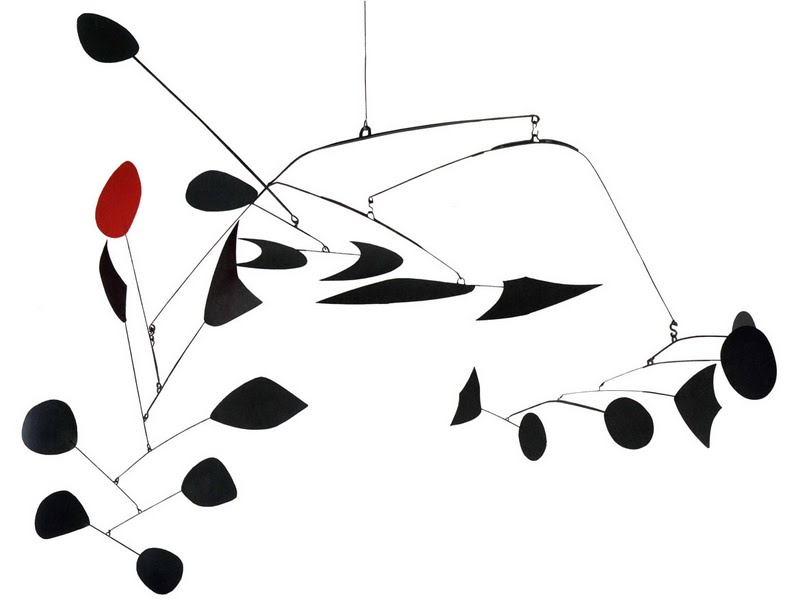
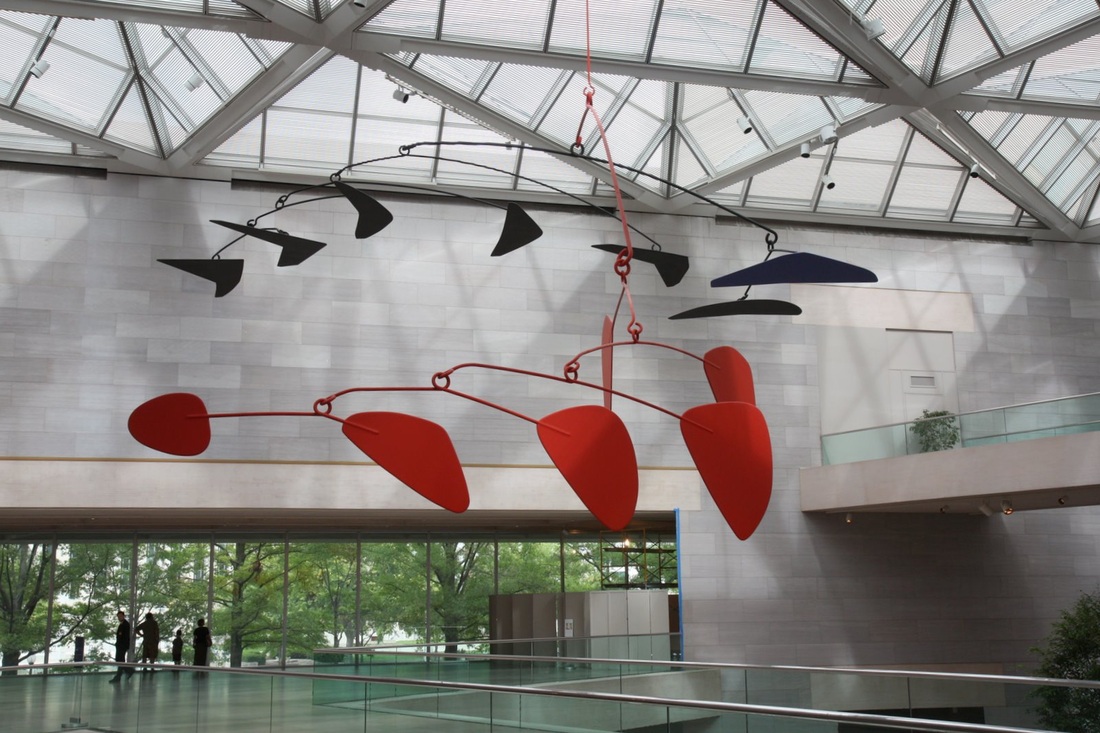
Calder is best known for inventing the mobile. Today we are all familiar with mobiles, especially the kind that are placed over babies' cribs, but it was Calder who came up with the idea for these hanging sculptures in the first place. He was very fascinated with KINETIC art, which means art that can move. He called his mobiles "drawing in space." Perhaps his engineering education came in handy here as he had to be precise in his measurements to ensure the proper BALANCE of his art. They had to be both balanced visually (with shape and color) as well as balanced literally (with weight and counterpoise). It only takes a slight movement of air current to set his mobiles in motion. (The three pictures above are examples of some of Calder's mobiles. Some of his mobiles are huge in scale, such as the last image shown above, at the National Gallery of Art in Washington DC.)
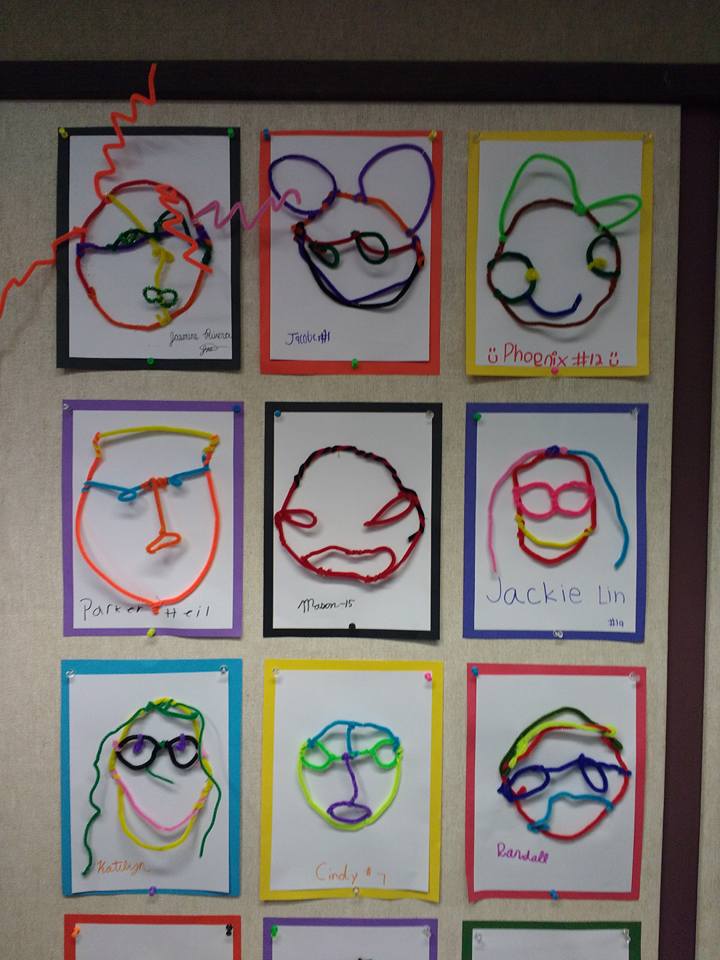
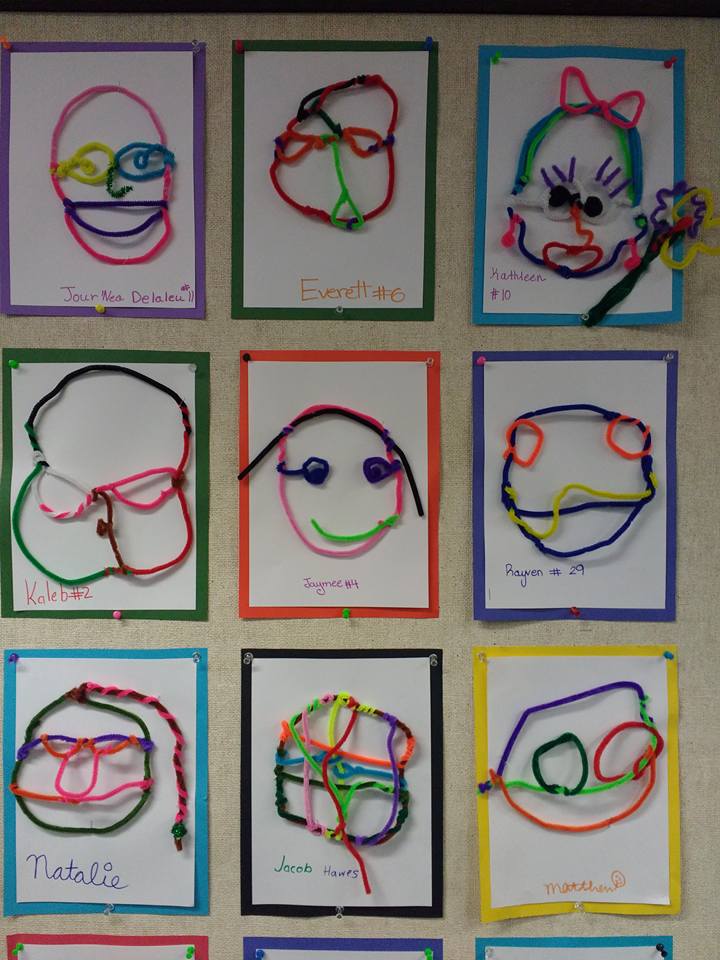
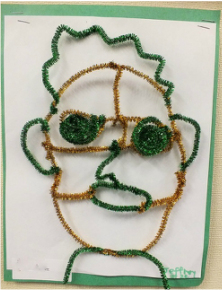
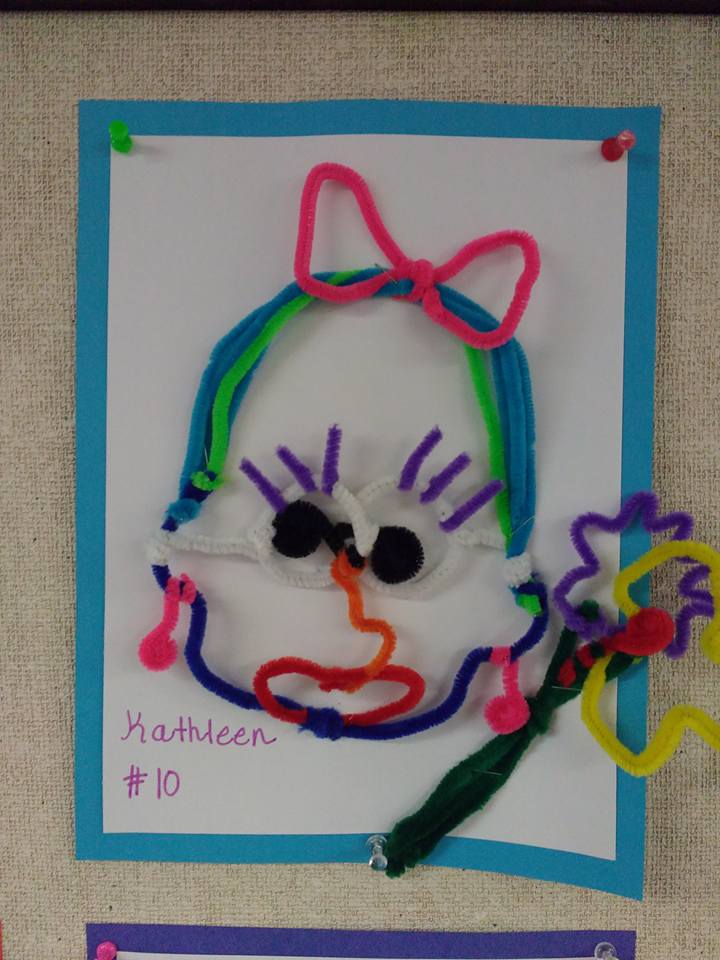
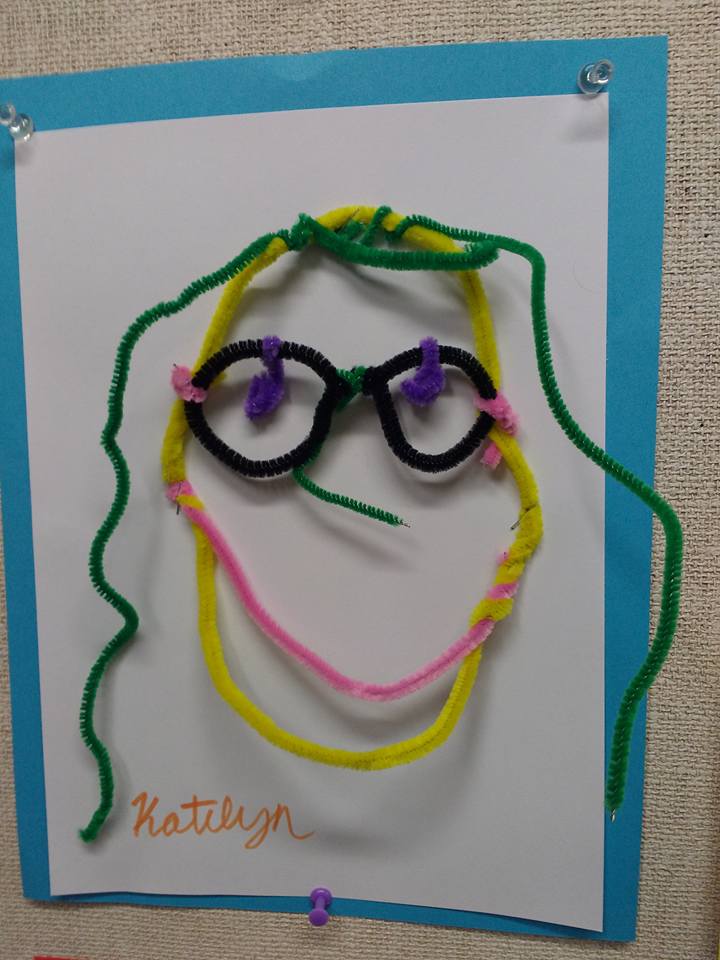
Calder liked to build his sculptures in metal, and his mobiles usually combine wire and sheet metal. Sometimes he worked with just the wire to create very whimsical sculptures and portraits. He liked to say: "I think best in wire." Notice the simplicity and expressiveness of the LINE in his portraits, when there is seemingly nothing but line to look at (no shading or color, no highlighting or value). LINE is the first element in art, and it is the basic building block of making a work of art. So much of art starts with the drawing of a line. Calder's wire sculptures indeed seem to begin and end with LINE.
Even though Calder's sculptures are created with line, we also notice the shapes created by the lines and the spaces between the lines as much as the line itself. The empty spots are called NEGATIVE space (refer to the project in first grade for more details on positive and negative space), and they serve to balance with the lines. Calder does not need to put in every detail of the faces or objects, because our minds are good at filling in the gaps. He allows the lines to be playful, and lets the viewers enjoy the airy results. Another fun thing is that these wire sculptures are three-dimensional, so they can cast shadows, which adds another level of interest to his amazing sculptures.
Even though Calder's sculptures are created with line, we also notice the shapes created by the lines and the spaces between the lines as much as the line itself. The empty spots are called NEGATIVE space (refer to the project in first grade for more details on positive and negative space), and they serve to balance with the lines. Calder does not need to put in every detail of the faces or objects, because our minds are good at filling in the gaps. He allows the lines to be playful, and lets the viewers enjoy the airy results. Another fun thing is that these wire sculptures are three-dimensional, so they can cast shadows, which adds another level of interest to his amazing sculptures.
|
PowerPoint presentation you can use to teach the lesson:
|
| ||
The Project
Prep – 30 min. (includes making sample)
Materials
- Long chenille stems (pipe cleaners) in different colors (4-5 per student)
- 8-1/2 x 11" computer paper (or white construction paper) per student (can be cut to 8x11 for more even reveal on the colored backing paper)
- 9x12" colored construction paper (various colors), for mounting
- Stapler
- Scissors
- Crayons or markers to write the students' names
Lesson
- Talk to students about Calder information and his artworks.
- Show students your sample.
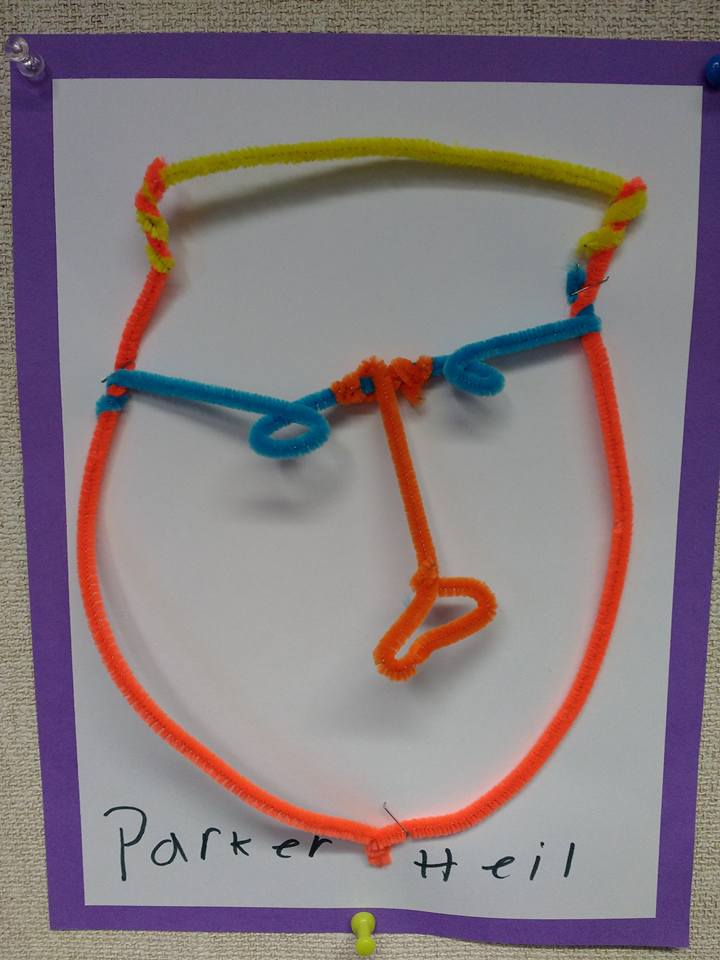
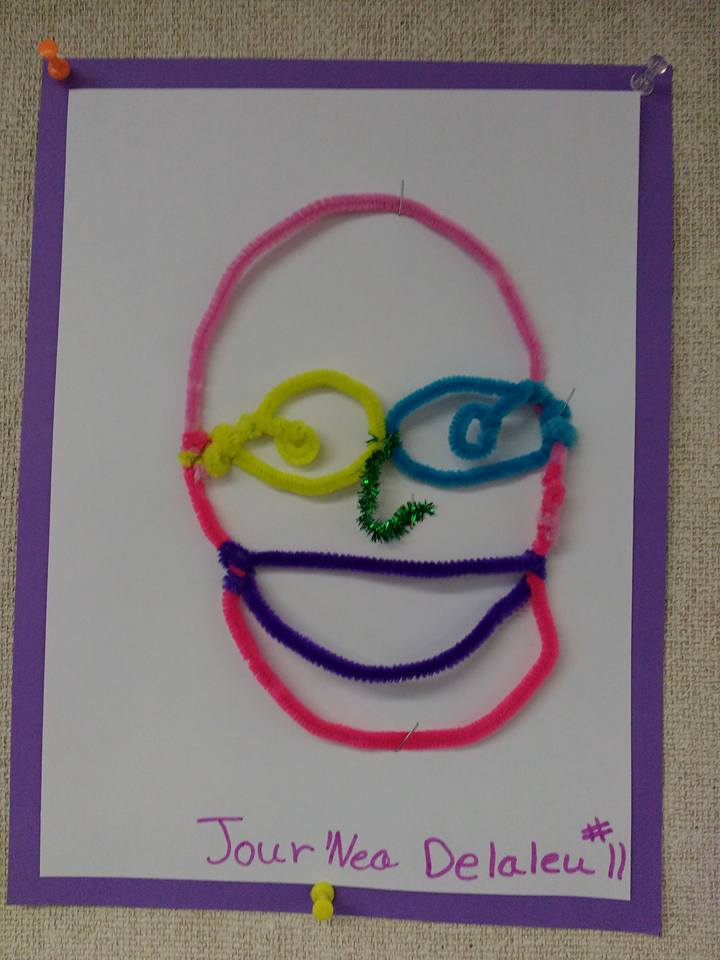
- Explain that they will be making a self-portrait out of pipe cleaners, which they will use to create an outline of their face, just like Calder did with wire. The pipe cleaners have color, so that is an added bonus for the kids, and they can consider which colors will work best together for the effect they want.
- Take some wire and model for the students how to create the shape of the face and then add a feature or two. Remind them that they don't need to include every detail because empty space is important too.
- Explain how pipe cleaners are really forgiving; they can take them apart and shape them to use again if they want to change what they are making.
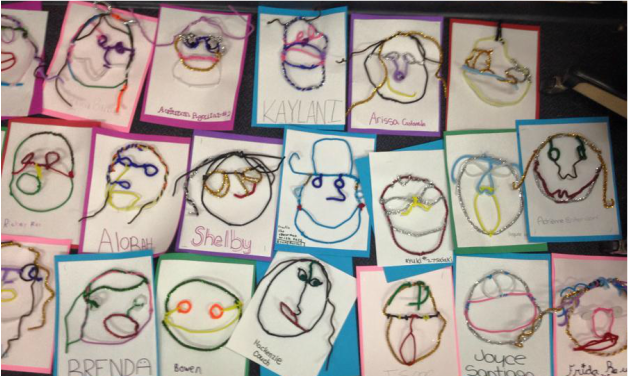
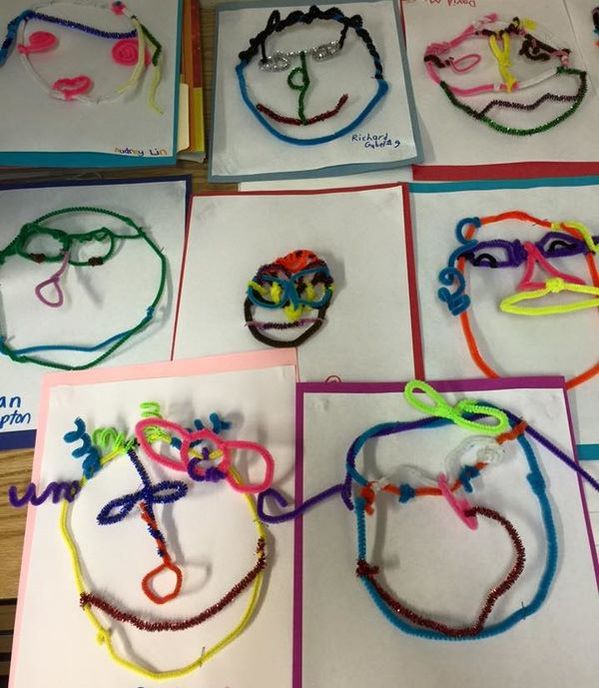
Art Project
-pass out white paper and colored backing to each student (they will staple their creation to the paper when they are done)
-I think it is easiest to invite rows of students to select their pipe cleaners from a back counter or table
-students can make their self-portrait, using scissors to cut wire into smaller pieces if necessary
-when they are done, have them raise their hands so that a parent volunteer can staple their wire portrait to the paper
- the white paper with portrait can then be stapled to the colored sheet
-have them write their name, in colored marker or crayon, below their face

|
|