Fourth Grade
Louise Nevelson Assemblages
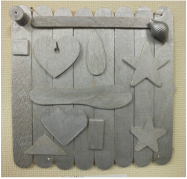
Louise Nevelson (September 23, 1899 – April 17, 1988) was an American sculptor known for her large scale, wooden wall pieces and outdoor sculptures. Her sculptures are usually created out of wood, mostly scrap wood or other "urban debris" that she found lying around the city, and then she would place those cut pieces in very intricate arrangements so that her sculptures appear puzzle-like. A unique feature of her work is that they are often painted over in one plain color, often a MONOCHROMATIC black or white. (Note: the word "monochromatic" means "one color.")
Louise was born in Russia, but moved to the United States in 1905 with her parents to avoid the persecution of the Jewish families there. Her family was well off (her father had a lumber and real estate business) and they were noted for supporting modern ideas, like letting women have the vote, and it was coming from that upbringing that Nevelson knew she wanted to be an artist. By the 1930s, she had moved away on her own and was struggling as a "starving artist" until she finally started gaining recognition for her sculptures in the late 1950s. She eventually rose to be an internationally known artist and worked into her 80s.
Some of the things her work is admired for:
* Her sculptures stand not only as individual objects, but as parts of a whole (notice how all different shapes combine in small units, that are then combined into larger pieces, the monochromatic color uniting them all together).
* Nevelson carefully arranged the pieces of debris to create new stories in her wall sculptures. The stories usually reflected her life experiences--as a Jewish child relocated to America from Russia, as an artist training in New York City and Germany, and as a hard-working, successful woman.
* Louise brought a feminine perspective to a male-dominated field. At the time it was only men who were known for making important sculptures. She was not intimidated by new ideas or creativity, and so was an outstanding sculptor who redefined femininity in sculpture art.
the project
Prep – 45 Min. (includes time to make sample)
Materials
-Wood craft sticks in various sizes
-Wood pieces, chopsticks, cardboard pieces, odds and ends
-Glue bottles
-tempera paint (optional, for a colored finish)
Lesson
-pass out glue bottles to students
-pass out craft sticks to students so they can construct their canvas
-have students put their name on the back of a craft stick so that when the finished and dried project is picked up, you can see their name on the back
-when students have constructed their canvas, have them raise their hands to check it and pass out wood and cardboard pieces to make their art project.
-encourage kids to move their wood and cardboard pieces around to see what looks best.
-remind them this is a 3 dimensional project, so they can try reorienting pieces to stand out more.
-once students have their pieces placed have them raise their hand to have parents check it before they glue it down (make sure they don’t have anything on the sides or back, we want to be able to hang these on the wall)
*if there is time another day, bring tempera paint (any color choice you want) and have each student choose one color to paint their project. It should only take a half hour to have students paint.
Materials
-Wood craft sticks in various sizes
-Wood pieces, chopsticks, cardboard pieces, odds and ends
-Glue bottles
-tempera paint (optional, for a colored finish)
Lesson
- Show students print and ask them what they see. Discuss artist Louise Nevelson and her art with class.
- Show students your sample and explain how you made it.
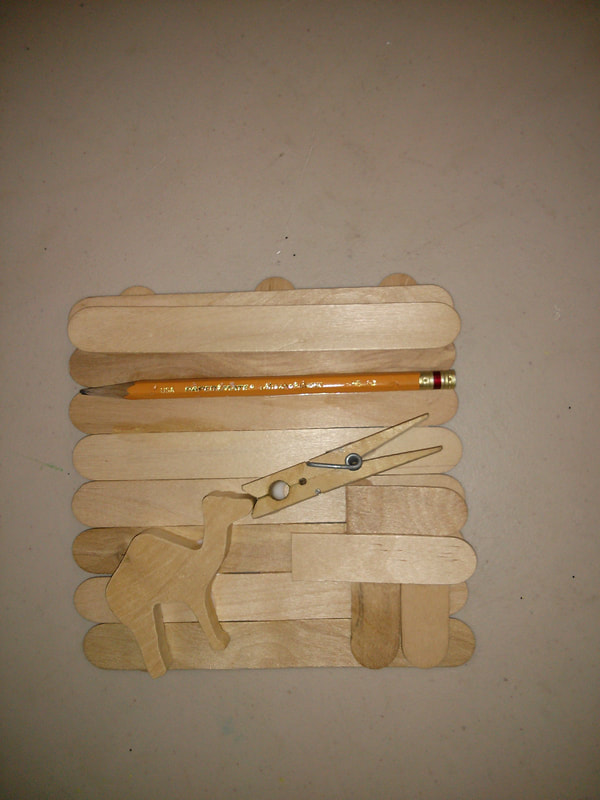
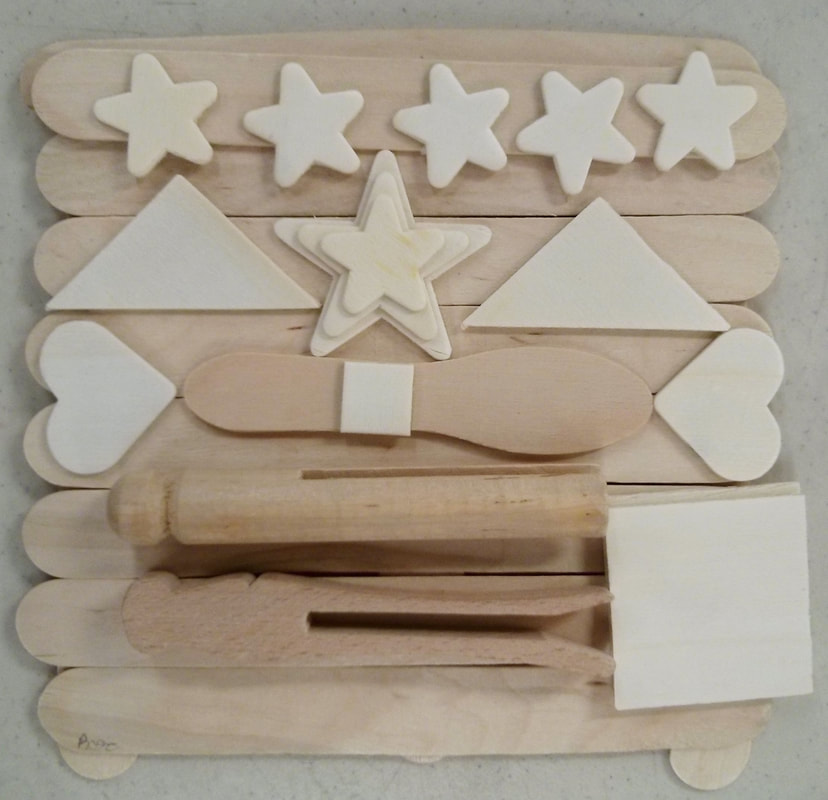
- Start with large craft sticks assembled to create a canvas for the other wood and cardboard pieces.
- Show students how you constructed your sample: placing 2-3 crafts sticks as base and then layering other sticks glued across the 2-3 sticks to make a flat “canvas” to create the project. (see sample)
- Model for students laying different pieces of wood and cardboard out to see what looks best to them. Note that these projects look better with lots of things piled up and pushed together so they no longer look like the original object. Point out how the individual objects that Nevelson used may be recognizable if we look closely to pick them out, but when compacted together, the total effect becomes more abstract, especially when painted all one color at the end. That is what we are going for.
- Once they have placed their pieces where they like them, glue them down.
- This will take overnight to dry.
- If you and the teacher have time, you can come back for a short paint lesson where the students choose one color of paint and paint their project. This would only be a half hour time slot. If there is not time, that is fine.
-pass out glue bottles to students
-pass out craft sticks to students so they can construct their canvas
-have students put their name on the back of a craft stick so that when the finished and dried project is picked up, you can see their name on the back
-when students have constructed their canvas, have them raise their hands to check it and pass out wood and cardboard pieces to make their art project.
-encourage kids to move their wood and cardboard pieces around to see what looks best.
-remind them this is a 3 dimensional project, so they can try reorienting pieces to stand out more.
-once students have their pieces placed have them raise their hand to have parents check it before they glue it down (make sure they don’t have anything on the sides or back, we want to be able to hang these on the wall)
*if there is time another day, bring tempera paint (any color choice you want) and have each student choose one color to paint their project. It should only take a half hour to have students paint.