First Grade
Youtube Video Links -
History - youtu.be/ocQKWTjk6D4 Demo -
History - youtu.be/ocQKWTjk6D4 Demo -
Paul Klee, Patterned Fish
Paul Klee (1879-1940), pronounced CLAY, was part of a group of German Expressionist artists in the early 1900s. Expressionists wanted to use art to express their feelings. Many did this with bright colors that related more to emotion than what something actually looked like in real life. Others distorted or simplified images for their own purposes. Klee did both of those things.
Klee's paintings seem very simple when you first look at them, because this is exactly what he wanted. He wanted them to remind you of children's art, and he wanted to capture some of the "dreamlike magic" of what little kids create. Notice that his shapes are very simple, sometimes almost like stick-figure drawings. The arrangement of the images are sometimes funny or mixed-up, like in a dream. There are also lots of patterns and colors that make the images a little more complex and sometimes make them a bit confusing or mysterious.
Some of his lines look like symbols or primitive cave markings, which for him were used to evoke an earlier kind of power of magic. There is also a lot of intense color. So what do you think Klee is trying to express? In this first painting ("Sinbad the Sailor") above, what do you see? Why are the fish so large and so elaborately colored and patterned? Does it make it look more real or more imaginary? Notice the background pattern of squares of different colors--what do you think they suggest? Is the blue area supposed to be water? What about the white squares in the blue? And the darker colors? Maybe in a cave? Other ideas? What is Sinbad wearing on his head? What does that suggest about him? There are no specific answers here--just let the kids talk about what they see and feel when looking at the painting.
Some of his lines look like symbols or primitive cave markings, which for him were used to evoke an earlier kind of power of magic. There is also a lot of intense color. So what do you think Klee is trying to express? In this first painting ("Sinbad the Sailor") above, what do you see? Why are the fish so large and so elaborately colored and patterned? Does it make it look more real or more imaginary? Notice the background pattern of squares of different colors--what do you think they suggest? Is the blue area supposed to be water? What about the white squares in the blue? And the darker colors? Maybe in a cave? Other ideas? What is Sinbad wearing on his head? What does that suggest about him? There are no specific answers here--just let the kids talk about what they see and feel when looking at the painting.
The Project
Prep – 45 min.
Print – Paul Klee, Sinbad the Sailor
The Goldfish
Materials
8 x 11 white construction paper, 1 per student, folded lengthwise (in half, then in thirds) to make 6 invisible lines to write their names on
Print – Paul Klee, Sinbad the Sailor
The Goldfish
Materials
8 x 11 white construction paper, 1 per student, folded lengthwise (in half, then in thirds) to make 6 invisible lines to write their names on

Materials, cont.:
9 x 12 black or dark blue construction paper, 1 per student to mount the main page to
9 x 12 or white paper (for fish), 1 per student (could also use 8-1/2 x 11 printer paper)
Marking pens
Liquid watercolor (2-3 colors)
Large paint brushes
Crayons (students have their own, but taking some extra boxes is a good idea)
sequins
Glue bottles
Lesson
- Show students print and ask them what they see? Discuss colors, line, and shape.
- Show students your sample art project that you made!
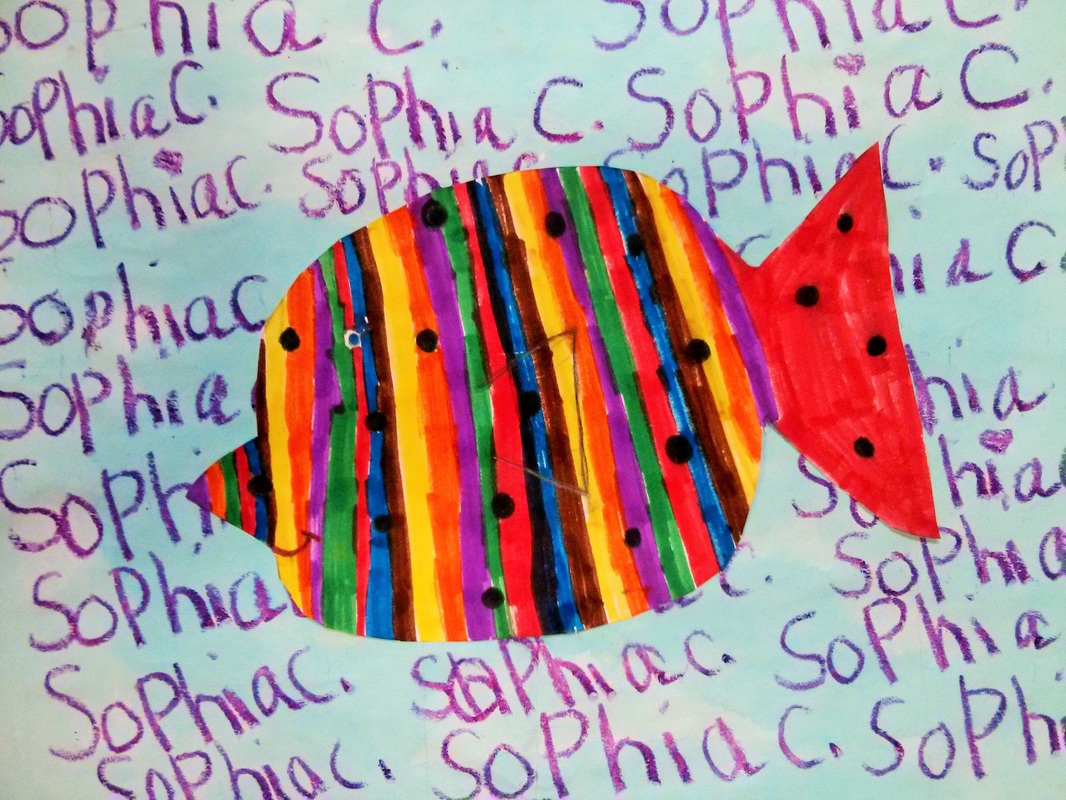
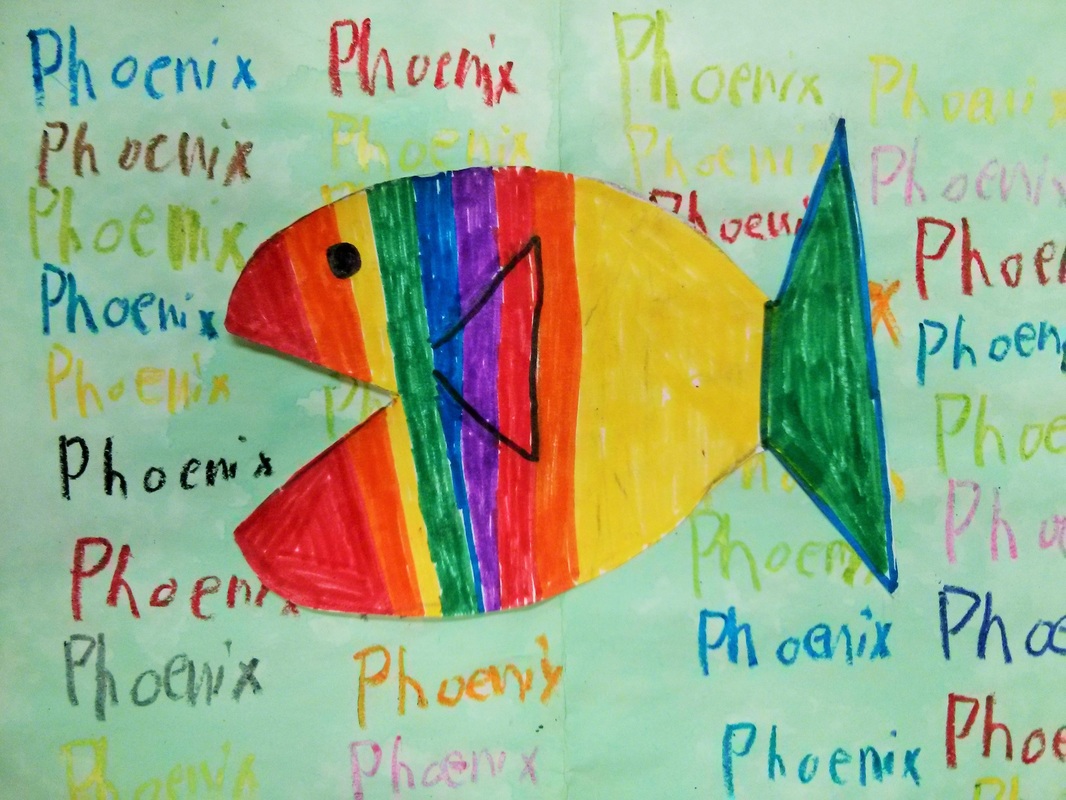
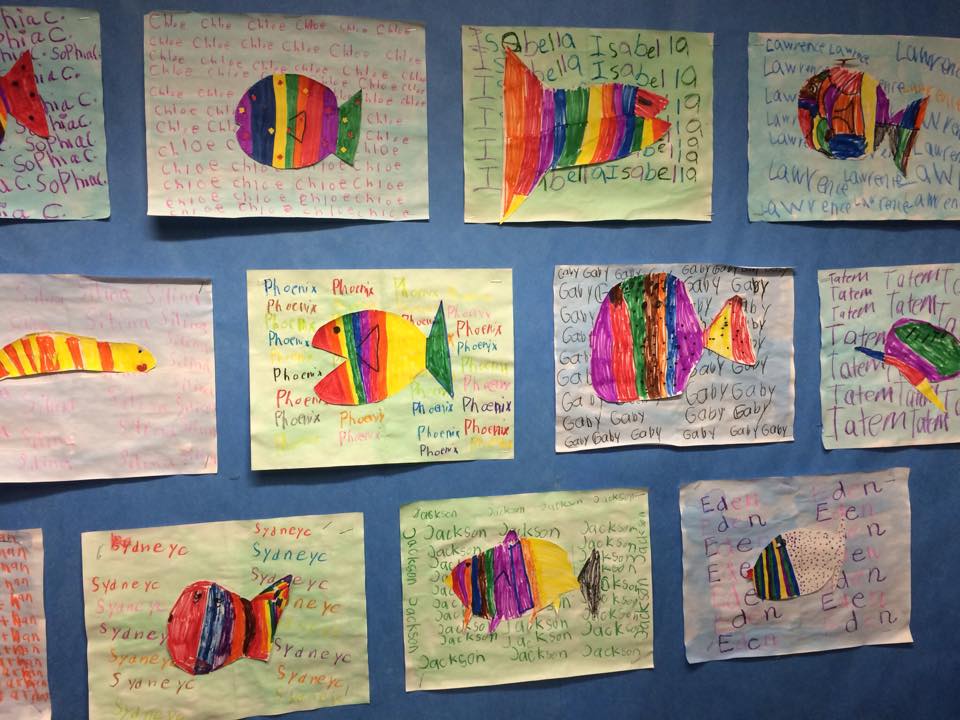
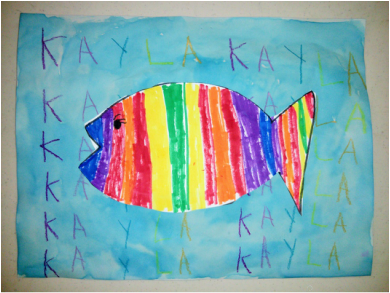
- Explain the first part of this 2 part project: first write name in pencil on back of paper, then use lines to write your name in crayon across paper. The names should be written large, filling up the spaces of the folded lines. Model this step for students so they can see to write their name nice and big, over and over, until the page is filled up.
- Next they will choose one color of watercolor paint to brush over the whole page, including their crayon names. This is what is known as a wax resist project with a watercolor wash – wax resist is crayon (wax) will resist the watercolor and not let it sit on it. Watercolor wash is when you paint an area with one color of watercolor, washing it in that color.
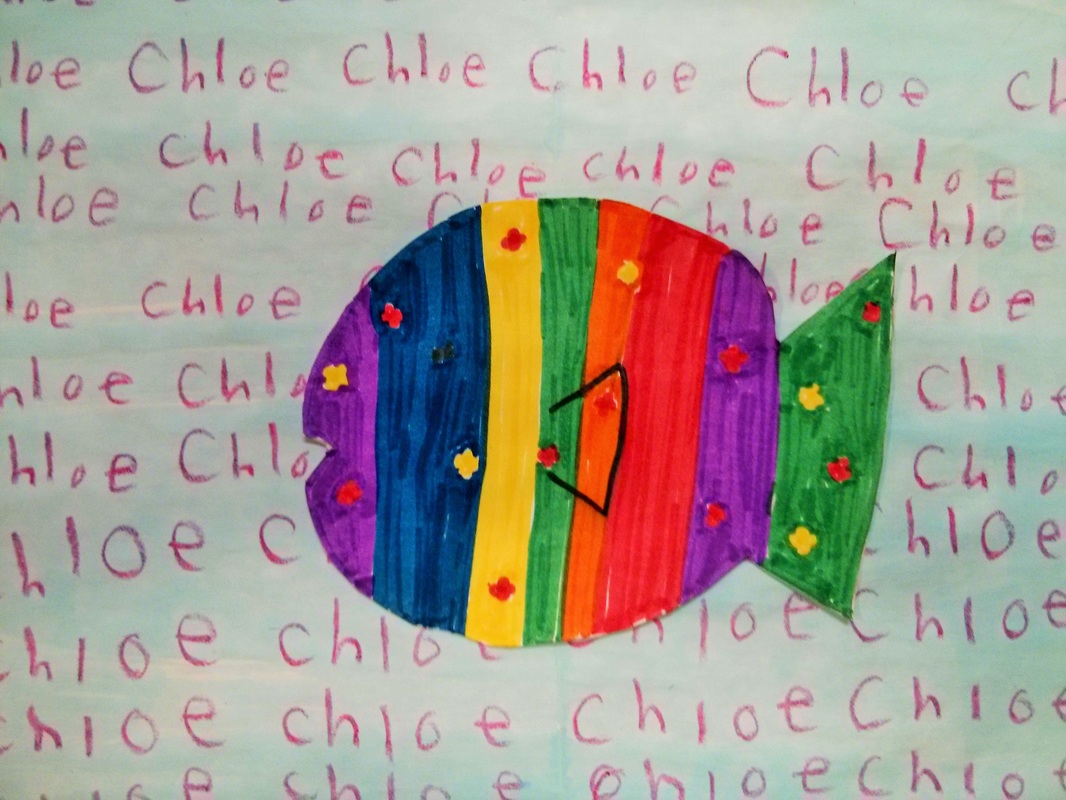
- Time to talk about the second part of the project – creating their own unique fish. Ask students what does a fish have? Fins, body, mouth, eyes, scales. Draw some basic fish body forms on the white board (paper in lesson folder for help). I find this really helps the students have a jumping off point for how to create their own fish. Don’t worry about how your drawings look, we want these to be fun and quirky!
- Model for students a quick drawing of a fish on the 9 x 12 paper with black markers. Draw contour lines (outside lines) with black marker and designs.
- Explain to students, as you show them your sample, that they will color in all their designs with different colors to have a very colorful fish.
- Remind them to draw fins, eyes, and a mouth!
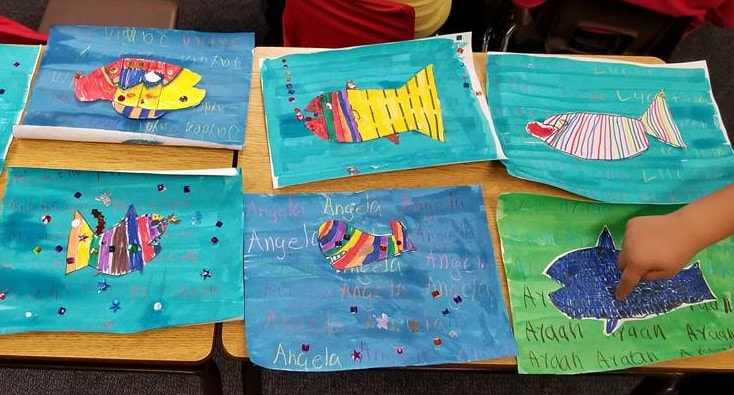
- When they are done with their fish they will cut it out and glue it on their watercolor wash/name background (watercolor wash should be dry by now, but it can be glued on anyways).
- If you have some early finishers and there is time, they can glue on some sequins to their fish with glue bottles (dot, dot, not a lot).

Art Project
-pass out 9 x 12 paper, have students put name on back and start using their invisible lines to write their names in crayon across paper, filling it up
-have students raise their hands when they are done and parent volunteers can ask them what color watercolor they want to wash their artwork in and give it to them.
-parent volunteers can then collect watercolor and give to other students to use, collect when they are done (no spills = happy teacher)
-set watercolor wash paper aside on their desk and pass out 9 x 12 paper for students to start their fish
-pass out markers (students can share markers and should have their own crayons if they want to use them)
-have students raise their hand when they are done with their fish to see if it is complete, all lines outlined in black and all areas colored in with marker or crayon.
-if they are done with their fish, have them cut it out and glue it on watercolor background and embellish with sequins if time permits.
Clean Up
-have parent volunteers wash out watercolor containers and brushes and leave to dry on the counter in the Art room