second grade
Youtube Video Links -
History - youtu.be/ZLBQHQ4y6HE Demo -
History - youtu.be/ZLBQHQ4y6HE Demo -
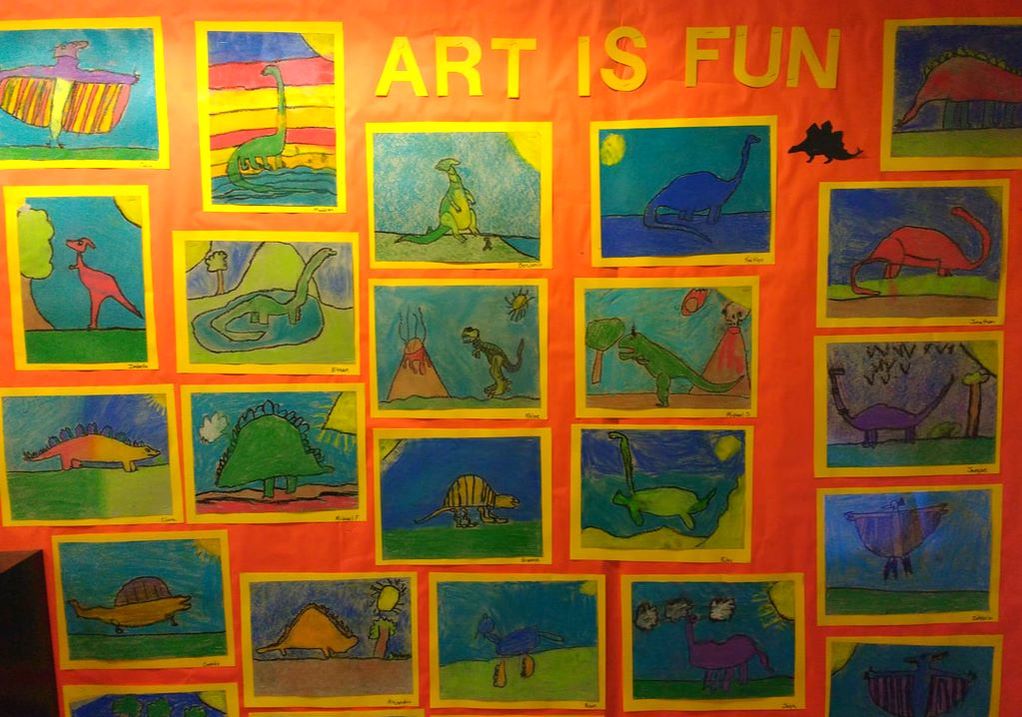
Dinosaur art
When Charles Knight (1874 – 1953) was young, he loved copying pictures of animals from his father's natural history books. He had very bad eyesight and had to wear special glasses to see at all, but in spite of that handicap, he studied to become an artist, and was soon busy drawing illustrations for books. In his free time, he loved to visit the American Museum of Natural History, and he studied the fossils and other bones on display there. One day, the museum asked Charles Knight to create an illustration of a prehistoric pig, whose fossilized bones were on display. Knight used his knowledge of pig anatomy, plus his observation skills as an artist, to create that image. The museum was so happy with the picture that they asked Knight to paint many, many more illustrations of prehistoric creatures, most notably dinosaurs!
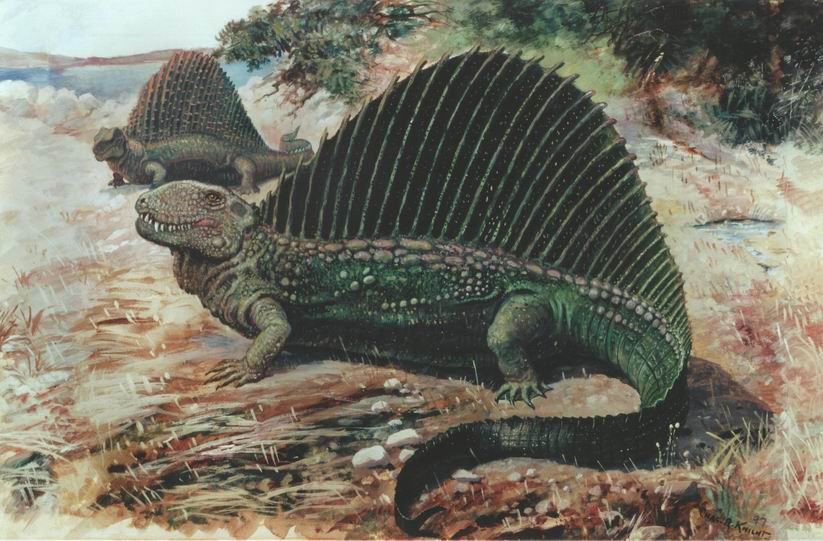
Charles R. Knight, Dimetrodon and Edaphosaurus
Charles Knight's images became popular in museums all over the country, as well as at zoos, and in books and magazines about dinosaurs and other prehistoric creatures. Whenever he could, Knight based his dinosaur illustrations on the latest fossil findings and scientific understanding, but he worked at a time when so many new discoveries were found that the world's understanding of prehistoric life was changing, so sometimes he just had to use his imagination. Some books still use his illustrations today because he did such a good job helping us visualize and understand dinosaurs better.
The Project


Prep
– 30 min (included making sample)
Print –
Materials
9 x 12 piece of grey construction paper per student
Oil pastels
Chalk pastels
Dinosaur books (We have 3 dinosaur books in the 2nd grade file cabinet, teachers usually have additional dinosaur books as well, ask them to have them out before you come)
Lesson
-give the students some time to look over the different dinosaur book and you can also put the dinosaur paper with pictures on it on the overhead for students to see.
-once students decide what dinosaur they will be drawing you can pass out paper to students
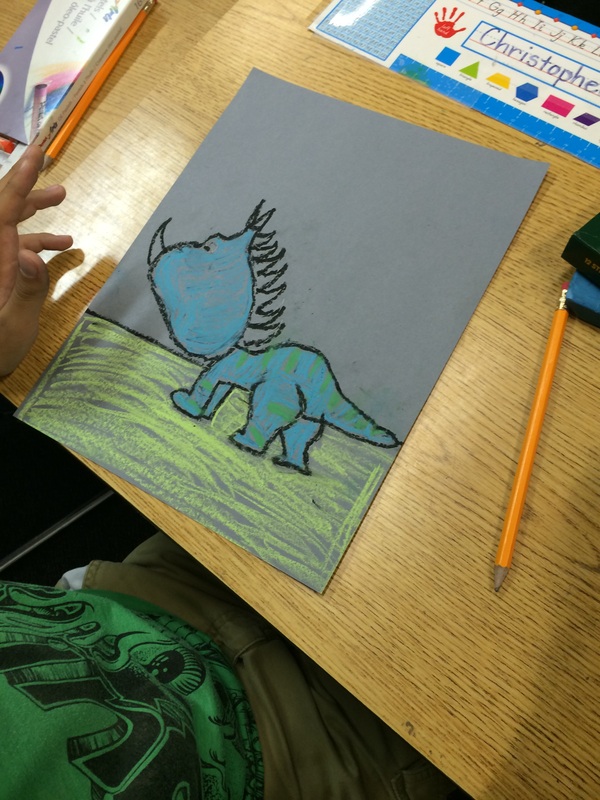
-students can use their paper vertically or horizontally, whichever way works for their dinosaur
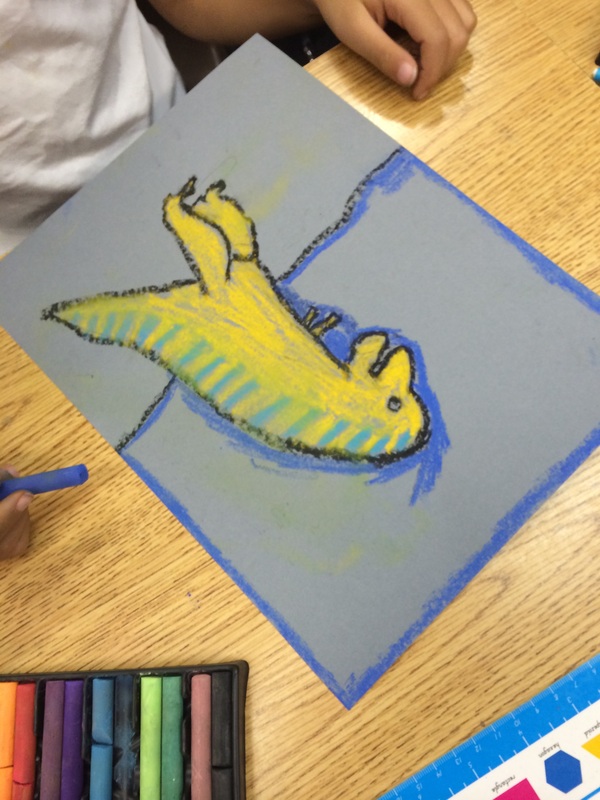
-have students draw their dinosaur first
-after they have drawn their dinosaur have them raise their hand so a parent volunteer can make sure they have the ground line, dinosaur and are ready to get their chalk to color in their drawing
-give students a small square of paper towel (in class, near sink) to rub and smear their colored chalk
- When students are done, have them put pictures in back of class
-if time permits, parent volunteers can take the chalk drawings outside and spray them with hair spray. This helps the chalk not come off or smear more.
-students will want to wash their hands, I only let them wash hands when they are completely done
Print –
Materials
9 x 12 piece of grey construction paper per student
Oil pastels
Chalk pastels
Dinosaur books (We have 3 dinosaur books in the 2nd grade file cabinet, teachers usually have additional dinosaur books as well, ask them to have them out before you come)
Lesson
- Show students print and discuss it.
- Show
students your sample that you made.
- Explain
how you looked at different pictures of dinosaurs and drew one of the ones
you liked.
- Show
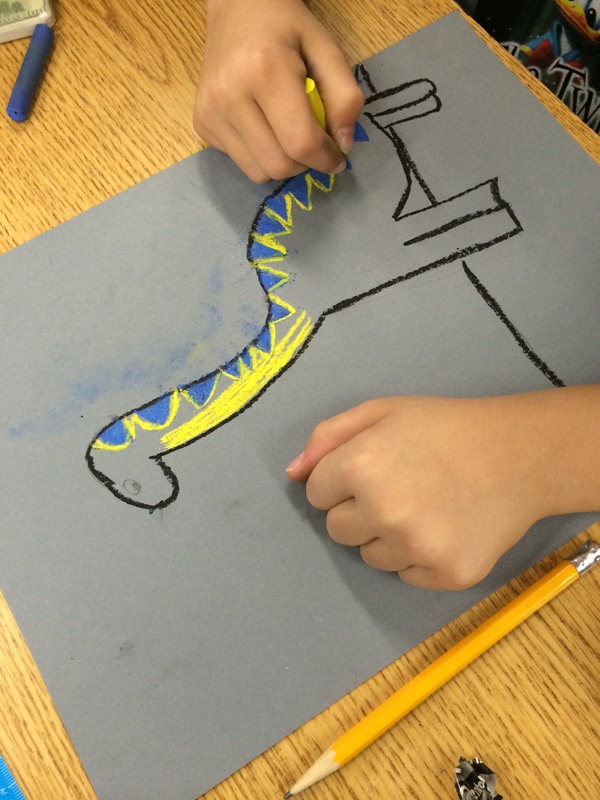
students how they can draw their dinosaur with a black oil pastel.
- Model
how to use the chalk pastels. They will
color in their dinosaur with chalk pastels.
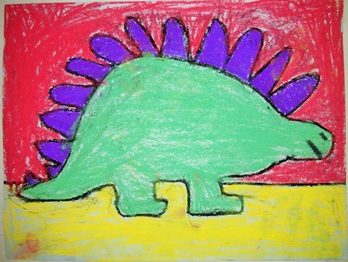
- Chalk
pastels are a little messy, but can be rubbed to get good color coverage. Model this for students on a piece of paper.
- Show
students how to make a line towards the bottom of their page going from one
side to the other side to have the dinosaur on the ground.
- Show
students that they need to color the sky a different color than the ground.
- Remind
students to put their name on the back of their paper.
-give the students some time to look over the different dinosaur book and you can also put the dinosaur paper with pictures on it on the overhead for students to see.
-once students decide what dinosaur they will be drawing you can pass out paper to students
-students can use their paper vertically or horizontally, whichever way works for their dinosaur
-have students draw their dinosaur first
-after they have drawn their dinosaur have them raise their hand so a parent volunteer can make sure they have the ground line, dinosaur and are ready to get their chalk to color in their drawing
-give students a small square of paper towel (in class, near sink) to rub and smear their colored chalk
- When students are done, have them put pictures in back of class
-if time permits, parent volunteers can take the chalk drawings outside and spray them with hair spray. This helps the chalk not come off or smear more.
-students will want to wash their hands, I only let them wash hands when they are completely done