Fourth grade
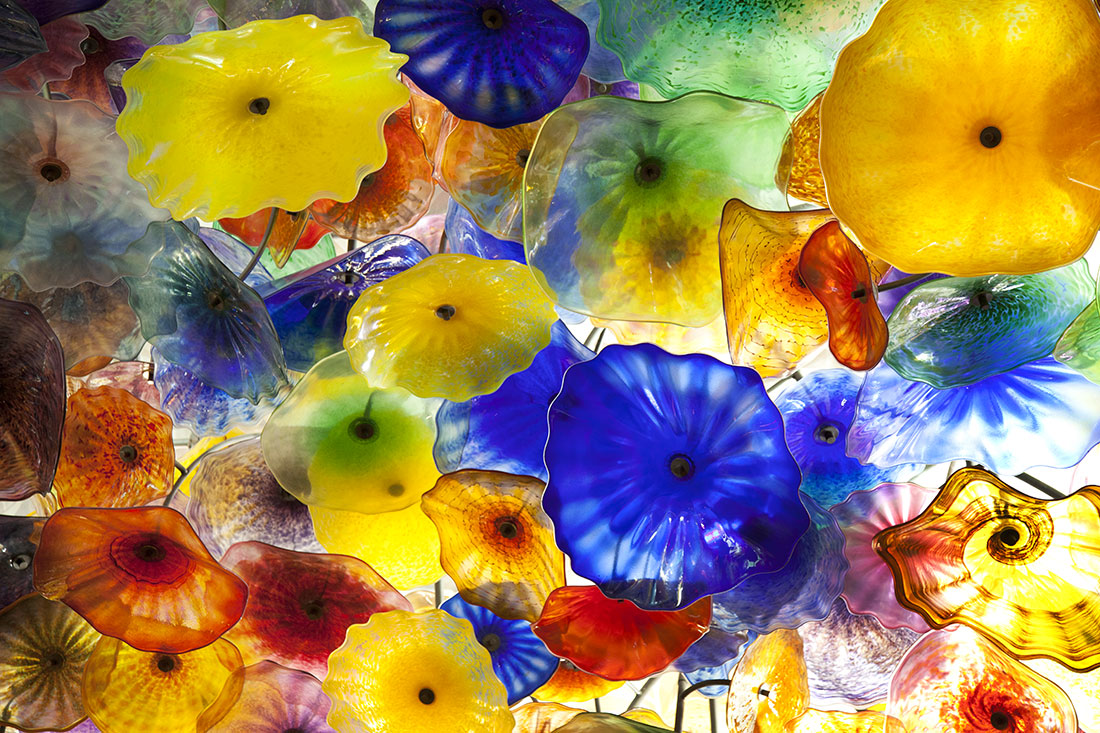
Chihuly ceiling
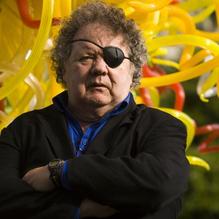
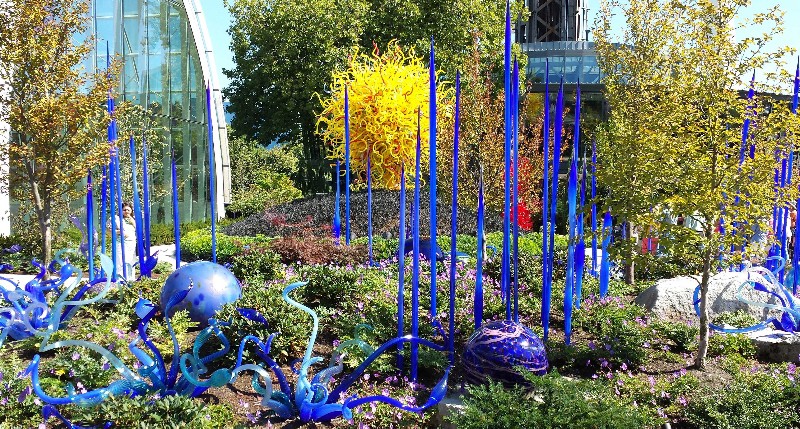
Dale Chihuly (chi-who-ly) is an American glass artist from Tacoma, Washington (b. 1941). The eye patch he wears is because of a car accident where the smashed windshield cut his left eye and caused him to lose sight in that eye. That accident changed the way he worked with and thought about his art, and, in a way, spurred him to experiment more and make bold choices. As a result, his colorful, ORGANIC glass creations are so eye-catching and innovative that they have made the world remember what a wondrous and versatile artistic medium glass is. (Organic means that the shapes are based on living things in nature [as opposed to regular GEOMETRIC shapes].)
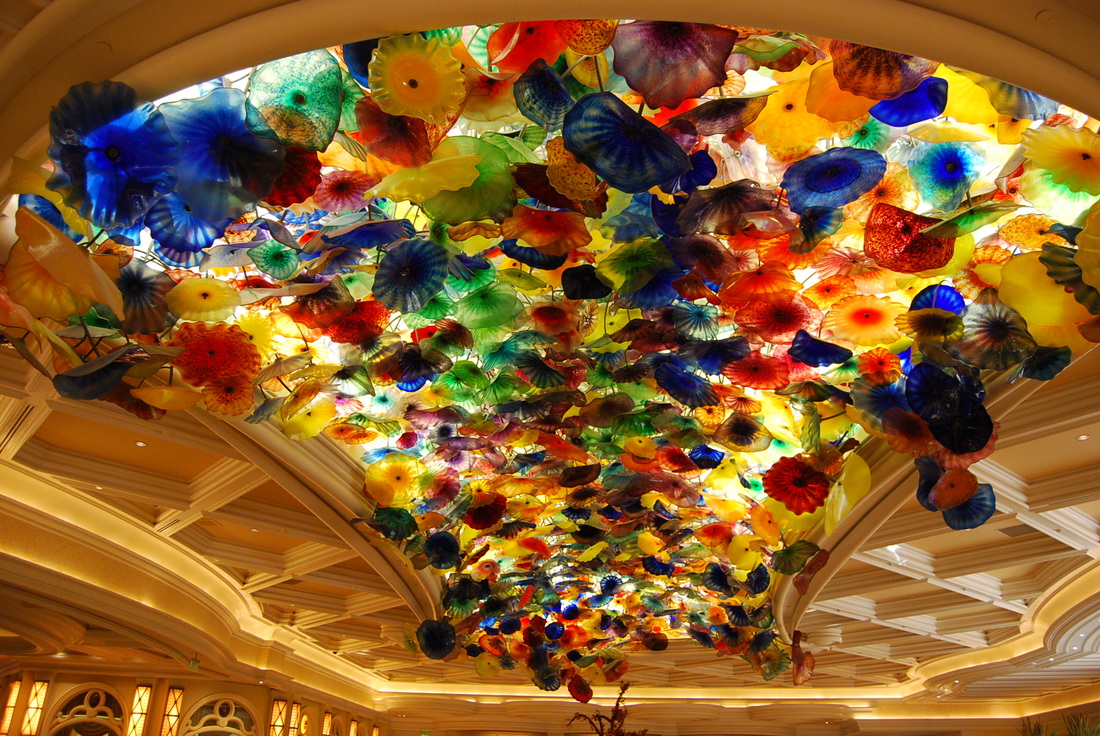
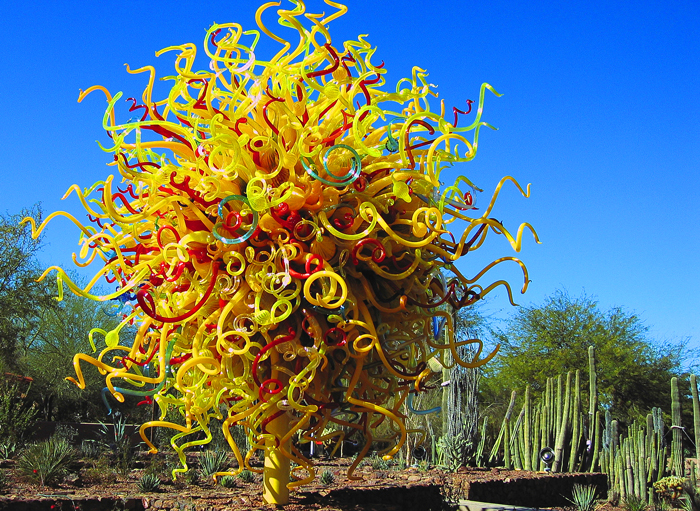
Chihuly says he was drawn to glass because of the way light passes through glass and how the colors will appear different depending on how the light interacts with them. He also likes how glass is such a durable medium, and yet it is at the same time very fragile and breakable. He says: "Glass has the ability, more than any other material, to bring joy and a certain happiness to people." I think it is hard not to be happy when looking at his bright and colorful installations. His experiments with color and glass have led to an extremely wide range of patterns, colors and textures. When asked about his favorite color, Chihuly responds that he doesn't have a favorite color because "I never met a color I didn't like." He also likes grouping multiple glass creations into series, creating large scale installations, both indoors (like on the ceiling of the Bellagio Hotel in Las Vegas above) and outdoors, as he increasingly creates integrated botanical garden exhibits.

| dale_chihuly.pdf |
Art Project
Materials
-Styrofoam bowl for each student (large size)
-colorful paper scraps from the scrap bin
-decoupage glue
-small bowls or cups to distribute glue to each student
-large paint brushes
*NOTE: This project will benefit from having more, rather than fewer, parent helpers in the classroom assisting the students.
Art Lesson
As you talk to the students about Chihuly's art and show them pictures of his vibrant glass creations, encourage them to discuss what they see and what they think about the art works: what shapes do the glass forms remind them of? what title would they give to the work? Why do they think light is such an important component of the works? Have them consider how outdoor pieces will look different at different times of the day or seasons of the year.
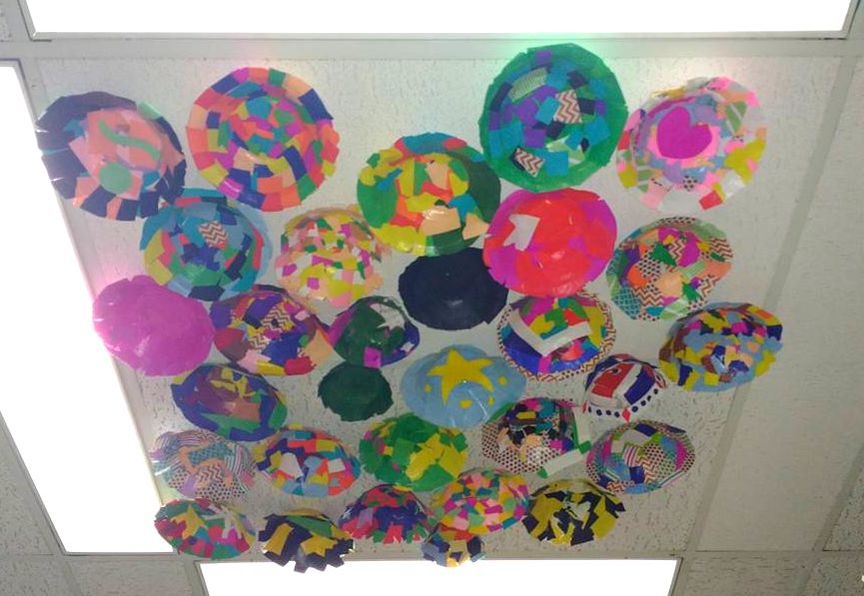
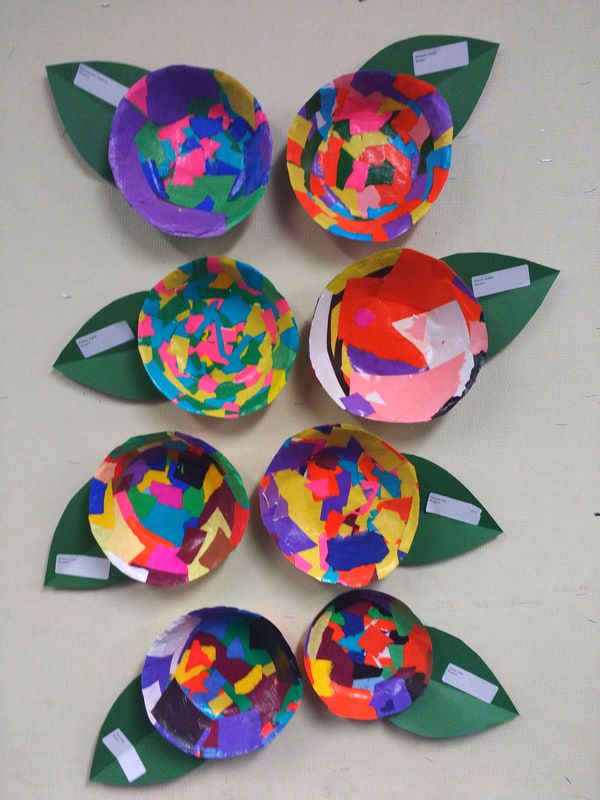
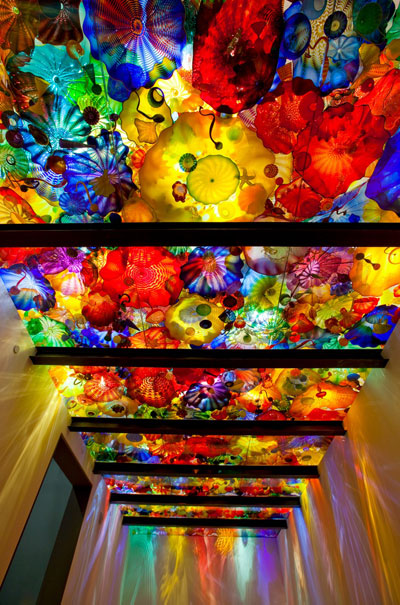
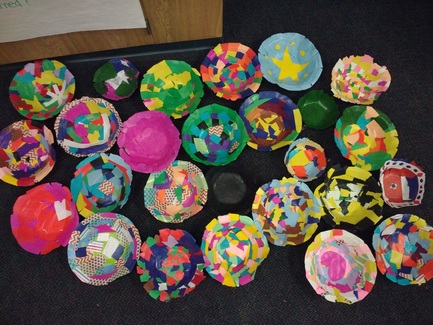
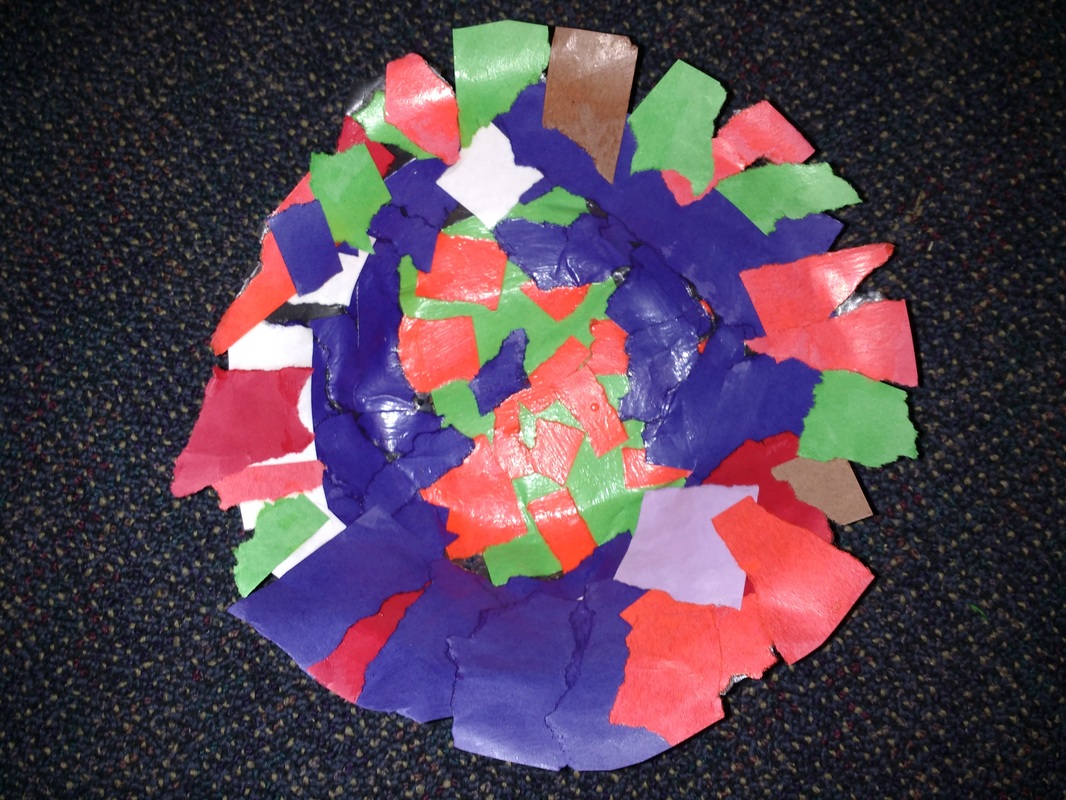
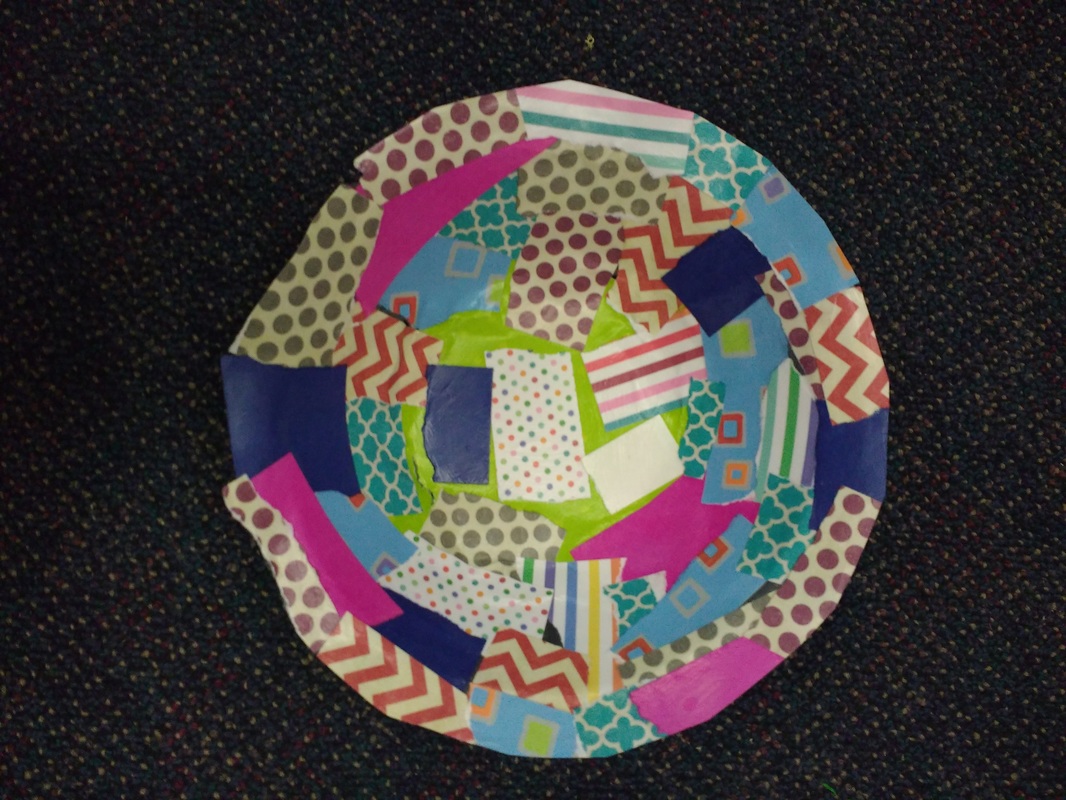
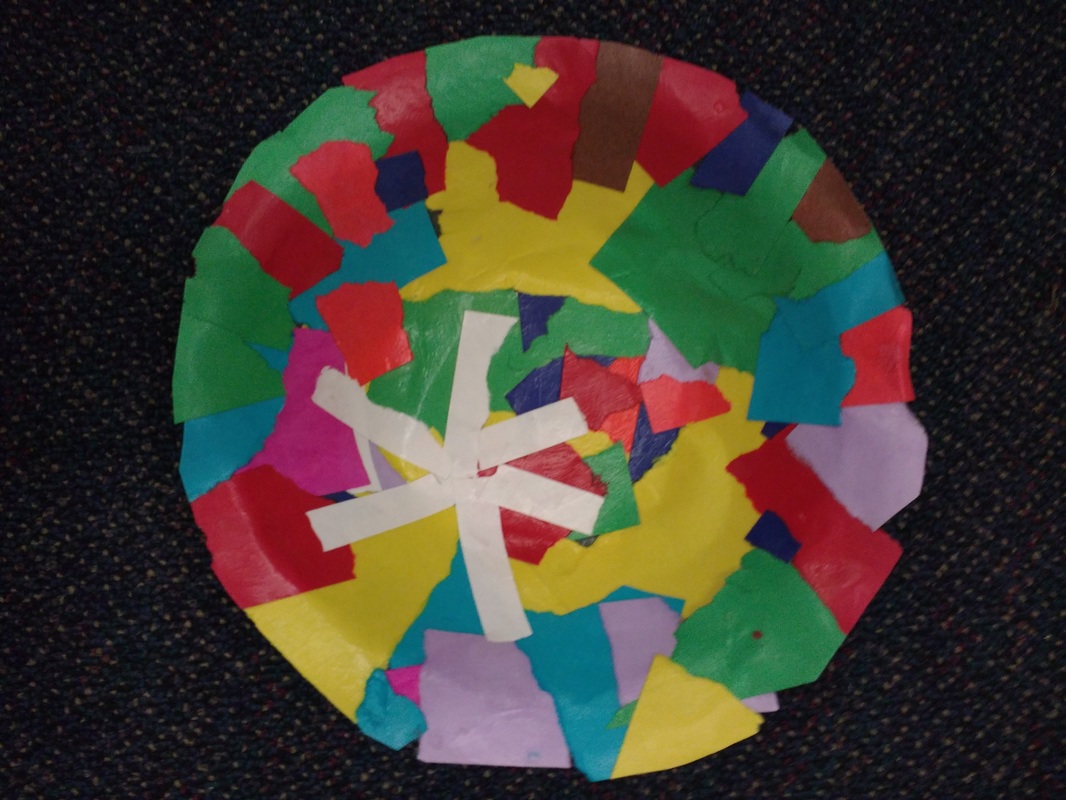
Tell the students that today they will be making colored bowls or flower-shaped forms like the ceiling installation in Las Vegas. They won't be using actual glass, but the glossy decoupage glue and the colored papers that they choose will mimic the bright, shiny artwork by Chihuly. Hopefully you can install the finished pieces in a grouping on their classroom ceiling (they should be light enough that a push pin should hold them up)!
-Styrofoam bowl for each student (large size)
-colorful paper scraps from the scrap bin
-decoupage glue
-small bowls or cups to distribute glue to each student
-large paint brushes
*NOTE: This project will benefit from having more, rather than fewer, parent helpers in the classroom assisting the students.
Art Lesson
As you talk to the students about Chihuly's art and show them pictures of his vibrant glass creations, encourage them to discuss what they see and what they think about the art works: what shapes do the glass forms remind them of? what title would they give to the work? Why do they think light is such an important component of the works? Have them consider how outdoor pieces will look different at different times of the day or seasons of the year.
Tell the students that today they will be making colored bowls or flower-shaped forms like the ceiling installation in Las Vegas. They won't be using actual glass, but the glossy decoupage glue and the colored papers that they choose will mimic the bright, shiny artwork by Chihuly. Hopefully you can install the finished pieces in a grouping on their classroom ceiling (they should be light enough that a push pin should hold them up)!

Instructions
NOTE: you may want to bring newspaper or disposable plastic table coverings to make for an easy cleanup from the inevitable glue drippings.
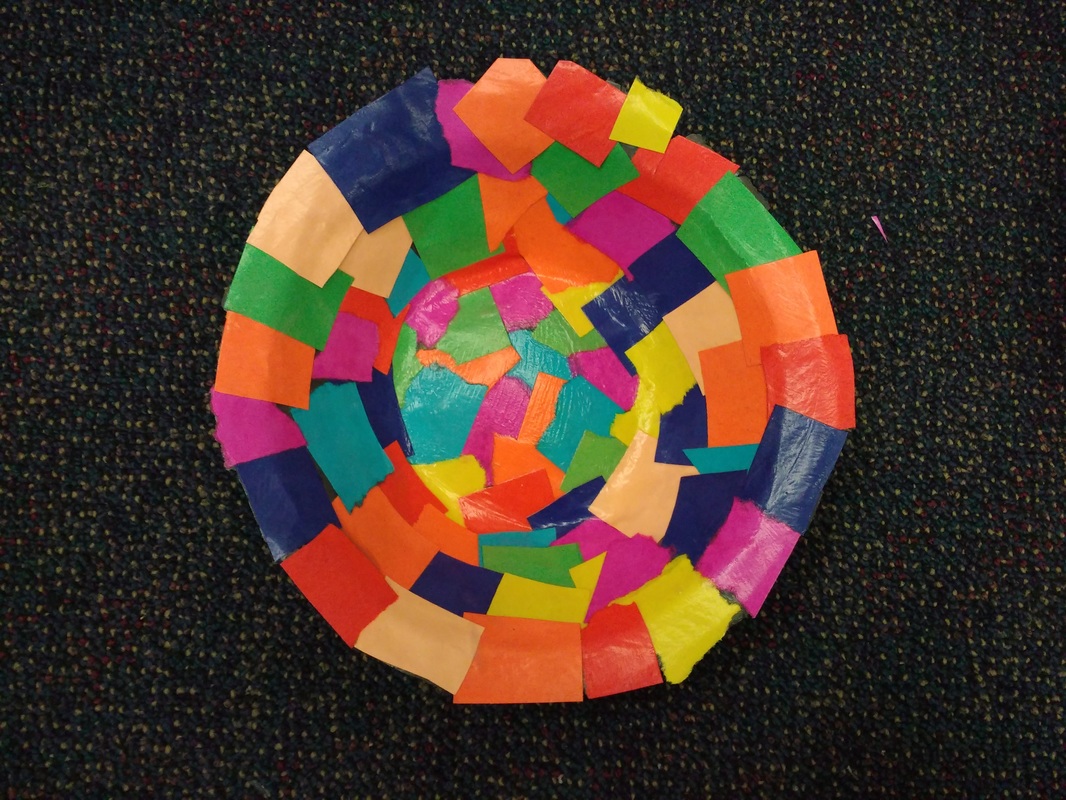
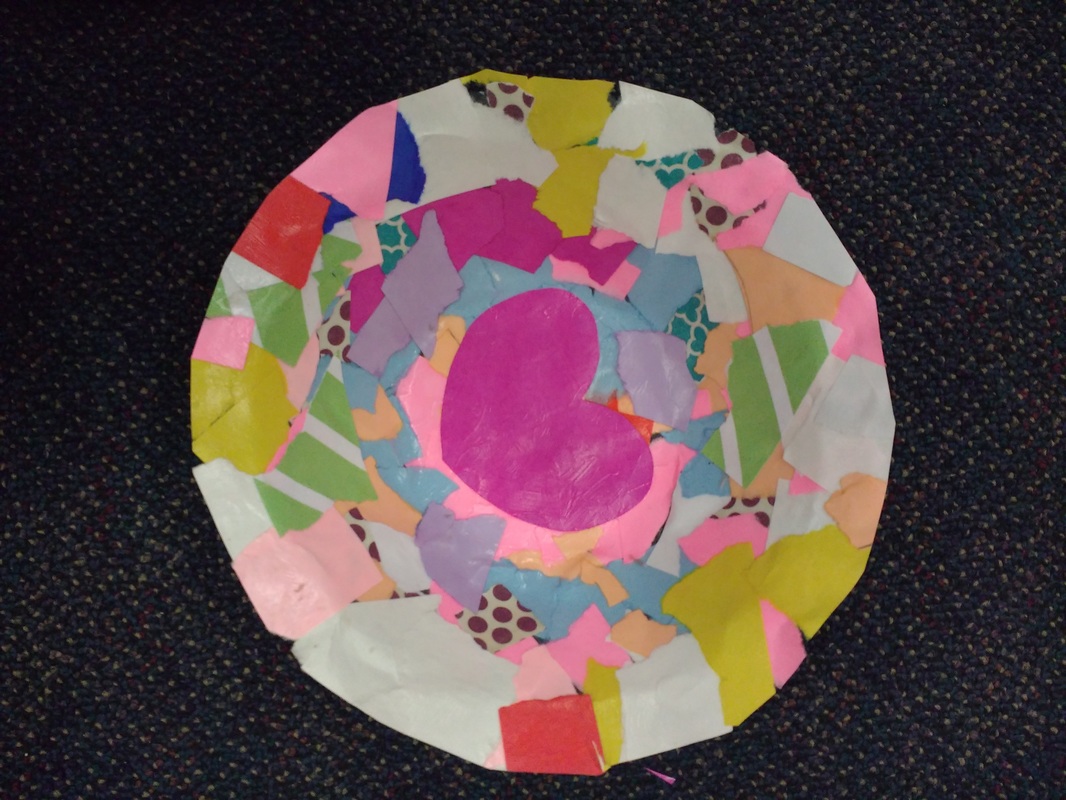
1. Have the students gather scraps of construction papers in colors that they think will look good together. They should consider if they want a random pattern of colored blotches, or perhaps a single colored background with some designs on top. Or something else. It's up to them!
2. Tear (or cut, if they insist) the paper scraps into smaller pieces, as large ones won't conform to the shape of the bowl easily. But NOT too small. 2 or 3 inches should be about right. It is easier to have a small pile of their pieces torn and ready to go, instead of tearing as they go (that gets messy as their hands will get gluey).
3. Have them write their name on one scrap of paper that will go on the bottom of the bowl. Make sure the name is facing down in the bowl when they glue it in (the paper bowls will be lifted from the Styrofoam bowl when they are dry, so the name should be visible on the back).
4. The gluing process involves "painting" both sides of the paper scrap with glue. They should hold the scrap by the corner and use the paint brush dipped in the decoupage glue (careful - not so much that it is dripping) to "paint" one side of the scrap with glue. Place the glued side face down in the bowl. Now use the brush to paint the top side while it is in place in the bowl. Don't worry about paint getting on the bowl. When everything dries, you should be able to peel everything away with very little problem.
Put the paper with the student's name on it first in the bottom of the bowl (name side down). Then keep adding strips or scraps of paper until the whole bowl is covered. Watch the students so they don't pile up their scraps all in one place and so that they are overlapping enough that there won't be any major holes (tiny holes should be fine, if that's how it ends up). Make sure they add paper all the way up over the edge of the bowl! The scraps should hang over the edge in a haphazard manner--they will be trimmed when it is dry.
KEEP REMINDING students that both sides of their paper scrap must be painted with glue. Paint one side, place it in position in the bowl, then paint more glue on top of it! Some students will want to just paint the bowl with glue, but this only works to a point. Once you start layering paper scraps, portions of the papers will inevitably not get glued down.
WATCH the students to make sure they are using enough glue, but also not TOO much glue.
5. Once all the papers have been collaged into the shape of the bowl, students can add any other details with contrasting colors or shapes, if desired. Remind them not to add too many layers because we want them to stay light enough to hang from the ceiling.
6. When they are satisfied with their design, have them coat the entire bowl again with a final layer of decoupage glue. They can use their fingers to push down any bumps or edges that need finessing. This is a very IMPORTANT step. Have the parent helpers check for dry spots when the students say they are done. Having a thorough last coating of glue will help hold things together if the students were not diligent in gluing every surface as they went along.
7. Set the bowls aside to dry, either on their desks if it is the end of the day, or in a corner of the room, as the teacher directs. Alternatively they could be taken back to the art prep room to dry.
8. Collect the brushes to be cleaned in the art prep room with soap and water (or brush cleaner). Have the students wash their hands thoroughly, scrubbing to get any glue residue off. As the glue dries on their hands, it may be easier just to peel it off!
*Please make sure the brushes get a thorough cleaning before you leave them to dry. If the glue dries in the bristles, they may become impossible to clean later.
9. The projects will be dry by the next day. The students and teacher can do this last step on their own, but it's probably best for you to return to do it. First use scissors to trim the outer edges of the bowl. Then carefully pry the paper away from the Styrofoam. Some areas may require a little tugging (try to get your fingers under the tough spots to avoid tearing holes), but it should all come away fairly clean. Hopefully the name of the student should be visible on the bottom of the bowl. If not, use Sharpie to write on their name again.
10. Use push pins to hang the finished art on the ceiling. T-pins worked well for me. Of course, they will also look lovely grouped on a wall as well.