Sixth Grade
Greek Vases
The ancient Greeks were great artists. They wrote and acted out plays, composed music, recited epic stories, wrote poems, created sculptures, and painted pictures. In fact, there are many reports from the time about how wonderful and realistic their paintings were. Unfortunately, not a single painting has survived to this day! But if we want to get a small idea of what Greek painting might have been like, we can look at their decorated vases, of which over 100,000 have survived.
The Greeks LOVED vases. Vases came in many shapes and sizes and were not only practical to store liquids such as oils and wine, or other food like grains, but they used them to commemorate special events, as funeral markers, and as prizes for sports events!
The Greeks LOVED vases. Vases came in many shapes and sizes and were not only practical to store liquids such as oils and wine, or other food like grains, but they used them to commemorate special events, as funeral markers, and as prizes for sports events!
|
The earliest Greek vases are known as Geometric vases (about 900-700 BC) because they are mainly covered with repeating designs and motifs with sharp, geometric regularity. Sometimes they also included simplified figures of humans or animals, but those figures are more abstract than realistic pictures, and sometimes they seem just like stick figures. Even though the patterns might be simple by themselves, sometimes these simple designs fill the vases with beautiful complexity.
|
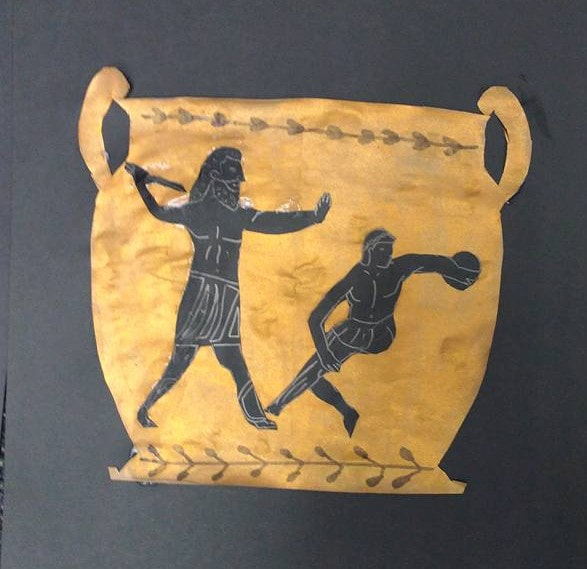
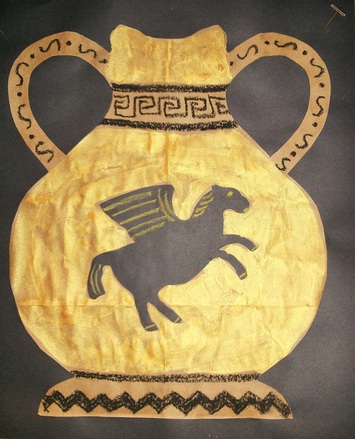
It is in later Greek vases that we start to see some wonderful figure painting with more and more realism. These are mainly of two kinds: Black Figure vases feature red vases with black designs, and Red Figure vases are the opposite: black vases with red figures and designs. The difference is in the way the color is either painted on top or cut through (the clay is red). Because vases were so popular, large pottery workshops were established to create the many pots and designs. They were headed by both a master potter and a master painter because they needed to work closely together on the firing techniques.
The designs on the vases would often depict scenes from well known Greek stories about their gods and goddesses, heroes, battles and even athletes. Many also included animals like horses, sea creatures like dolphins, or even mythological monsters. They would combine these wonderful images with more of the detailed geometric patterns that continued to be popular.
The designs on the vases would often depict scenes from well known Greek stories about their gods and goddesses, heroes, battles and even athletes. Many also included animals like horses, sea creatures like dolphins, or even mythological monsters. They would combine these wonderful images with more of the detailed geometric patterns that continued to be popular.
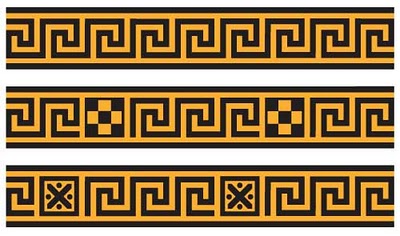
Greek Key design
| greek_vases.pdf |
The Project
Prep - 45 min (includes time to make sample)
Materials
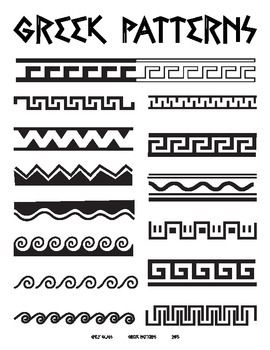
-handout of vase shapes and Greek design patterns
- brown craft paper
-scissors
-gold tempera paint (to coat vase), if desired
-paint brushes
-paint palettes
-4.5 x 6" piece of black construction paper per student
-oil pastels (use black and maybe yellow or white)
-black sharpies
-scratch paper to practice Greek key and other design patterns
-glue
-large sheet black construction paper for mounting finished vase
Lesson
1. Show students pictures of Greek vases and talk about their significance. Discuss designs and figures on vases.
2. Show students your sample and discuss how you created it.
-fold piece of brown paper in half
-draw half of vase on one side, cut out
-paint a light coat of gold tempera paint over vase (optional)
-let dry
-draw a figure on the black construction paper, cut out
-add detail with oil pastels
-glue to center of vase
-use black oil pastel or sharpie to draw line designs on vase, making sure to use some of the Greek motifs and patterns (use scratch paper to have the students practice these designs first - the Greek key pattern especially)
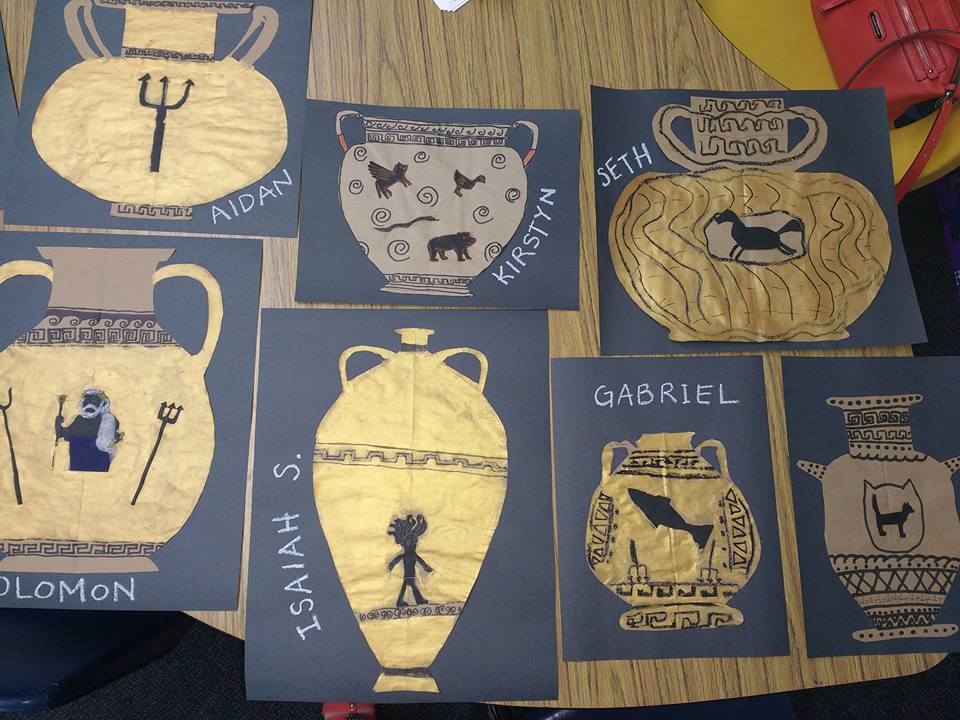
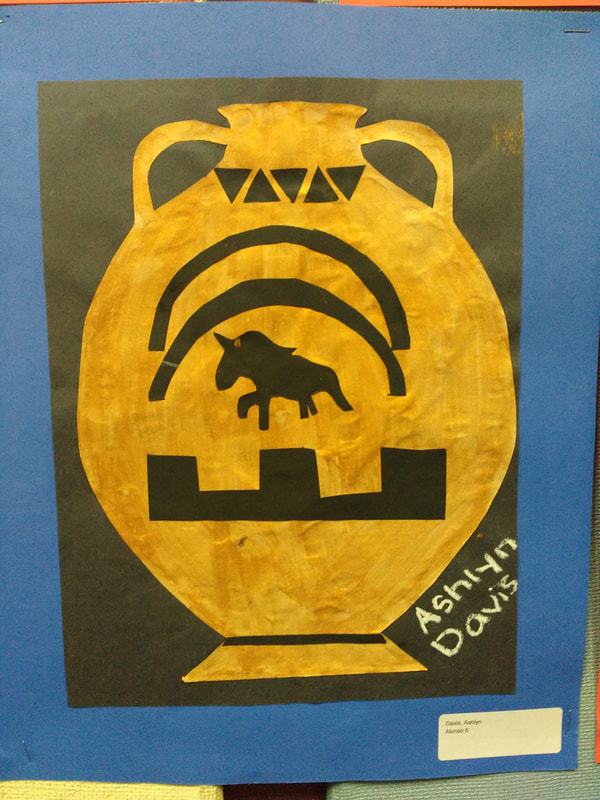
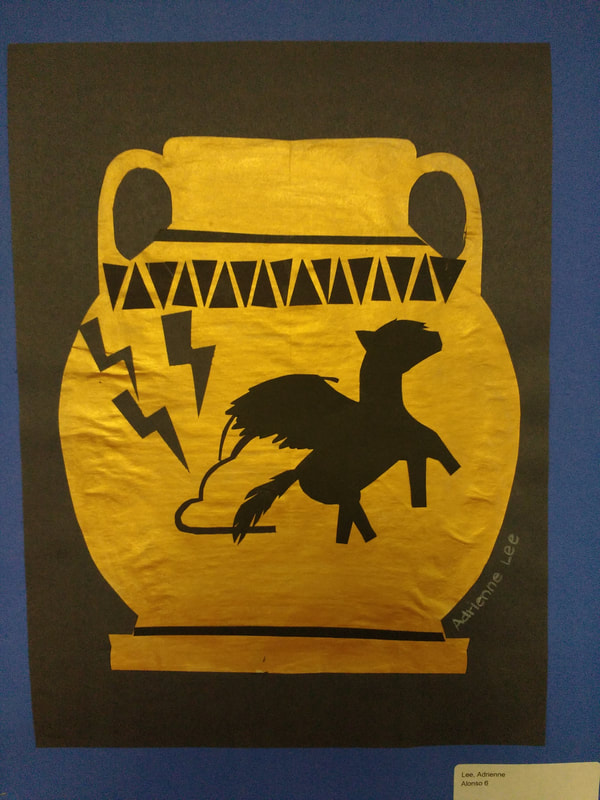
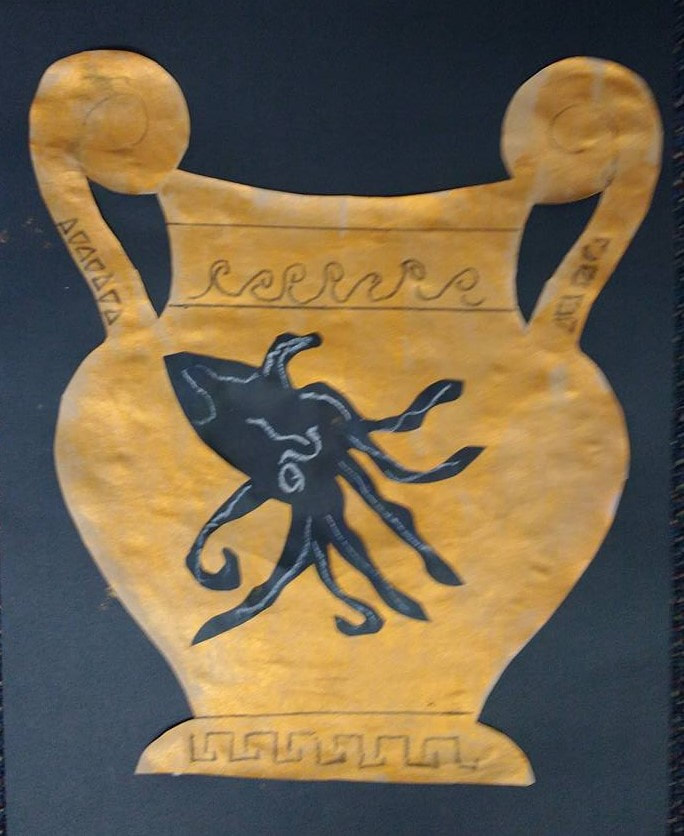
Art Project
-pass out brown craft paper
-show students different vase shapes on computer overhead
-have students draw their vase on the folded in half craft paper
-cut out vase
-paint a light wash of gold tempera over vase, set aside to dry
-draw figure on black paper
-cut out and add details with oil pastels
-glue to center of vase
-draw line detail with black oil pastels or sharpie on vase
- glue vase to black paper
-put name on back or front, as desired
-have students turn in all art supplies and have a parent helper put them away in the art room
-wash out paint brushes
Materials
-handout of vase shapes and Greek design patterns
- brown craft paper
-scissors
-gold tempera paint (to coat vase), if desired
-paint brushes
-paint palettes
-4.5 x 6" piece of black construction paper per student
-oil pastels (use black and maybe yellow or white)
-black sharpies
-scratch paper to practice Greek key and other design patterns
-glue
-large sheet black construction paper for mounting finished vase
Lesson
1. Show students pictures of Greek vases and talk about their significance. Discuss designs and figures on vases.
2. Show students your sample and discuss how you created it.
-fold piece of brown paper in half
-draw half of vase on one side, cut out
-paint a light coat of gold tempera paint over vase (optional)
-let dry
-draw a figure on the black construction paper, cut out
-add detail with oil pastels
-glue to center of vase
-use black oil pastel or sharpie to draw line designs on vase, making sure to use some of the Greek motifs and patterns (use scratch paper to have the students practice these designs first - the Greek key pattern especially)
Art Project
-pass out brown craft paper
-show students different vase shapes on computer overhead
-have students draw their vase on the folded in half craft paper
-cut out vase
-paint a light wash of gold tempera over vase, set aside to dry
-draw figure on black paper
-cut out and add details with oil pastels
-glue to center of vase
-draw line detail with black oil pastels or sharpie on vase
- glue vase to black paper
-put name on back or front, as desired
-have students turn in all art supplies and have a parent helper put them away in the art room
-wash out paint brushes