Third Grade
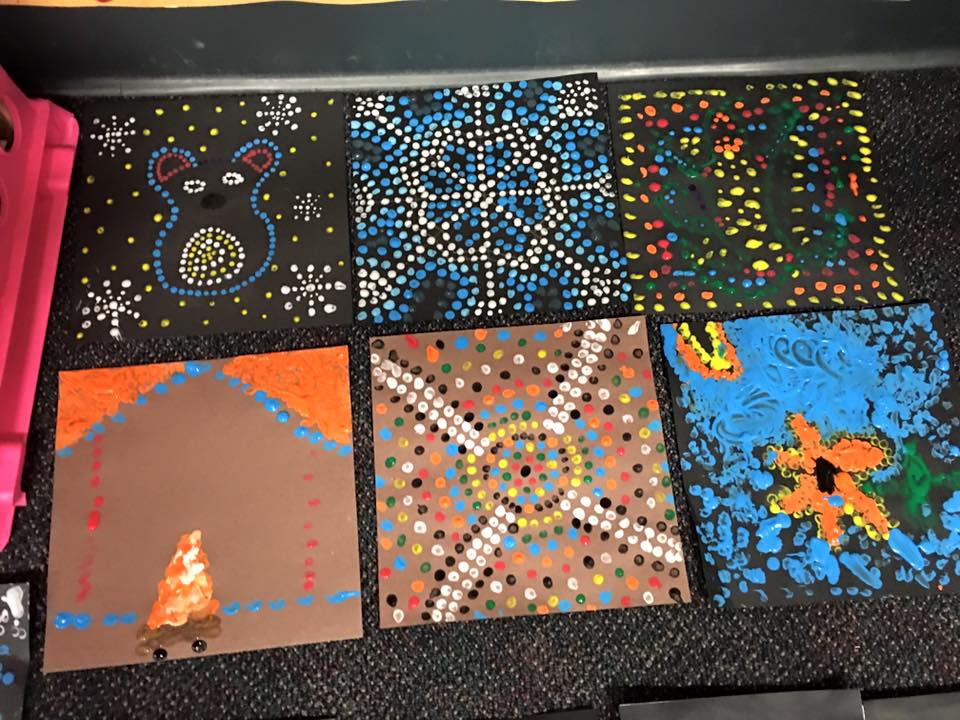
Aboriginal Dot art
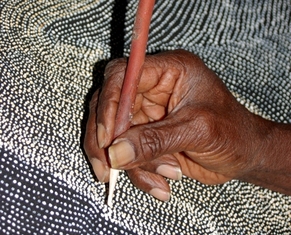
Although Australian aboriginal dot painting only dates back to the 1970s, the origins of that art goes back much, much farther. For many generations, the indigenous peoples of Australia's desert lands used sand and other things like plant materials clumped into groupings and designs on a cleared patch of ground for ceremonial purposes. When the rituals were over, the ground would be wiped clean. The designs and patterns were meant to be temporary because the aboriginal peoples felt that the symbols were sacred. They associated the patterns with the spirit of creation and the natural arrangement of the land they lived on. Originally, when these designs were recreated in painted art, extra dots were used to help disguise and camouflage the sacred symbols and meanings. They also restricted their color palette to the colors of nature: red, yellow, brown, black and white--the colors they could grind from stones, coal, bark and other natural elements.
Today this art is less ceremonial and more decorative. The aboriginal artists are proud when people around the world purchase their art. It makes them feel valued and validated. Their pictures have evolved to include more simple symbols like fruits, rain, and feathers along with complex and innovatively artistic patterns. These paintings combine a feel of both the long tradition on which they are based, as well as a more modern feel. To look at these paintings is to enjoy the sense of movement and rhythm as the images dance with energy and life.
The Project
PREP - 30 min. This includes time to make a sample, cut paper, and collect supplies.
Materials
-8 x 8 squares of black or dark brown paper
-tempera paint in bright colors, 6 different colors for class
-box of Q-tips, 5-6 per student
-small paint palettes ( have students work in pairs to share paint palettes)
Lesson
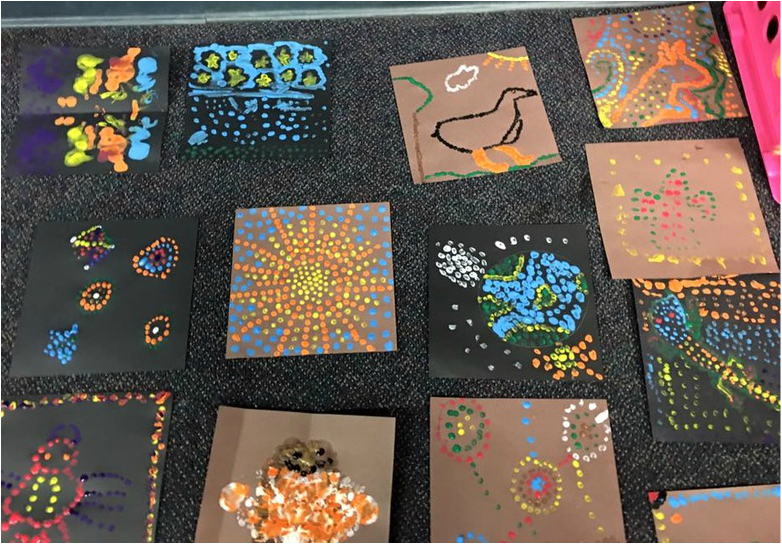
Show students examples of aboriginal dot art and talk about what they notice and see in the art. Discuss the history of the art and how they create these projects. Ask the students how they think they created these projects. Discuss the importance of taking your time with a detailed project like the aboriginal dot art.
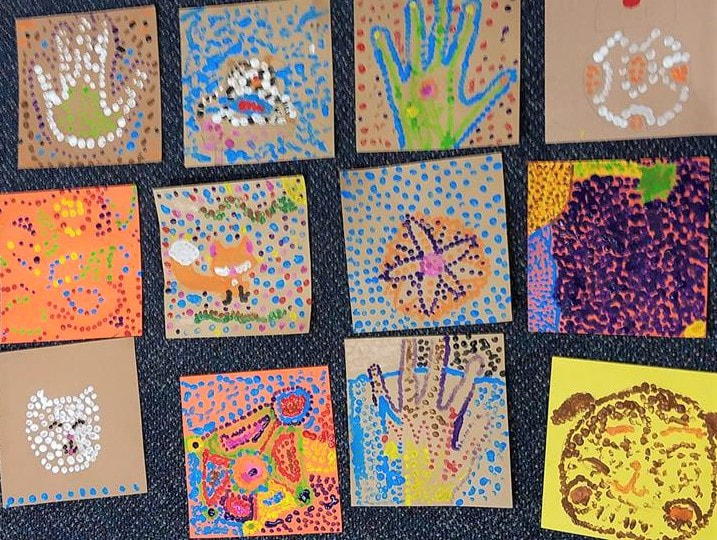
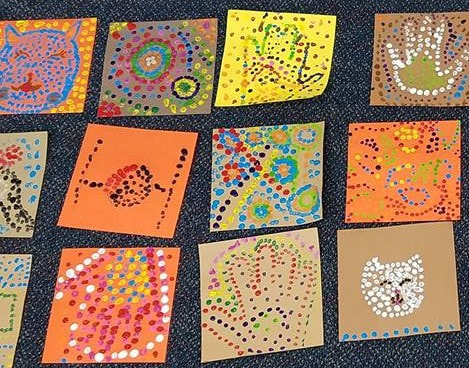
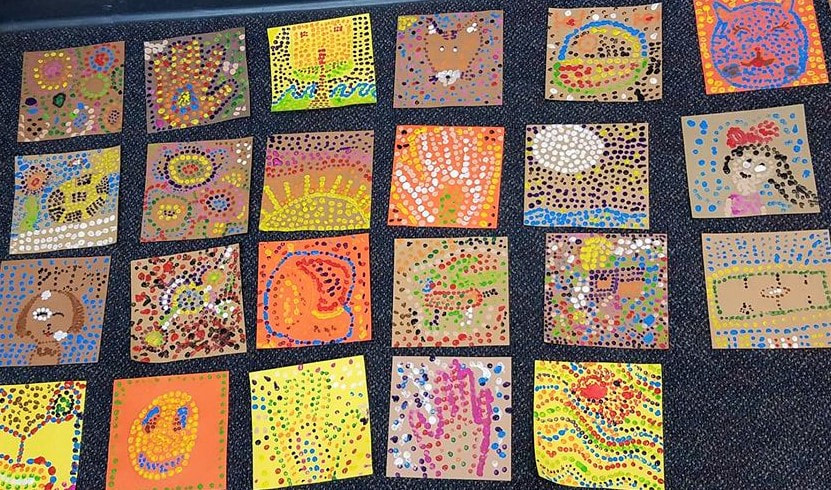
Have students decide what subject or design they will paint (they could even do the outline of their hand). Students will then work with the Q-tips and paint to create a pattern design with dots of paint. First outline their main subject in dots. Then fill in with other patterns and designs. They may use all the colors given or just a few, it is really up to them.
Art Project
1. Pass out 1 piece of paper to each student. Working with partners, have them trace their hands in the center of the paper. Remind students to put their name on the back of their paper.
2. Pass out one small paint palette filled with 6 different colors of paint to each pair of students. Pass out 6 Q-tips to each student.
3. Tell students to create their main design in pencil, then outline with dots along the pencil line. Fill in with other dots in varying patterns.
4. Remind class that they should be making individual dot patterns with their Q-tips, not painting with the Q-tips.
5. Allow art to dry, matt art on a solid background, and display.
6. If they finish early, there may be time to do a second work for some students.
Materials
-8 x 8 squares of black or dark brown paper
-tempera paint in bright colors, 6 different colors for class
-box of Q-tips, 5-6 per student
-small paint palettes ( have students work in pairs to share paint palettes)
Lesson
Show students examples of aboriginal dot art and talk about what they notice and see in the art. Discuss the history of the art and how they create these projects. Ask the students how they think they created these projects. Discuss the importance of taking your time with a detailed project like the aboriginal dot art.
Have students decide what subject or design they will paint (they could even do the outline of their hand). Students will then work with the Q-tips and paint to create a pattern design with dots of paint. First outline their main subject in dots. Then fill in with other patterns and designs. They may use all the colors given or just a few, it is really up to them.
Art Project
1. Pass out 1 piece of paper to each student. Working with partners, have them trace their hands in the center of the paper. Remind students to put their name on the back of their paper.
2. Pass out one small paint palette filled with 6 different colors of paint to each pair of students. Pass out 6 Q-tips to each student.
3. Tell students to create their main design in pencil, then outline with dots along the pencil line. Fill in with other dots in varying patterns.
4. Remind class that they should be making individual dot patterns with their Q-tips, not painting with the Q-tips.
5. Allow art to dry, matt art on a solid background, and display.
6. If they finish early, there may be time to do a second work for some students.