second grade
Youtube Video Links -
History - youtu.be/t0czvY-2j9o Demo -
History - youtu.be/t0czvY-2j9o Demo -
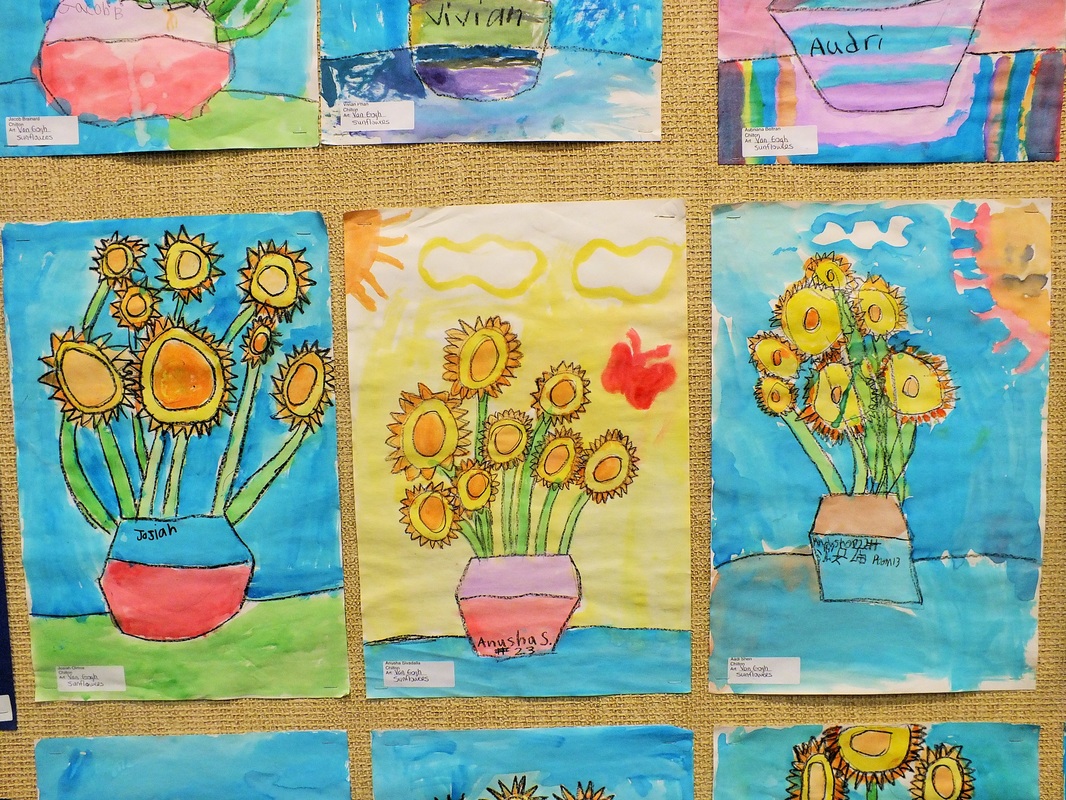
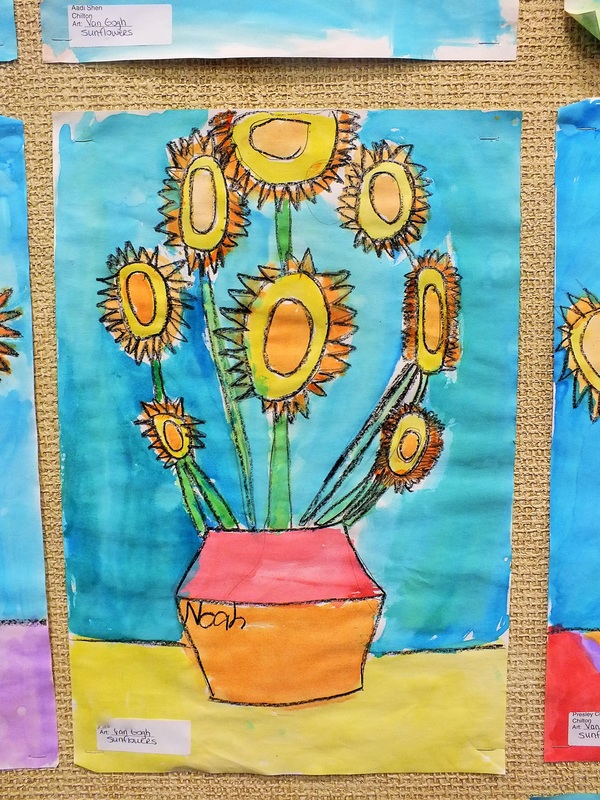
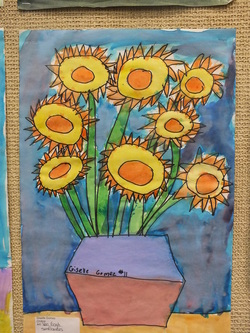
Van Gogh, "Sunflowers"
Vincent van Gogh was born in Holland in 1853 and died in France in 1890. He may not have always been very happy in his life, but his paintings are so bright and beautiful that he is now considered one of the most famous artists there ever was. Van Gogh did not start out to be an artist, but tried many different occupations first, including selling art, working in a bookstore, and being a preacher. He did not do a very good job at any of these things, so he finally decided that he wanted to be an artist.
Van Gogh liked to paint sunflowers because he thought they were very sunny and happy. He tried to sell them very cheaply to his friends to brighten up their walls in their homes, but no one wanted them. People didn't understand van Gogh's art during his lifetime, and they didn't like how the colors were so vibrant and the lines made them seem to come alive. In fact, van Gogh was very poor because he only ever sold one painting in his lifetime. Usually his brother had to send him money to help him buy food and art supplies. Van Gogh would rather paint than eat, so sometimes he would buy new colors rather than food.
It's hard to believe that no one would pay even a small amount for his paintings back then, because now they are some of the most expensive paintings to buy in the world. They sell for millions of dollars, just for one picture!
There is so much to see in a van Gogh painting (see also his "Starry Night"). If you get the chance to see one in real life in a museum, you will notice how thickly he applied the paint. Sometimes, van Gogh didn't even use a paintbrush because that would take too long or smooth out the paint too much--at these times he would use the palette knife (for mixing the paints) to apply the paint directly to the canvas. It is so thick that you can actually see these paint lines in photographs of the paintings. This creates TEXTURE on an otherwise flat picture! Notice how the plain backgrounds are filled with paint lines and variations of tone--some areas are a little darker and some a little lighter.
Also notice the bold circle shapes of the flowers. Van Gogh shows us the flowers very close-up, so they are filling the entire picture plane. Other things to pay attention to: dabs of white and other light colors to highlight, the lines of the flowers (not perfect, gangly, prickly, going in all directions), the circles of brush strokes making the painting burst with life and energy.
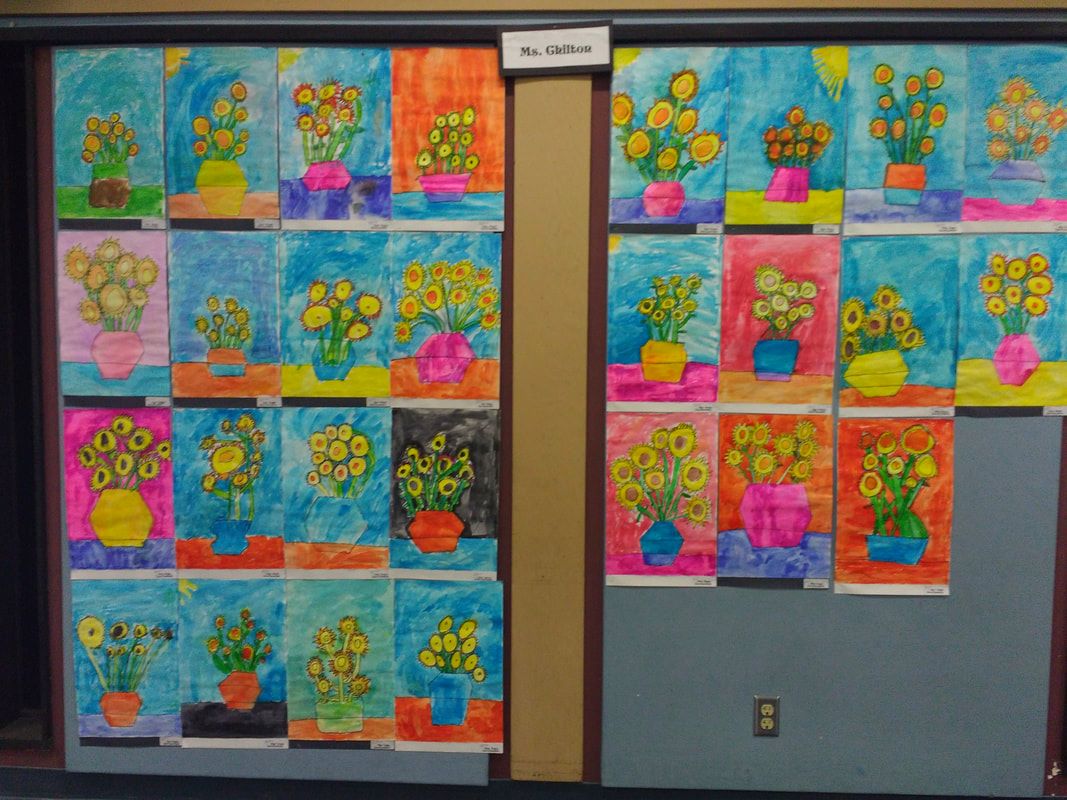
The Project
Prep – 30 min. (making sample included)
Print - Vincent Van Gogh, Sunflowers
Materials
12 x 18 piece of white construction paper per student
Watercolor sets
Paint brushes (+ bigger paint brushes for the background)
Water containers (kids can share)
Black sharpie markers (check out in office)
Lesson
Art lesson
-pass out white paper and have students put their name on the back and start by drawing their vase on the front.
-after they have drawn their vase have students draw their sunflowers, stems, petal, and leaves. Remind students to draw 8-10 sunflowers.
-when students are done drawing have them raise their hand and have a parent pass out a black sharpie to them to trace their pencil line drawings.
-when the students are done tracing with Sharpie have them raise their hand and have a volunteer collect the Sharpies and pass out a watercolor set, paint brush, and water container with water half full.
-when students have completed their project collect water color sets, paint brushes, and water containers
-you can let art dry on their desk if it is the end of the day or they dry very well on the carpet in the back of the class. Have parents move the art work. It may tear if a student tries to move it!
*please have parent volunteers wash out the paint brushes and leave them to dry on the Art Room counter.
Print - Vincent Van Gogh, Sunflowers
Materials
12 x 18 piece of white construction paper per student
Watercolor sets
Paint brushes (+ bigger paint brushes for the background)
Water containers (kids can share)
Black sharpie markers (check out in office)
Lesson
- Show students print and ask them what they see. Talk about the texture you can see in the painting. Ask students what texture is? This texture is caused by brush strokes when painting. Explain that Vincent Van Gogh used oil paints. Oil paints are a thick paint that takes days to dry. How does the texture look? Do you like it better with texture of brush strokes or flat?
- Take a piece of the white paper and put your name on the back. Tell students they will use their paper vertically today. Show students how to draw a vase on the paper and where to place it so you have room for the sunflowers. Show students how to draw lines on either side of their paper to the edges to be a table the vase would be on.
- Show students how to draw sunflowers for their vase. Have them draw 8-10 sunflowers. First start by drawing 8-10 circles far enough apart from each other so you can add the petals. Draw the circles on your paper and show them how to do petals on a couple of flowers. Show them that the flowers don’t have to all face one direction.
- After you draw the sunflowers, add stems and maybe a couple of leaves.
- Show them how to trace a sunflower with a black Sharpie marker.
- You can take a watercolor set and show them how to add water to the color you are going to use and water color part of your sunflower.
Art lesson
-pass out white paper and have students put their name on the back and start by drawing their vase on the front.
-after they have drawn their vase have students draw their sunflowers, stems, petal, and leaves. Remind students to draw 8-10 sunflowers.
-when students are done drawing have them raise their hand and have a parent pass out a black sharpie to them to trace their pencil line drawings.
-when the students are done tracing with Sharpie have them raise their hand and have a volunteer collect the Sharpies and pass out a watercolor set, paint brush, and water container with water half full.
-when students have completed their project collect water color sets, paint brushes, and water containers
-you can let art dry on their desk if it is the end of the day or they dry very well on the carpet in the back of the class. Have parents move the art work. It may tear if a student tries to move it!
*please have parent volunteers wash out the paint brushes and leave them to dry on the Art Room counter.