6TH GRADE
Egyptian Press Molds
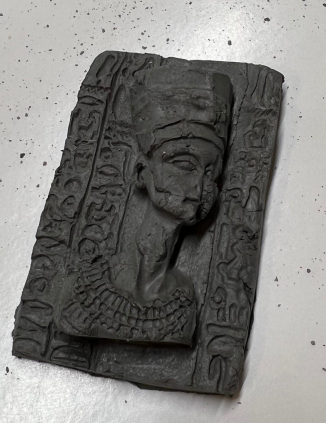
Today, we'll be crafting Egyptian press molds using clay. It's essential to remind our students that the final project hinges on the absence of any air bubbles within the clay. If there are large bubbles of air, the final project might explode in the kiln. Therefore, let's ensure that we press the clay thoroughly to eliminate any trapped air.
Preparation
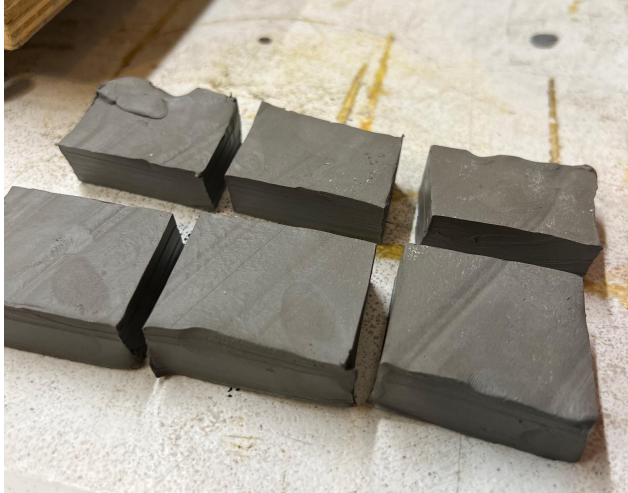
Before the project date, parents will prepare clay slabs, each measuring 1/2 inch in thickness.
Cut the slabs are into roughly 3-inch squares.
Each student will receive two of these clay squares for their projects.
These slabs will be stored between damp cloths, and placed into a double layered gallon ziplock bag to stay damp for the project day.
This can be done up to 2 days in advance.
Cut the slabs are into roughly 3-inch squares.
Each student will receive two of these clay squares for their projects.
These slabs will be stored between damp cloths, and placed into a double layered gallon ziplock bag to stay damp for the project day.
This can be done up to 2 days in advance.
MAterials for Project Day
- 2 three inch slab square for each student.
- paper plate for each student
- Assortment of clay press molds
- small wooden rolling pins
- plastic knifes
- square of fabric for each student slightly damp
- carboard trays for clay to be dried on
- paper plate for each student
- Assortment of clay press molds
- small wooden rolling pins
- plastic knifes
- square of fabric for each student slightly damp
- carboard trays for clay to be dried on
The Project
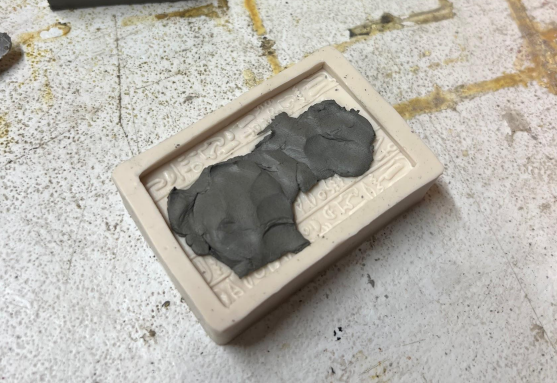
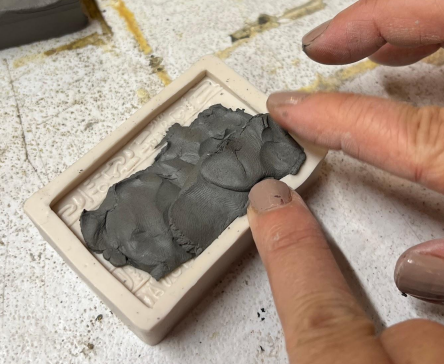
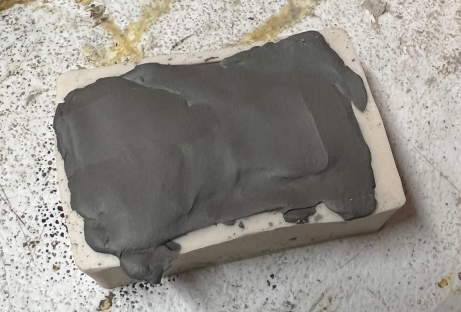
1. Ask the students to press small amounts of clay into the deeper sections of the clay mold.
2. Gradually work additional clay into the mold's edges until it's entirely filled.
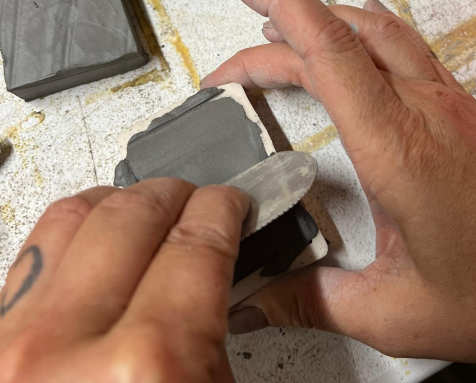
3. Use the flat side of a plastic knife to carefully scrape the excess clay flush with the surface of the mold.
2. Gradually work additional clay into the mold's edges until it's entirely filled.
3. Use the flat side of a plastic knife to carefully scrape the excess clay flush with the surface of the mold.
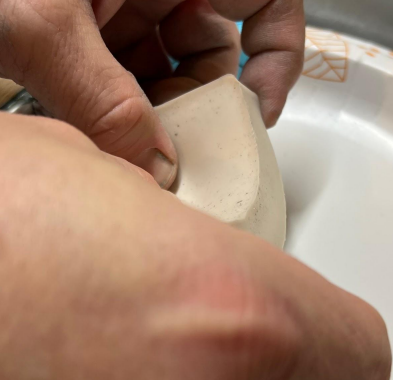
4. Starting with the edges, gently pry the clay away from the mold.
5. When the edges are released you can turn the mold over and press the finished piece onto the paper plate.
6. The students may repeat this process with the other molds until they are out of clay. They should be able to get most of the molds.
5. When the edges are released you can turn the mold over and press the finished piece onto the paper plate.
6. The students may repeat this process with the other molds until they are out of clay. They should be able to get most of the molds.

Finishing the Project
These clay projects require a drying period of 10-14 days before they are ready for firing in the kiln. During this waiting period, we encourage parents to come in and help sand down any rough edges on the clay projects. It's best to start sanding after the clay has had a chance to begin drying overnight. We recommend using carpet squares for this sanding process, as they provide an effective and gentle abrasive surface.
Once the clay projects have been sanded and smoothed, they are ready for the bisque firing in the kiln.
After the bisque firing, the final step involves the students painting the clay with acrylic paint. We suggest coordinating this painting session with the day when the sixth graders are also painting their rocks, for convenience and efficiency.
Once painted, allow the projects to dry overnight. Then, finish them by applying a spray acrylic sealer to protect and enhance the finished appearance. After this final drying period, the projects can be safely sent home for the students to cherish."
