Fifth Grade
Stained Glass Windows
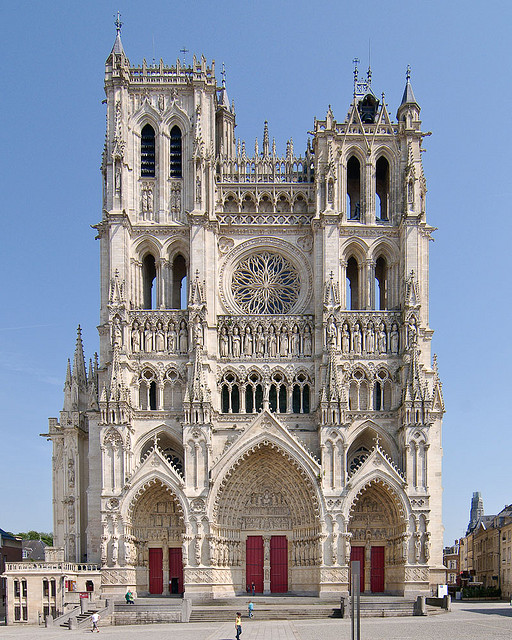

In the Middle Ages, the height of artistic achievement was the Gothic Cathedral. The development of pointed arches in building with stone allowed the cathedrals to soar to unprecedented heights, leading the eyes toward heaven and creating massive interiors, large enough for whole communities. The efficiency of the pointed arch in supporting the walls and roof was so sound, that the builders were able to open up the walls to windows - more and larger windows than ever before!
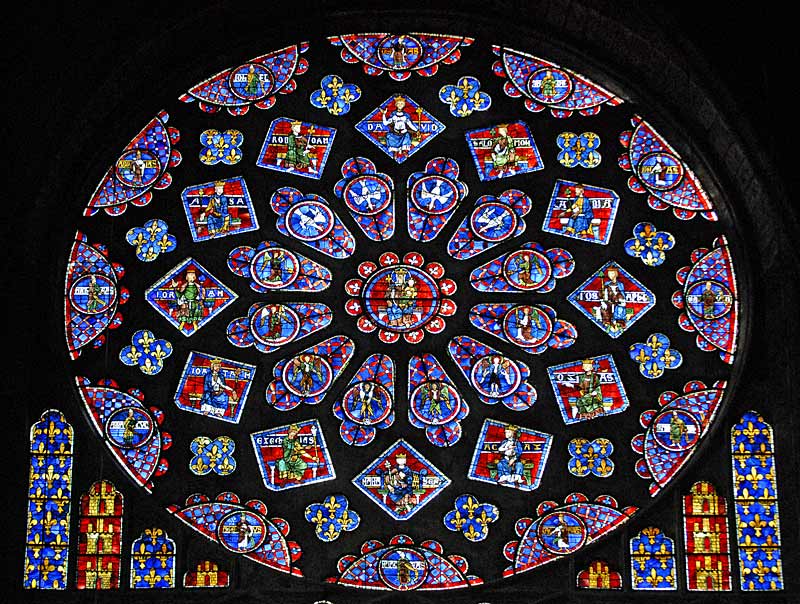
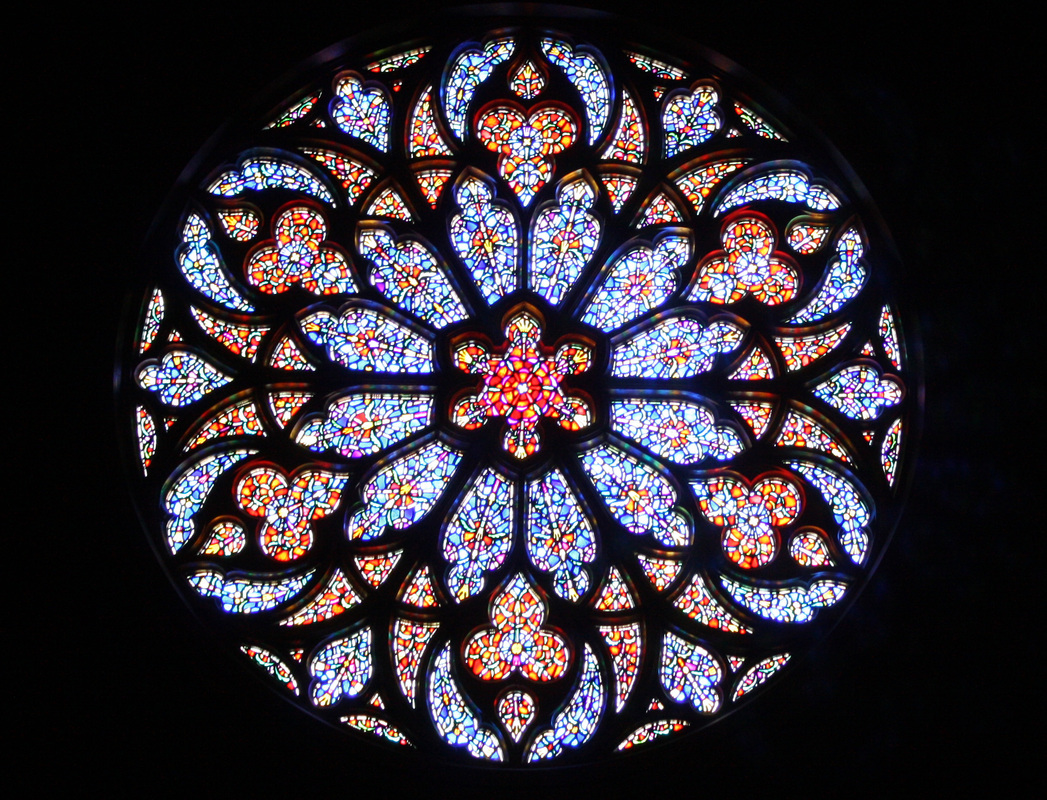
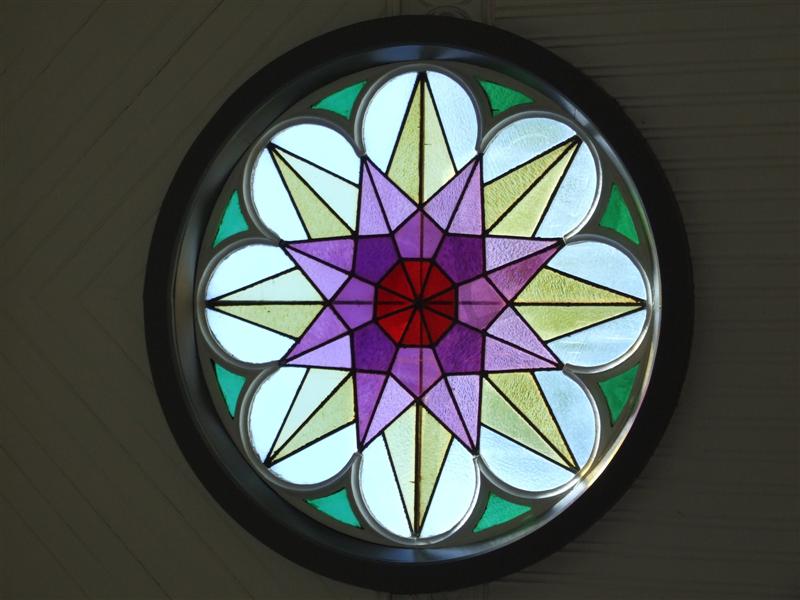
These window openings were filled up with beautifully colored stained glass, which not only illustrated the stories from the Bible (most people at that time couldn't read), but also flooded the cathedrals with a mystical light. The insides of cathedrals with light streaming in through the stained glass was quite an amazing sight, one which you can still experience today. The colored quality of the light was meant to affect the feeling of the worshipper and remind them that they were in a holy place. The queen jewel of all the windows in any cathedral was the large round one over the entrance doorway - this was called a ROSE WINDOW.
Today, stained glass is still used in some church windows but also in non-religious spaces as well. Ask the students if any of them have been in a space with a stained glass window? Where were they? Perhaps they even know someone with such a window in their home.
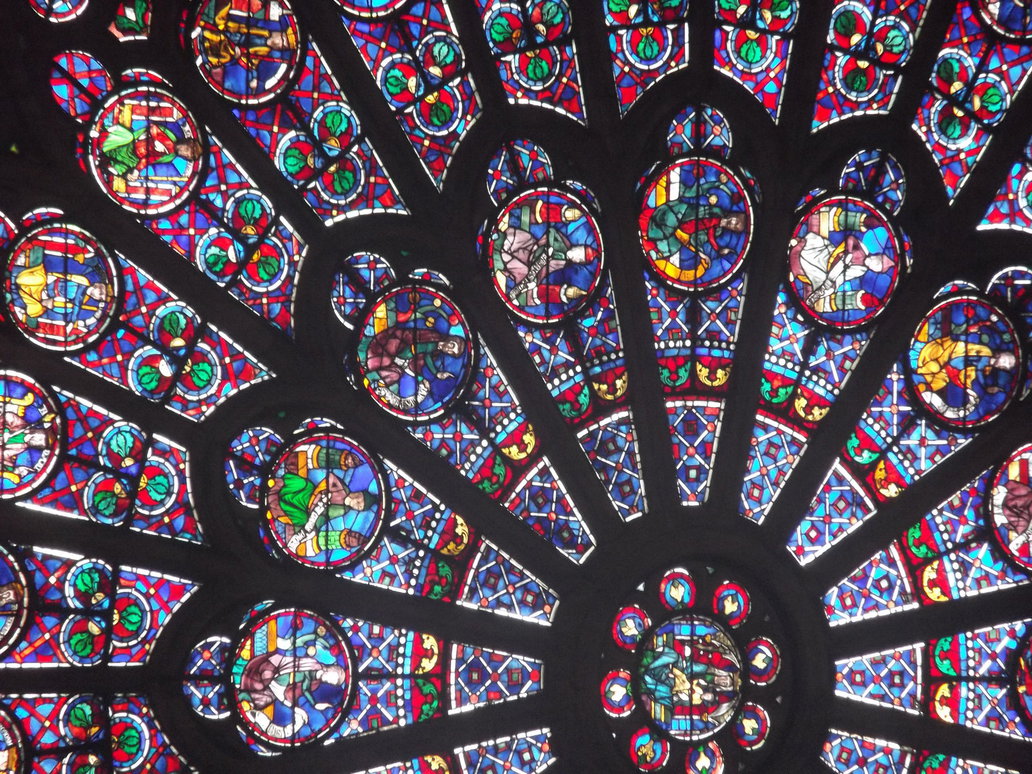
Back in the Middle Ages, stained glass was an expensive work of art that needed the expertise of stone masons to carve the stone openings for the outside of the windows, metalworkers to make the TRACERY bars to create the patterns and hold the glass in place, and of course the glass makers, to color the glass and arrange the pieces into intricate designs and pictures. But because cathedrals were the most important part of any community (if you could afford to build one, it not only gave you prestige, but it also brought commerce when people would travel to see it and attend the market days associated with major festivals and holidays), the time and expense was a price they were willing to pay.
These window openings were filled up with beautifully colored stained glass, which not only illustrated the stories from the Bible (most people at that time couldn't read), but also flooded the cathedrals with a mystical light. The insides of cathedrals with light streaming in through the stained glass was quite an amazing sight, one which you can still experience today. The colored quality of the light was meant to affect the feeling of the worshipper and remind them that they were in a holy place. The queen jewel of all the windows in any cathedral was the large round one over the entrance doorway - this was called a ROSE WINDOW.
Today, stained glass is still used in some church windows but also in non-religious spaces as well. Ask the students if any of them have been in a space with a stained glass window? Where were they? Perhaps they even know someone with such a window in their home.
Back in the Middle Ages, stained glass was an expensive work of art that needed the expertise of stone masons to carve the stone openings for the outside of the windows, metalworkers to make the TRACERY bars to create the patterns and hold the glass in place, and of course the glass makers, to color the glass and arrange the pieces into intricate designs and pictures. But because cathedrals were the most important part of any community (if you could afford to build one, it not only gave you prestige, but it also brought commerce when people would travel to see it and attend the market days associated with major festivals and holidays), the time and expense was a price they were willing to pay.

| stained_glass_windows.pdf |
the project
|

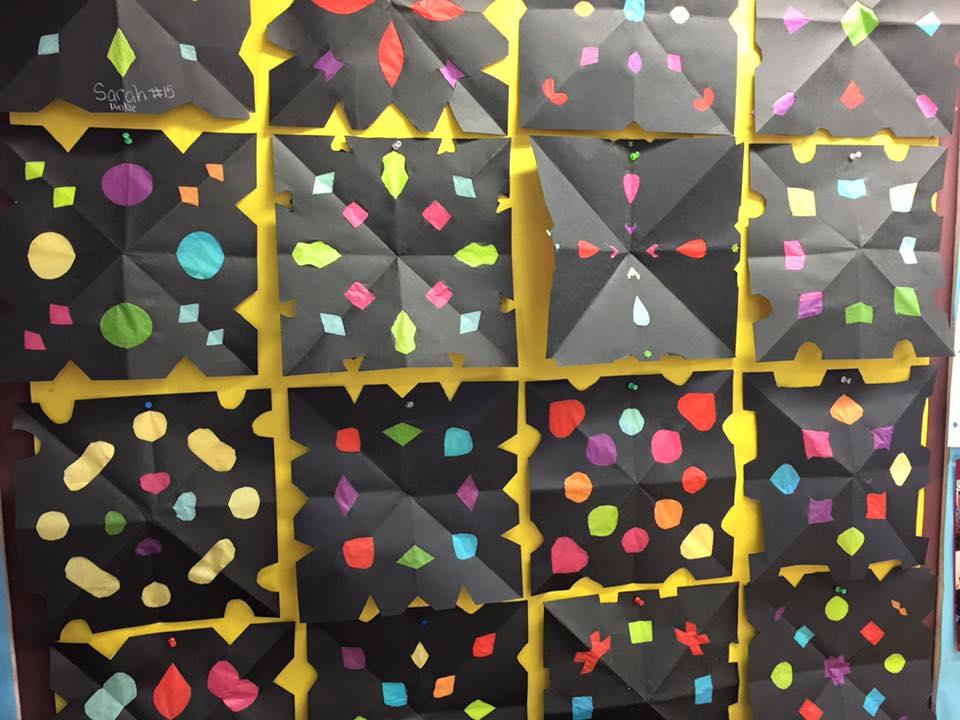
12 x 12 square of black construction paper
8-1/2 " square of white computer paper (for practice) colored tissue paper, cut in smallish pieces Hand out the white practice paper Fold paper in half, corner to corner (to make a triangle), then fold in half again, and then half one more time. (3 folds) |


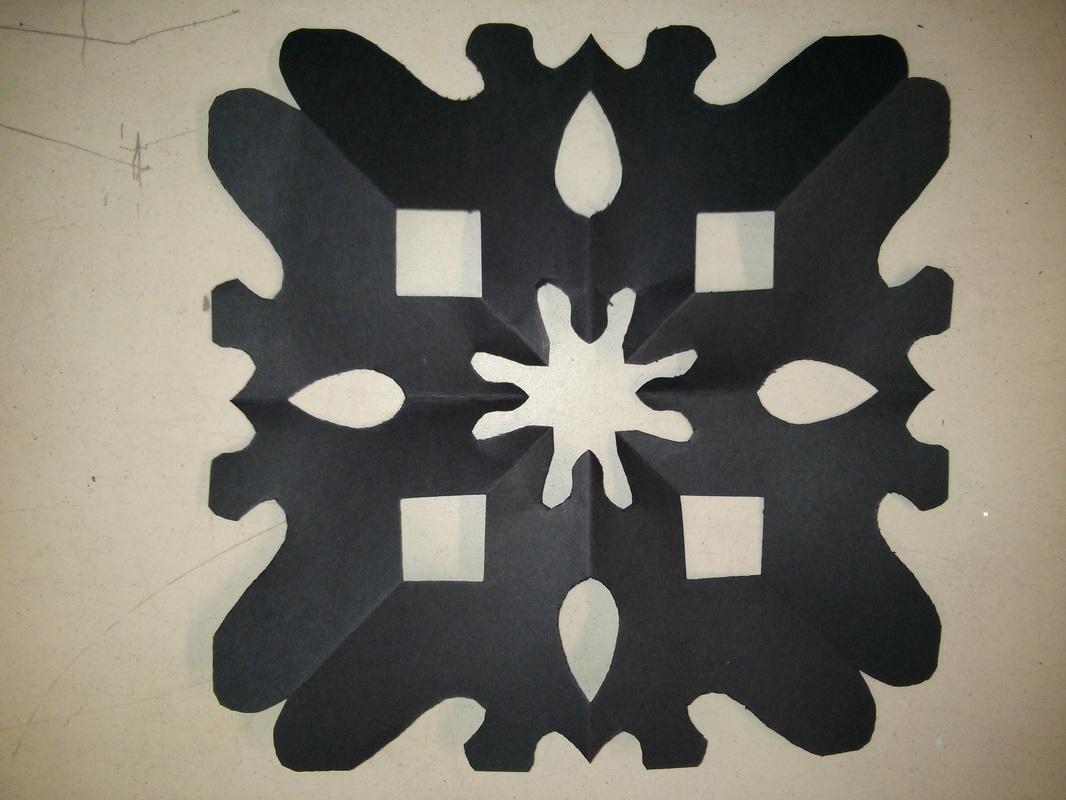
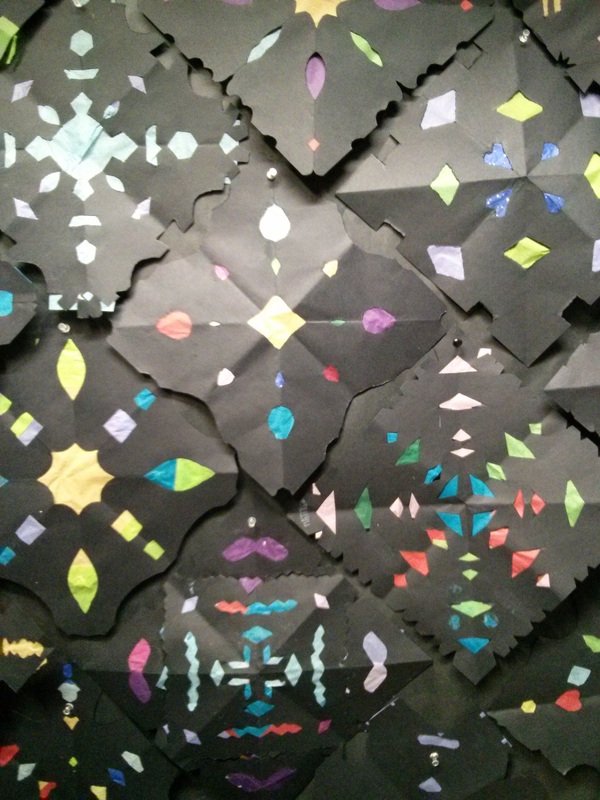
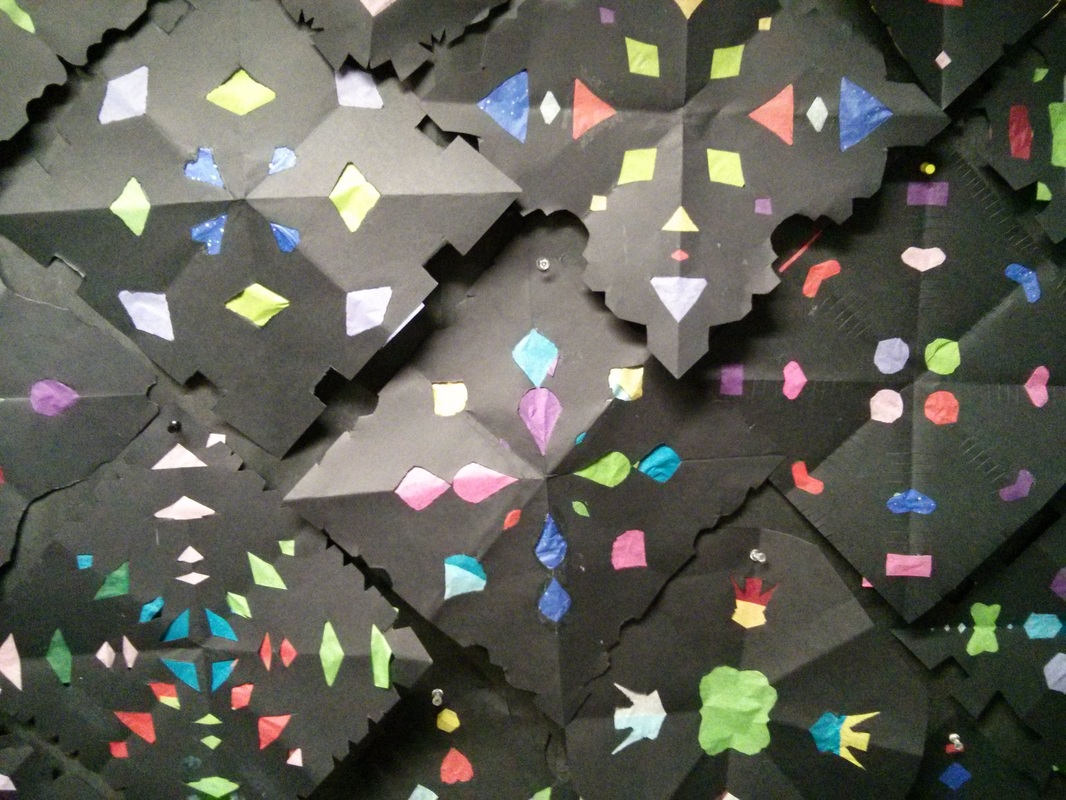
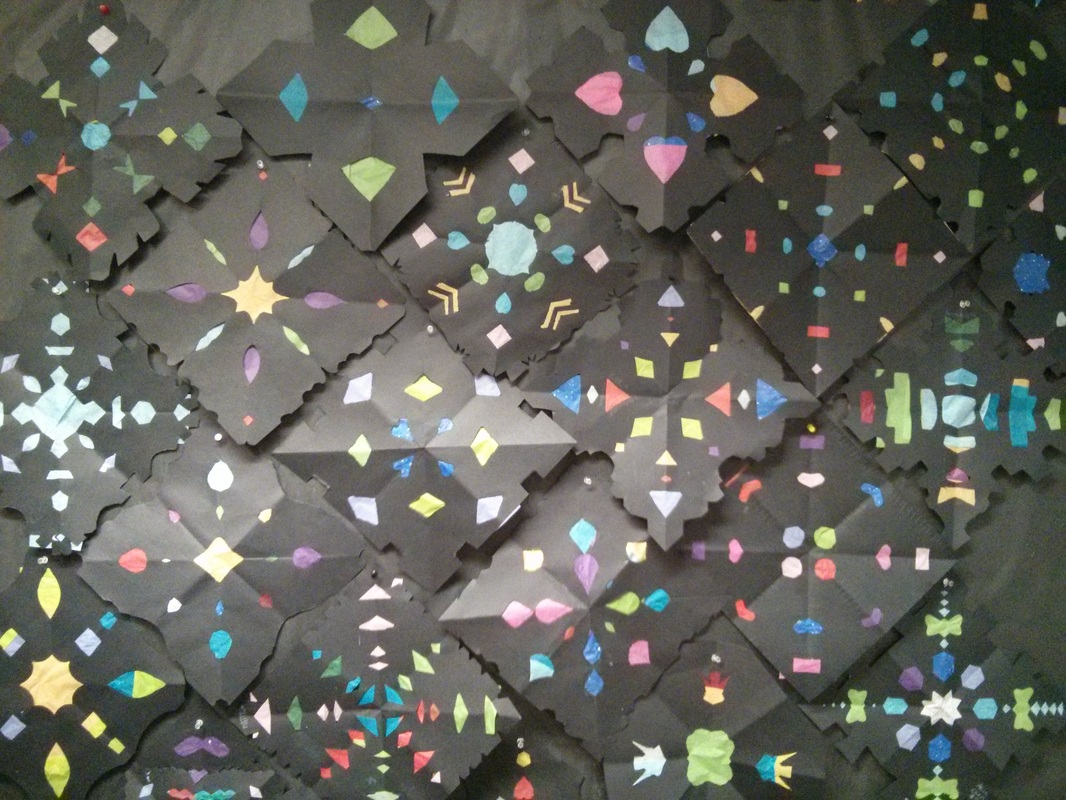
Cut designs in from the sides, like a paper snowflake. Have the students open their paper after they have made a few cuts, so they can see how the design looks. Have them experiment on this paper until they feel ready to move to the final black paper. You may want to check their practice design to make sure they have the hang of it before you hand over the black square.
Use the same folding and cutting techniques as above. Remind them to keep the shapes simple and not to use too many, as the tissue papering is challenging and time consuming.
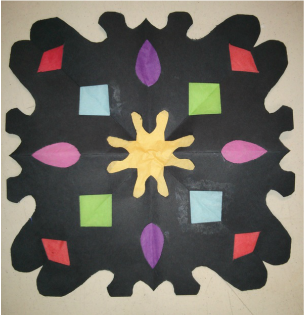
Have the students select pieces of colored tissue paper. Use a glue stick to affix different colors over the openings. Apply the glue to the black paper (not to the tissue paper) around opening, then lay down tissue paper in approximate size; trim after so no tissue paper is showing around the outside edges.
Use the same folding and cutting techniques as above. Remind them to keep the shapes simple and not to use too many, as the tissue papering is challenging and time consuming.
Have the students select pieces of colored tissue paper. Use a glue stick to affix different colors over the openings. Apply the glue to the black paper (not to the tissue paper) around opening, then lay down tissue paper in approximate size; trim after so no tissue paper is showing around the outside edges.