Fifth Grade
Youtube Video Links -
History - youtu.be/ZuL17Pp6wNg Demo -
History - youtu.be/ZuL17Pp6wNg Demo -
U.S. Landmarks
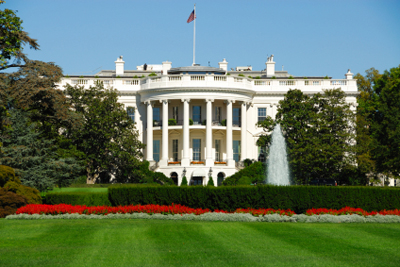
Landmarks are designated as such because they are seen as possessing national significance. Nationally significant properties help citizens understand the history of the U.S. and illustrate the nationwide impact of events or persons associated with the property, its architectural type or style, or information potential. A nationally significant property is of exceptional value in representing or illustrating an important theme in the history of the U.S.
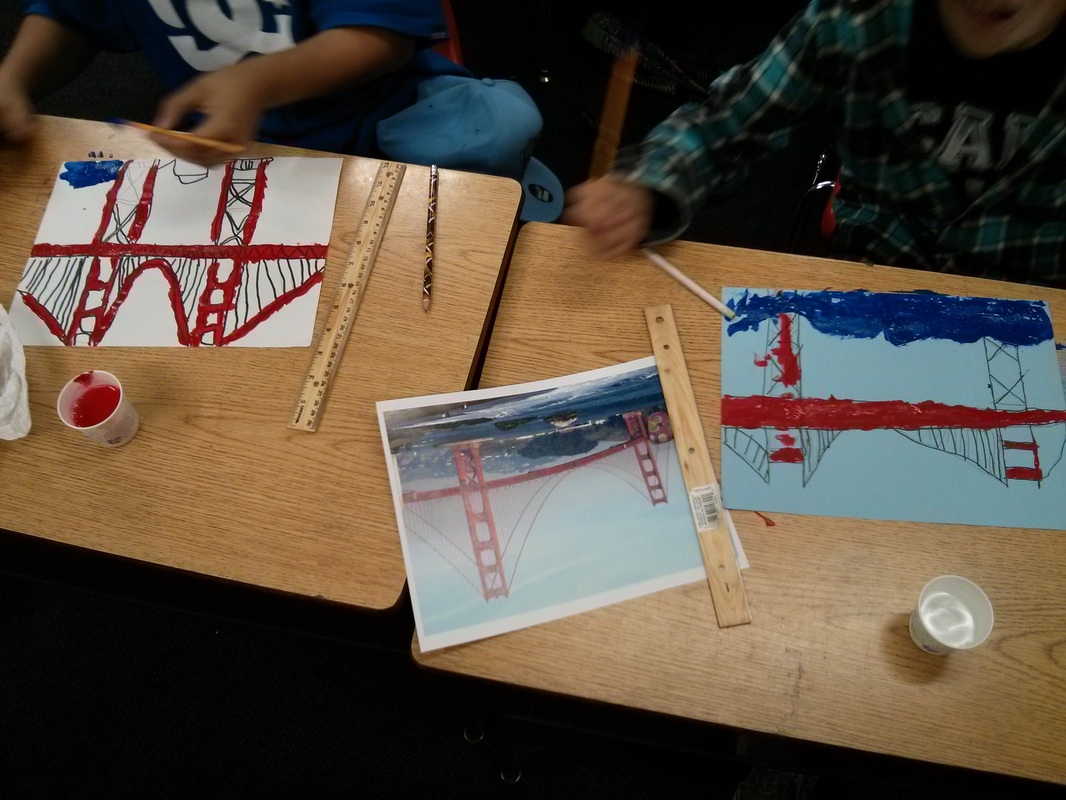
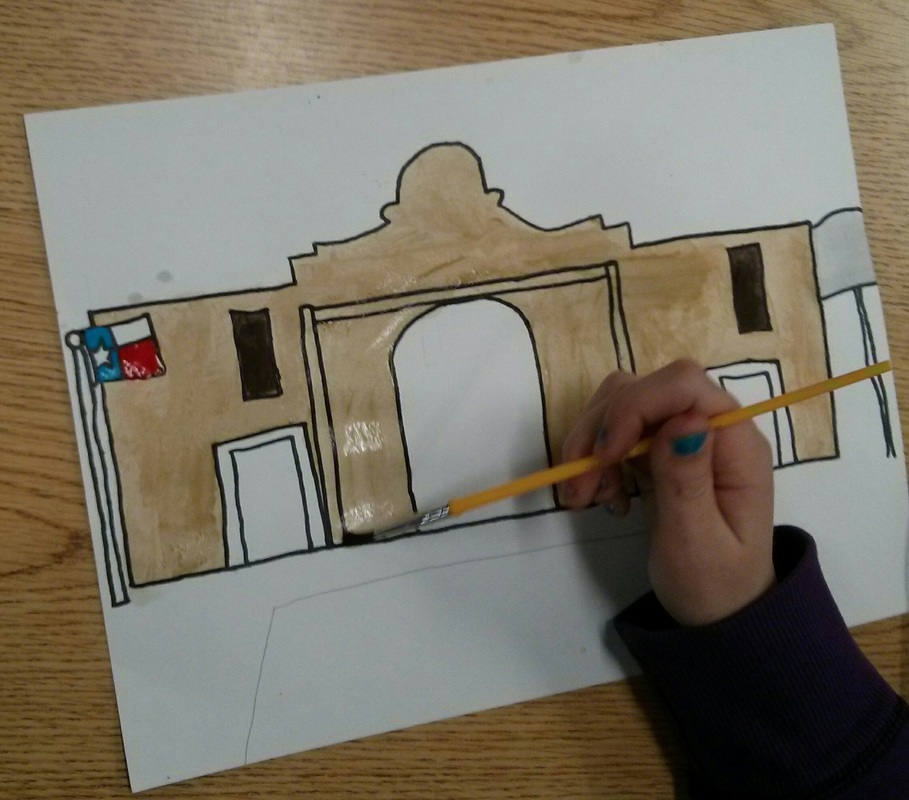
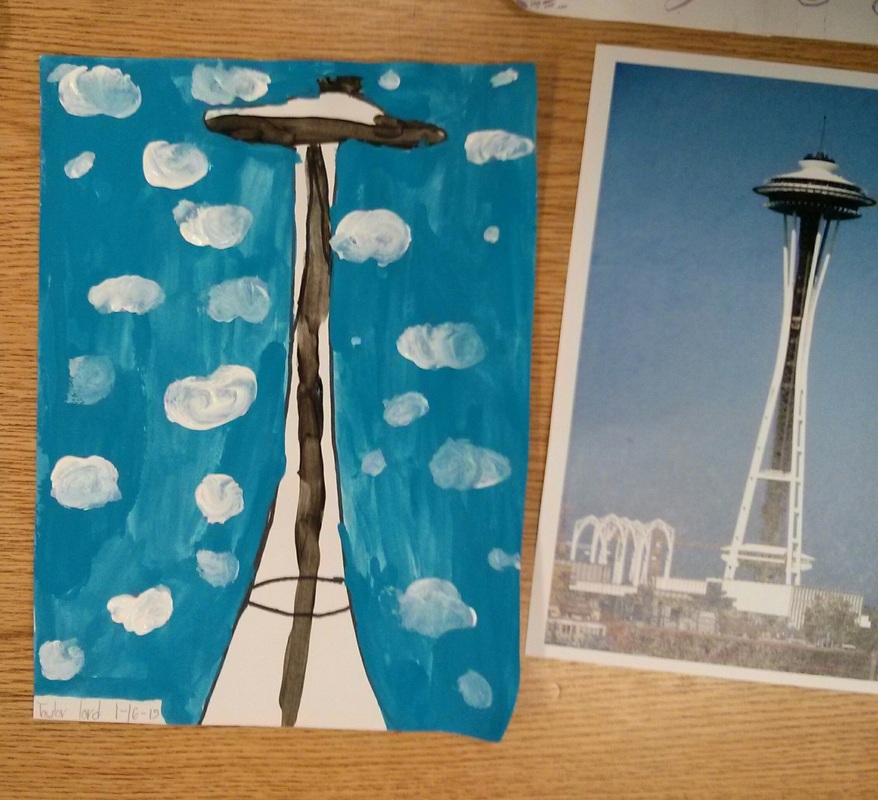
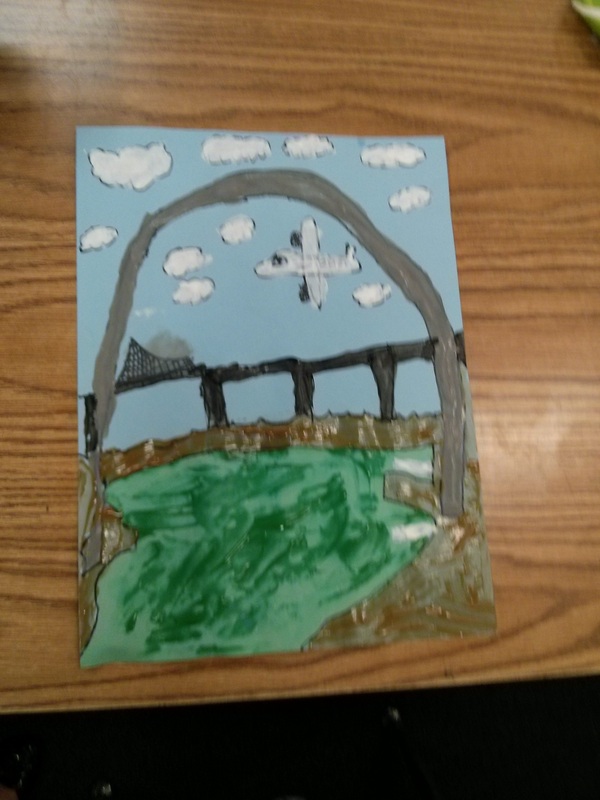
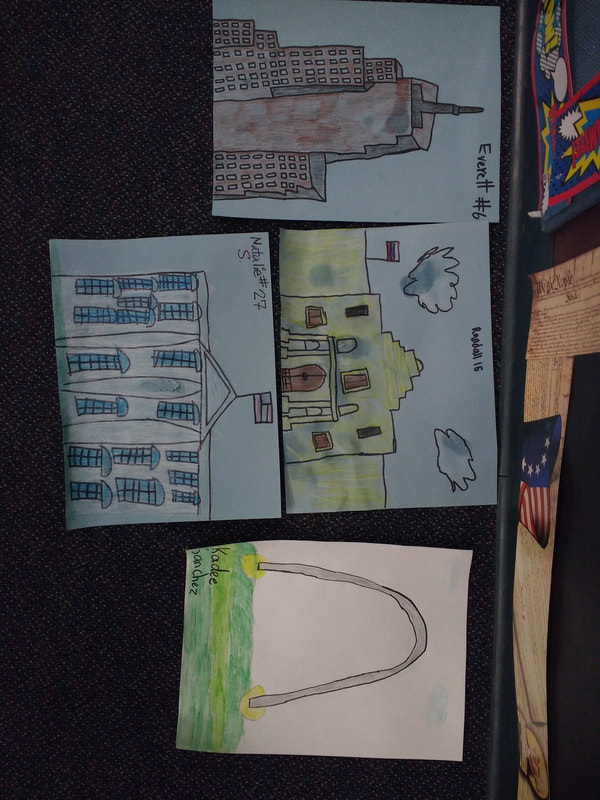
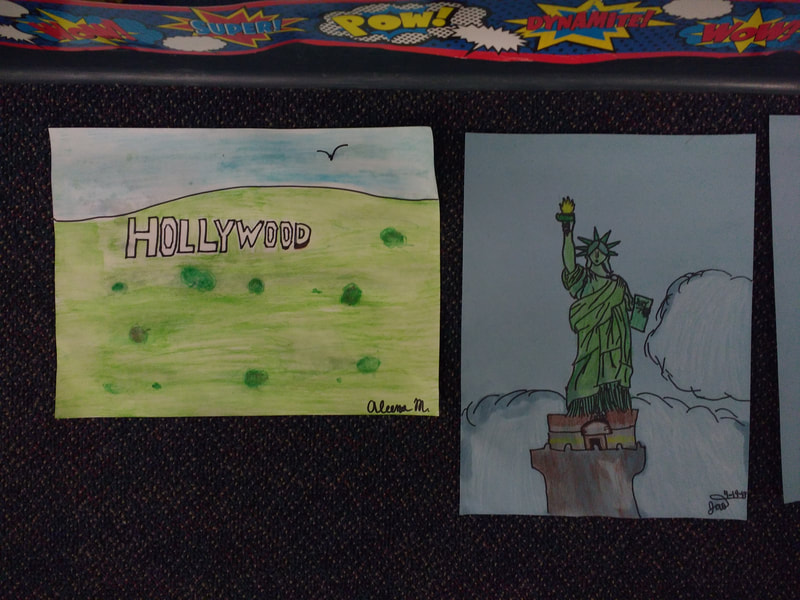
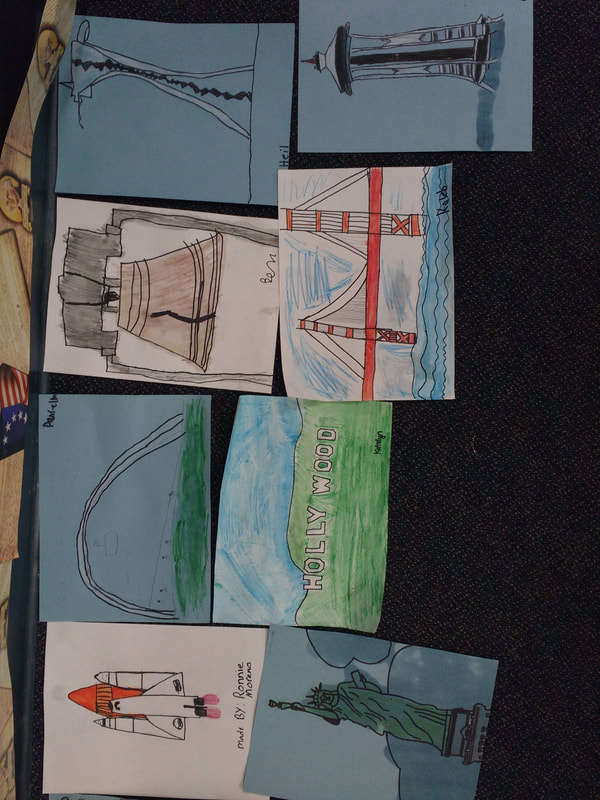
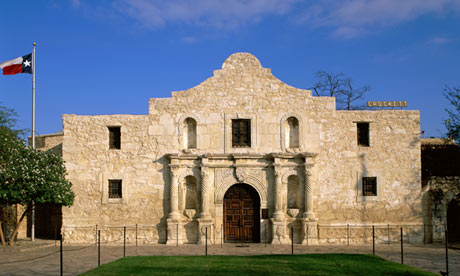
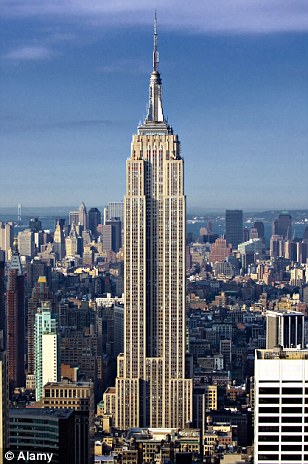
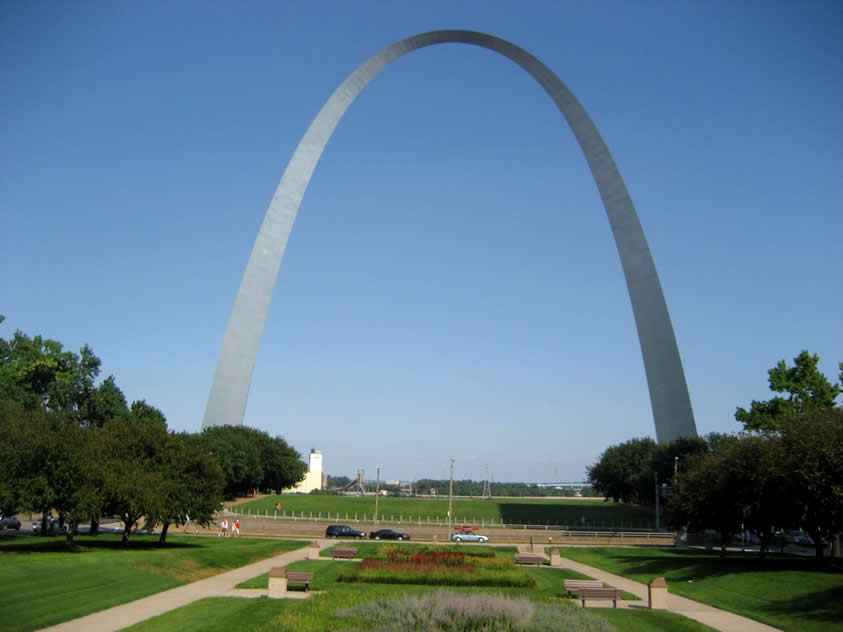
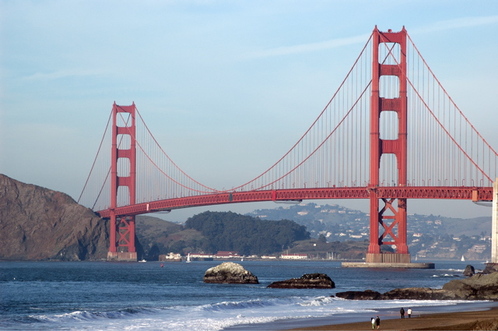
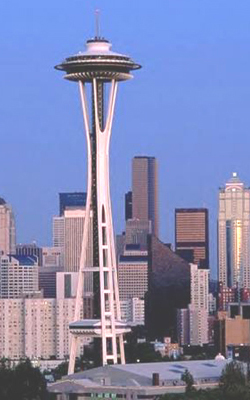
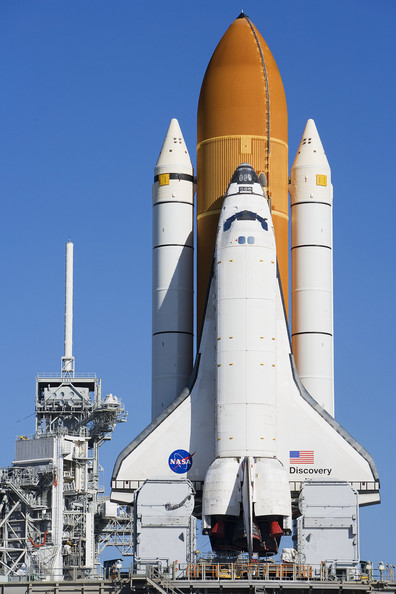
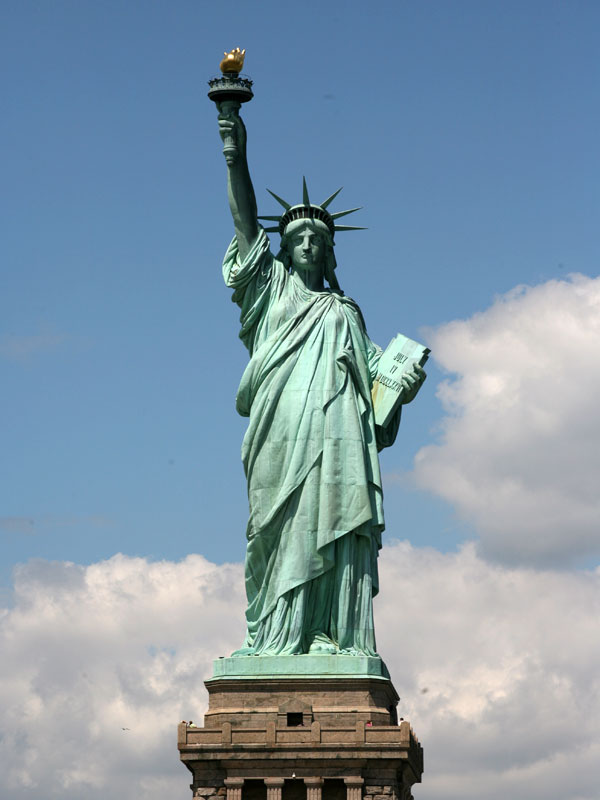
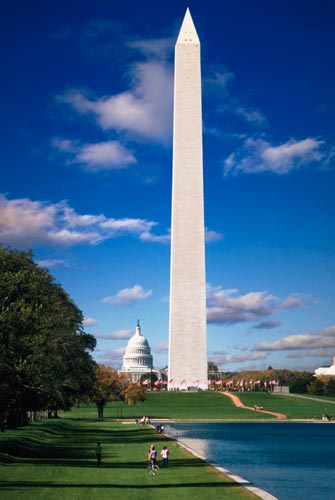
Many of the U.S. Landmarks below represent important artistic styles and traditions, along with their historical value. Viewing the distinctive shapes of these landmarks helps us appreciate a connection with the past (for example the simple, symmetrical design of the Alamo, or the traditional obelisk shape of the Washington Monument) as well as our present and future (like the modern beauty of technology represented in the Space Center or the Space Needle), or even a connection between the two (such as the Gateway Arch which joins east and west, or the Golden Gate Bridge, which "bridges" the traditional history of shipping commerce with a modern vision of technology).
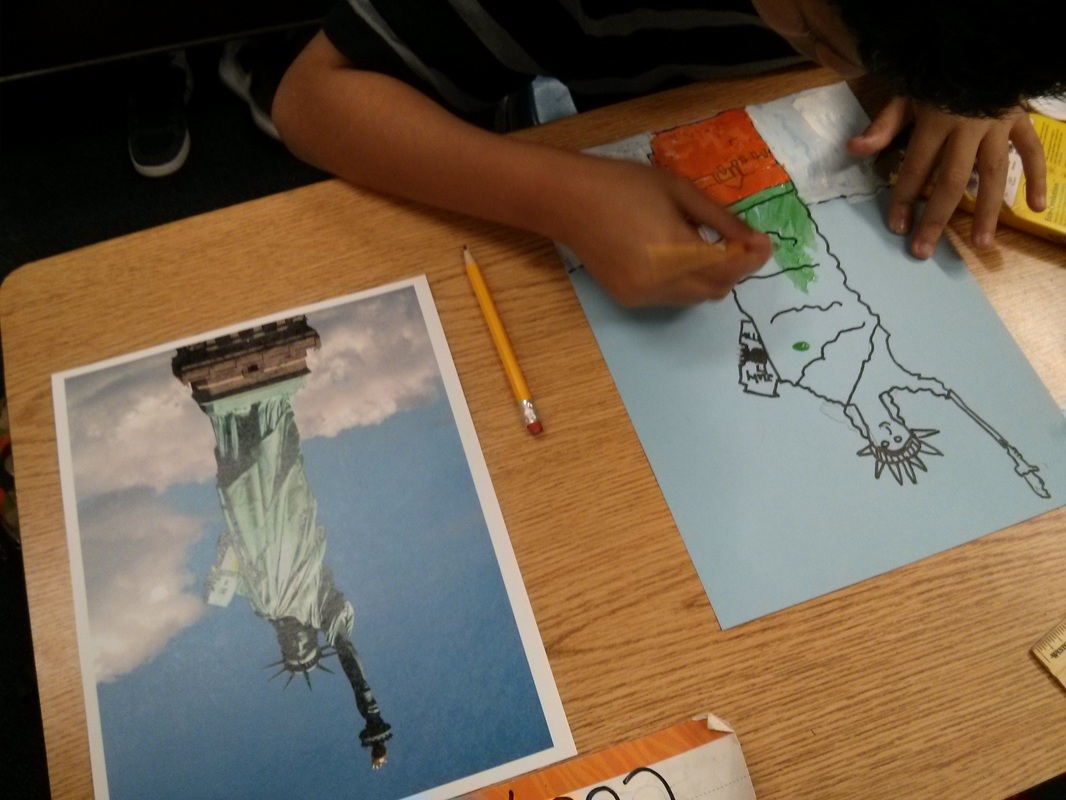
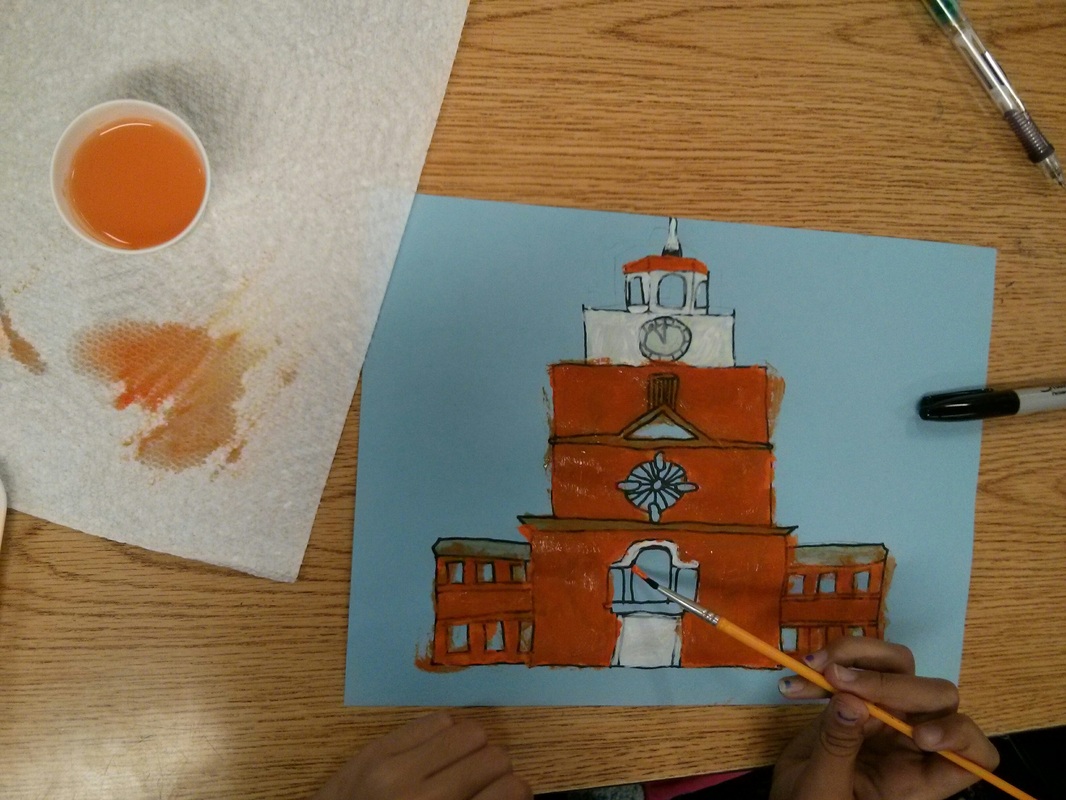
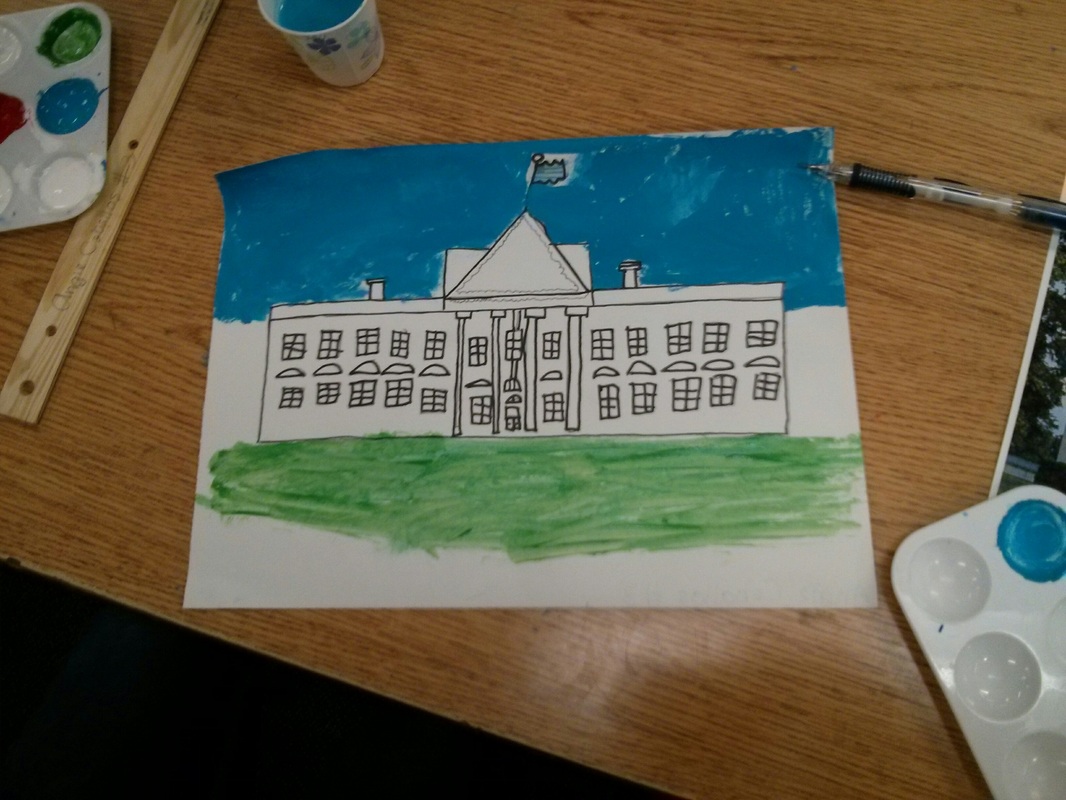
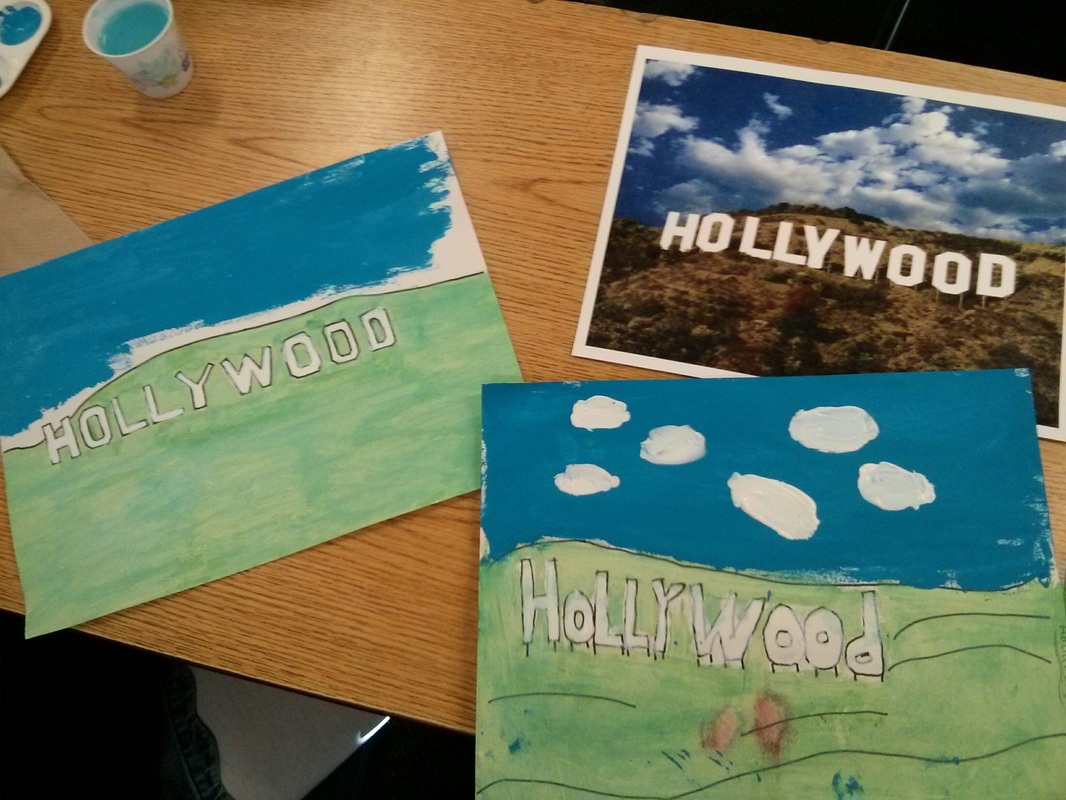
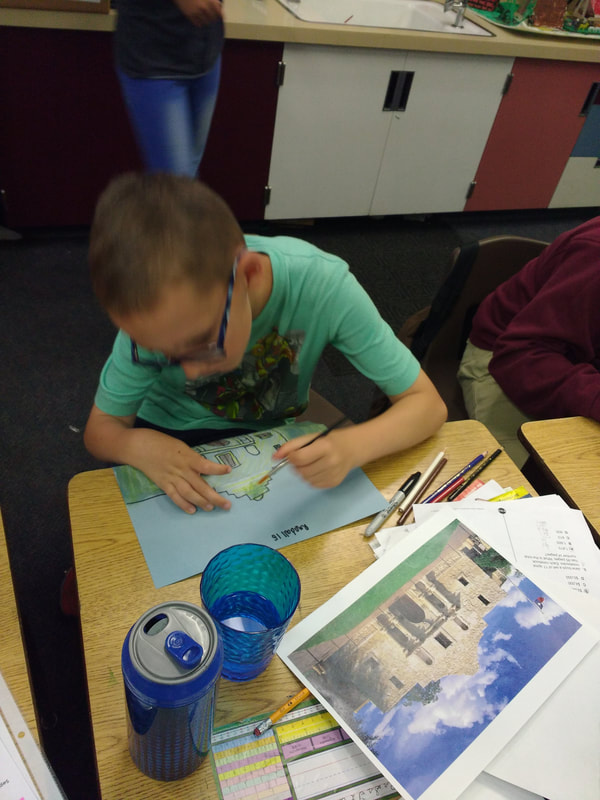
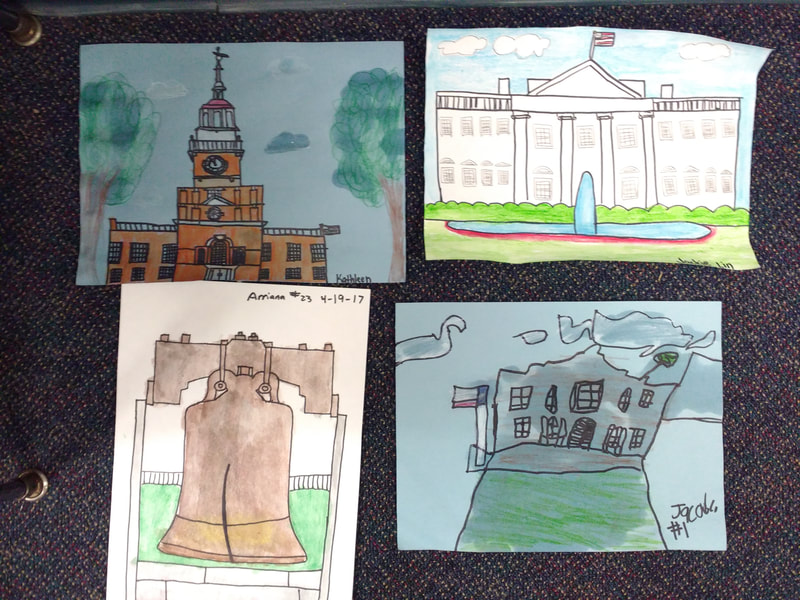
One way that artists gain skills in drawing and painting is by sketching scenes from life, or by copying other pictures. Today we will each choose a different landmark to copy. As you study your image, look for the details that make that landmark distinctive. You can minimize the background details and focus on the structure's lines and patterns. Making a drawing or sketch of something is a good way to help you "see" more. Perhaps you will notice something interesting about your landmark while you are drawing that you didn't observe at first glance.
Many of the U.S. Landmarks below represent important artistic styles and traditions, along with their historical value. Viewing the distinctive shapes of these landmarks helps us appreciate a connection with the past (for example the simple, symmetrical design of the Alamo, or the traditional obelisk shape of the Washington Monument) as well as our present and future (like the modern beauty of technology represented in the Space Center or the Space Needle), or even a connection between the two (such as the Gateway Arch which joins east and west, or the Golden Gate Bridge, which "bridges" the traditional history of shipping commerce with a modern vision of technology).
One way that artists gain skills in drawing and painting is by sketching scenes from life, or by copying other pictures. Today we will each choose a different landmark to copy. As you study your image, look for the details that make that landmark distinctive. You can minimize the background details and focus on the structure's lines and patterns. Making a drawing or sketch of something is a good way to help you "see" more. Perhaps you will notice something interesting about your landmark while you are drawing that you didn't observe at first glance.
DOWNLOADS
|
A PowerPoint presentation you can use to teach this lesson:
|
| ||
|
For other schools who want to print out color copies of the landmarks for students to use at their desks:
|
| ||
the Project
Prep - 45 min. (includes making sample)
Materials
-9 x 12 white or blue construction paper for each student
-8 x 10 landmark prints for students to draw from (in 5th grade file cabinet)
-black Sharpies (check out in office)
-choice of media:
-Colored pencils, OR
-Watercolor pencils, OR
-Oil Pastels, OR
-Tempera paint in appropriate colors
+ paint trays, brushes, water containers,
paper towels
NOTE: this project can be done with colored pencils, oil pastels, or tempera paint. The paint is fun and looks fantastic, but we found it challenging to keep the students stocked on the many varieties of colors needed for all the different images. Be prepared with lots of helpers if you decide to use paint!
Lesson
1. Show students different photos of famous United States landmarks. Talk about what makes them famous, where they are located, and the differences in their designs.
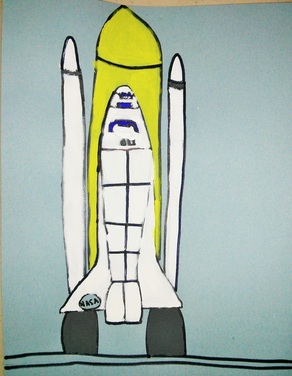
2. Show your sample to the students and explain what you did to create it:
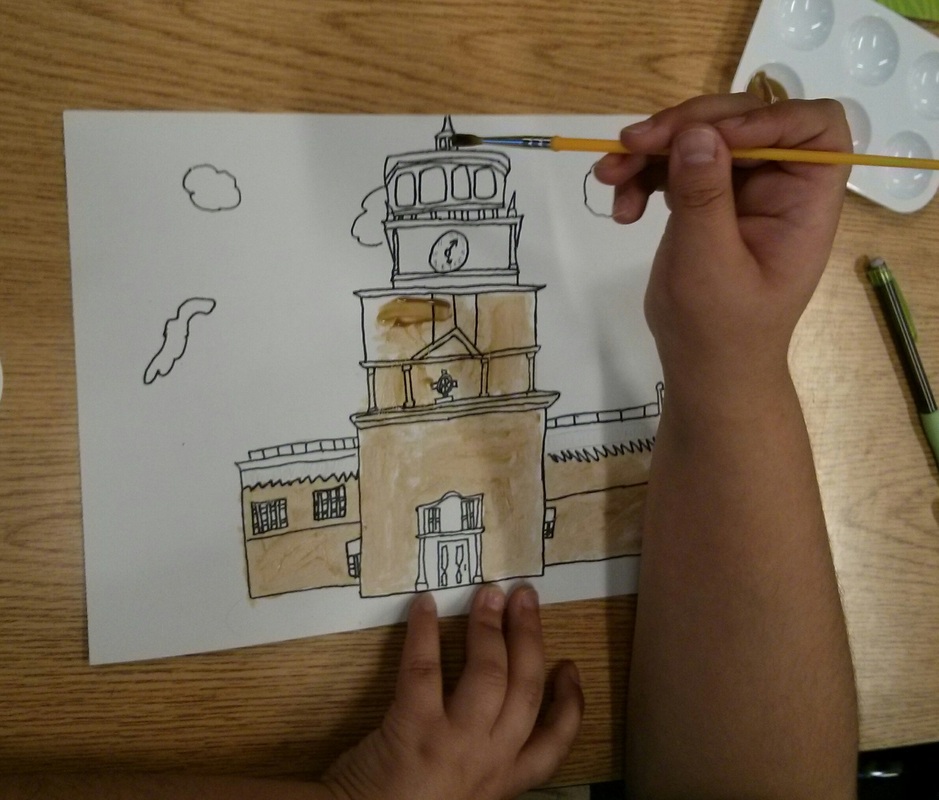
-looked at print, drew it with a pencil, traced over pencil with Sharpie, and then painted or colored
3. Tell students that they are supposed to draw and paint their landmark "to the best of their ability." It is not supposed to be perfect; this is art!
Art Project
-pass out paper and have students put their name on the back
-have parent volunteers hand out landmark prints to students (let them choose their landmark)
-have students draw their landmark with pencil - remind them to observe the distinctive shapes and features (they will want to add detail, of course, but advise them to keep it fairly simple - the project should not be too time consuming)
-pass out Sharpies and have them trace over their pencil lines
-when students are done, have them raise their hand and pass out paint supplies
-different students may need different paint colors based on their landmark; supply colors as appropriate
-students can use colors straight or try mixing to get the right shades for their landmarks' details
-have them add sky, cloud or other background details ONLY if they finish their landmark with time to spare
-have students return their supplies when they are done
-have a student or parent wash out brushes and paint trays
-collect all supplies and lay paint brushes out to dry in the art room on the counter
-please put away rest of supplies in art room
Materials
-9 x 12 white or blue construction paper for each student
-8 x 10 landmark prints for students to draw from (in 5th grade file cabinet)
-black Sharpies (check out in office)
-choice of media:
-Colored pencils, OR
-Watercolor pencils, OR
-Oil Pastels, OR
-Tempera paint in appropriate colors
+ paint trays, brushes, water containers,
paper towels
NOTE: this project can be done with colored pencils, oil pastels, or tempera paint. The paint is fun and looks fantastic, but we found it challenging to keep the students stocked on the many varieties of colors needed for all the different images. Be prepared with lots of helpers if you decide to use paint!
Lesson
1. Show students different photos of famous United States landmarks. Talk about what makes them famous, where they are located, and the differences in their designs.
2. Show your sample to the students and explain what you did to create it:
-looked at print, drew it with a pencil, traced over pencil with Sharpie, and then painted or colored
3. Tell students that they are supposed to draw and paint their landmark "to the best of their ability." It is not supposed to be perfect; this is art!
Art Project
-pass out paper and have students put their name on the back
-have parent volunteers hand out landmark prints to students (let them choose their landmark)
-have students draw their landmark with pencil - remind them to observe the distinctive shapes and features (they will want to add detail, of course, but advise them to keep it fairly simple - the project should not be too time consuming)
-pass out Sharpies and have them trace over their pencil lines
-when students are done, have them raise their hand and pass out paint supplies
-different students may need different paint colors based on their landmark; supply colors as appropriate
-students can use colors straight or try mixing to get the right shades for their landmarks' details
-have them add sky, cloud or other background details ONLY if they finish their landmark with time to spare
-have students return their supplies when they are done
-have a student or parent wash out brushes and paint trays
-collect all supplies and lay paint brushes out to dry in the art room on the counter
-please put away rest of supplies in art room